

Akai XR20 Reference Manual - V1.3 - zZounds.com
Akai XR20 Reference Manual - V1.3 - zZounds.com
Akai XR20 Reference Manual - V1.3 - zZounds.com

Create successful ePaper yourself
Turn your PDF publications into a flip-book with our unique Google optimized e-Paper software.
ERASING AN ENTIRE SONG<br />
1. The <strong>XR20</strong> should be in Song Mode.<br />
2. Use the number buttons, INC / DEC buttons or the<br />
VALUE dial to select the Song to be erased.<br />
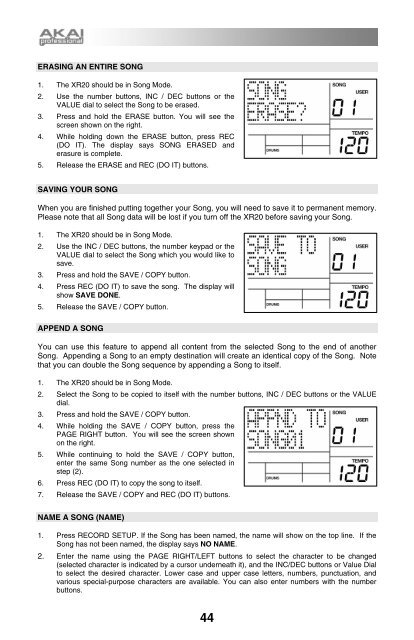
3. Press and hold the ERASE button. You will see the<br />
screen shown on the right.<br />
4. While holding down the ERASE button, press REC<br />
(DO IT). The display says SONG ERASED and<br />
erasure is <strong>com</strong>plete.<br />
5. Release the ERASE and REC (DO IT) buttons.<br />
SAVING YOUR SONG<br />
When you are finished putting together your Song, you will need to save it to permanent memory.<br />
Please note that all Song data will be lost if you turn off the <strong>XR20</strong> before saving your Song.<br />
1. The <strong>XR20</strong> should be in Song Mode.<br />
2. Use the INC / DEC buttons, the number keypad or the<br />
VALUE dial to select the Song which you would like to<br />
save.<br />
3. Press and hold the SAVE / COPY button.<br />
4. Press REC (DO IT) to save the song. The display will<br />
show SAVE DONE.<br />
5. Release the SAVE / COPY button.<br />
APPEND A SONG<br />
You can use this feature to append all content from the selected Song to the end of another<br />
Song. Appending a Song to an empty destination will create an identical copy of the Song. Note<br />
that you can double the Song sequence by appending a Song to itself.<br />
1. The <strong>XR20</strong> should be in Song Mode.<br />
2. Select the Song to be copied to itself with the number buttons, INC / DEC buttons or the VALUE<br />
dial.<br />
3. Press and hold the SAVE / COPY button.<br />
4. While holding the SAVE / COPY button, press the<br />
PAGE RIGHT button. You will see the screen shown<br />
on the right.<br />
5. While continuing to hold the SAVE / COPY button,<br />
enter the same Song number as the one selected in<br />
step (2).<br />
6. Press REC (DO IT) to copy the song to itself.<br />
7. Release the SAVE / COPY and REC (DO IT) buttons.<br />
NAME A SONG (NAME)<br />
1. Press RECORD SETUP. If the Song has been named, the name will show on the top line. If the<br />
Song has not been named, the display says NO NAME.<br />
2. Enter the name using the PAGE RIGHT/LEFT buttons to select the character to be changed<br />
(selected character is indicated by a cursor underneath it), and the INC/DEC buttons or Value Dial<br />
to select the desired character. Lower case and upper case letters, numbers, punctuation, and<br />
various special-purpose characters are available. You can also enter numbers with the number<br />
buttons.<br />
44


