

The IBM eServer BladeCenter JS20 - IBM Redbooks
The IBM eServer BladeCenter JS20 - IBM Redbooks
The IBM eServer BladeCenter JS20 - IBM Redbooks

You also want an ePaper? Increase the reach of your titles
YUMPU automatically turns print PDFs into web optimized ePapers that Google loves.
When a new LAN Switch I/O Module is first installed, the Management Module<br />
assigns a default IP address to the management interface of the LAN Switch I/O<br />
Module. <strong>The</strong> default IP address is chosen based on the I/O module bay where<br />
the LAN Switch I/O Module is installed. Those I/O modules installed in I/O<br />
module bays 1, 2, 3, and 4 are assigned IP addresses 192.168.70.127,<br />
192.168.70.128, 192.168.70.129, and 192.168.70.130, respectively.<br />
Set the IP address of each LAN Switch I/O Module management interface and<br />
enable the external ports:<br />
1. Connect to the Management Module using the Web browser interface as<br />
explained in “Configuring the Management Module” on page 71.<br />
2. From the Management Module Web interface, select I/O Module Tasks →<br />
Management.<br />
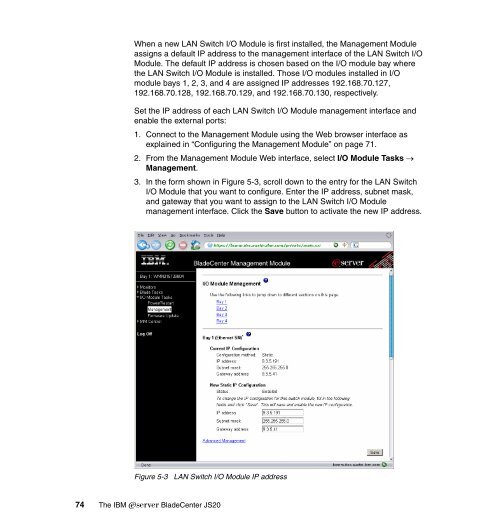
3. In the form shown in Figure 5-3, scroll down to the entry for the LAN Switch<br />
I/O Module that you want to configure. Enter the IP address, subnet mask,<br />
and gateway that you want to assign to the LAN Switch I/O Module<br />
management interface. Click the Save button to activate the new IP address.<br />
Figure 5-3 LAN Switch I/O Module IP address<br />
74 <strong>The</strong> <strong>IBM</strong> Eserver <strong>BladeCenter</strong> <strong>JS20</strong>


