Experiment Manual Sample Pages (PDF) - Thames & Kosmos
Experiment Manual Sample Pages (PDF) - Thames & Kosmos
Experiment Manual Sample Pages (PDF) - Thames & Kosmos

You also want an ePaper? Increase the reach of your titles
YUMPU automatically turns print PDFs into web optimized ePapers that Google loves.
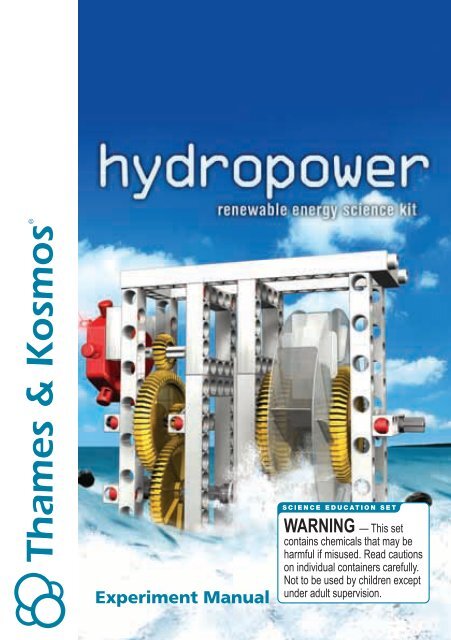
<strong>Experiment</strong> <strong>Manual</strong>
Kit Contents<br />
No. Name Quantity Part No.<br />
1 Joint pin 1 702524<br />
2 Shaft plugs 2 705525<br />
3 Shaft pin 1 702526<br />
4 Anchor pins 26 702527<br />
5 Axle locks 5 702813<br />
6 Washers 6 703242<br />
7 LED, red 1 704072<br />
8 3-hole rods 2 705015<br />
9 5-hole rods 4 704063<br />
10 Short rod 1 703233<br />
11 Long rods 4 703235<br />
12 5-hole frames 2 705016<br />
13 Small frames 2 703232<br />
14 Large frames 2 703239<br />
15 Small gear<br />
wheels (20 teeth) 3 702504<br />
16 Large gear<br />
wheels (60 teeth) 5 702506<br />
17 Short axle 1 703236<br />
18 Medium axle 1 703238<br />
19 Long axles 2 703234<br />
20 Anchor pin lever 1 702590<br />
21 Universal adapter<br />
w/ motor and axle 1 704068<br />
22 Tubing,<br />
2.5 mm ID by 120 cm 1 707144<br />
23 Red straw, 2 mm OD 1 703513<br />
24 Tubing,<br />
2 mm ID by 5 cm 1 707142<br />
25 Plastic sheet 1 707141<br />
26 <strong>Experiment</strong> book 1 707131<br />
Additional items needed: scissors, tape, large<br />
shallow basin, pitcher or watering can, two plastic<br />
bottles (1 L water or soda bottles), drinking glass,<br />
plate, and towels.<br />
We reserve the right to make technical changes.<br />
2<br />
5<br />
21<br />
7<br />
19<br />
20<br />
3<br />
1<br />
6<br />
4<br />
18<br />
2<br />
17<br />
14
13<br />
15<br />
22<br />
12<br />
11<br />
10<br />
23<br />
25<br />
9<br />
16<br />
24<br />
8<br />
Table of Contents<br />
A Word to Parents .............inside front cover<br />
Safety Information .............inside front cover<br />
Kit Contents ............................... 3<br />
The Story of Hydropower .................... 4<br />
Your First Water Wheel ...................... 6<br />
Hydropower Sawmill ........................ 8<br />
The Surface Tension of Water ............... 13<br />
Water Column ............................ 14<br />
Water Tower ............................. 15<br />
Communicating Vessels . . . . . . . . . . . . . . . . . . . . . 17<br />
Fountain ................................. 18<br />
Hammer Mill .............................. 21<br />
From Water to Electricity .................... 26<br />
Water Wheel with Generator ................ 27<br />
Power from the Sea ........................ 32<br />
Hydropower Quiz ....................back cover<br />
Building Projects<br />
Water Wheel .............................. 6<br />
Sawmill ................................... 8<br />
Water Tower .............................. 15<br />
Fountain ................................. 18<br />
Hammer Mill .............................. 21<br />
Water Wheel with Generator ................ 27<br />
Universal adapter<br />
(21) with LED (7):<br />
Attach the LED to the<br />
connection socket of<br />
the universal adapter<br />
with the two wires.<br />
The anchor pin lever (20)<br />
is for removing anchor<br />
pins (4).<br />
3
Hydropower Sawmill<br />
02 Workshop<br />
Sawmill<br />
8<br />
You will need:<br />
1 water inlet (plastic sheet)<br />
2 water wheel disks (plastic sheet)<br />
12 water wheel paddles (plastic sheet)<br />
1 plastic strip to make a ring (plastic sheet)<br />
4 large gear wheels (16)<br />
3 small gear wheels (15)<br />
1 long axle (19)<br />
1 medium axle (18)<br />
2 large frames (14)<br />
2 small frames (13)<br />
1 short rod (10)<br />
4 long rods (11)<br />
4 5-hole rods (9)<br />
2 3-hole rods (8)<br />
1 washer (6)<br />
2 shaft plugs (2)<br />
1 shaft pin (3)<br />
1 joint pin (1)<br />
19 anchor pins (4)<br />
Use tape to secure the two flaps on the long<br />
edge to the sides of the chute, and to secure<br />
the two flaps on the narrow edge to each<br />
other, as shown here.<br />
Tape<br />
Tape<br />
Separate the water inlet<br />
section from the plastic sheet.<br />
Form a chute out of the<br />
flat plastic section.<br />
Tape
b<br />
You can pull the<br />
assembled water<br />
wheel off the axle<br />
and stick it back<br />
on again. You<br />
may have<br />
to do this if<br />
the paddle<br />
direction is<br />
wrong.<br />
When removing the water wheel, press the two<br />
gear wheels tightly together so that the paddles<br />
don’t fall out. Then carefully remove the axle.<br />
Be careful not to twist the water wheel disks and<br />
gears, or to crush them.<br />
If the water wheel falls apart, you will have to<br />
reassemble it with the instructions on page 6.<br />
9