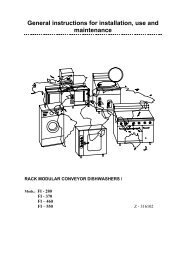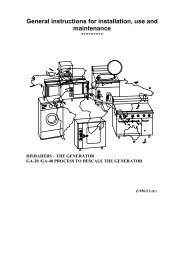
General instructions for installation, use and maintenance - fagor
General instructions for installation, use and maintenance - fagor
General instructions for installation, use and maintenance - fagor

You also want an ePaper? Increase the reach of your titles
YUMPU automatically turns print PDFs into web optimized ePapers that Google loves.
1.- INSTALLATION<br />
1.1.- Installation diagrams<br />
See Fig.1.<br />
1.2.- Positioning<br />
Level <strong>and</strong> adjust the height of the appliance. (Fig. 2)<br />
1.3.- Water connection<br />
To be done as shown in figures 3 <strong>and</strong> 4.<br />
Dynamic pressure necessary during rinsing: 2 - 4 Kg/cm 2 With mains pressures of less than 2 Kg/cm 2 ,<br />
install an electrical pressure pump. (Fig. 4).<br />
When the water hardness level is above 10º dF, a water softener should be installed.<br />
1.4.- Drainage<br />
a) Fix the drain hose as shown in Fig.5.<br />
b) Fit a siphon pipe to prevent bad smells.<br />
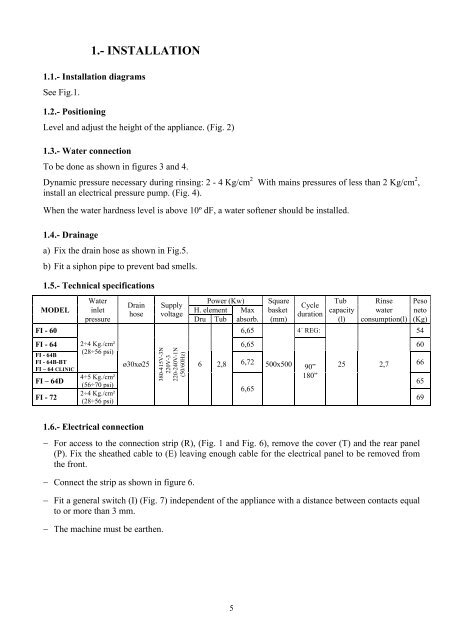
1.5.- Technical specifications<br />
MODEL<br />
Water<br />
inlet<br />
pressure<br />
Drain<br />
hose<br />
Supply<br />
voltage<br />
Power (Kw)<br />
H. element Max<br />
Dru Tub absorb.<br />
Square<br />
basket<br />
(mm)<br />
Cycle<br />
duration<br />
Tub<br />
capacity<br />
(l)<br />
Rinse<br />
water<br />
consumption(l)<br />
Peso<br />
neto<br />
(Kg)<br />
FI - 60 6,65 4´ REG: 54<br />
FI - 64 2÷4 Kg./cm²<br />
6,65 60<br />
(28÷56 psi)<br />
FI - 64B<br />
FI - 64B-BT<br />
ø30xø25<br />
6 2,8 6,72 500x500 66<br />
FI – 64 CLINIC<br />
90” 25 2,7<br />
4÷5 Kg./cm²<br />
180”<br />
FI – 64D<br />
65<br />
(56÷70 psi)<br />
6,65<br />
2÷4 Kg./cm²<br />
FI - 72<br />
69<br />
(28÷56 psi)<br />
1.6.- Electrical connection<br />
380-415V-3N<br />
220V-3<br />
220-240V-1N<br />
(50/60Hz)<br />
− For access to the connection strip (R), (Fig. 1 <strong>and</strong> Fig. 6), remove the cover (T) <strong>and</strong> the rear panel<br />
(P). Fix the sheathed cable to (E) leaving enough cable <strong>for</strong> the electrical panel to be removed from<br />
the front.<br />
− Connect the strip as shown in figure 6.<br />
− Fit a general switch (I) (Fig. 7) independent of the appliance with a distance between contacts equal<br />
to or more than 3 mm.<br />
− The machine must be earthen.<br />
5