Solar Rotation (CLEA)
Solar Rotation (CLEA)
Solar Rotation (CLEA)

You also want an ePaper? Increase the reach of your titles
YUMPU automatically turns print PDFs into web optimized ePapers that Google loves.
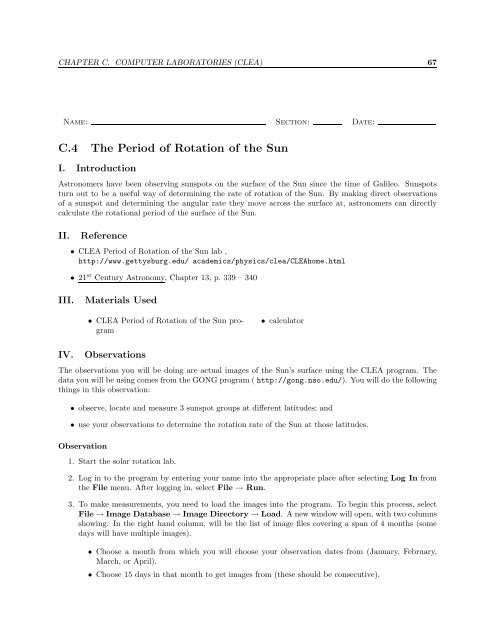
CHAPTER C. COMPUTER LABORATORIES (<strong>CLEA</strong>) 67<br />
Name: Section: Date:<br />
C.4 The Period of <strong>Rotation</strong> of the Sun<br />
I. Introduction<br />
Astronomers have been observing sunspots on the surface of the Sun since the time of Galileo. Sunspots<br />
turn out to be a useful way of determining the rate of rotation of the Sun. By making direct observations<br />
of a sunspot and determining the angular rate they move across the surface at, astronomers can directly<br />
calculate the rotational period of the surface of the Sun.<br />
II. Reference<br />
• <strong>CLEA</strong> Period of <strong>Rotation</strong> of the Sun lab ,<br />
http://www.gettysburg.edu/ academics/physics/clea/<strong>CLEA</strong>home.html<br />
• 21 st Century Astronomy, Chapter 13, p. 339 – 340<br />
III. Materials Used<br />
• <strong>CLEA</strong> Period of <strong>Rotation</strong> of the Sun program<br />
• calculator<br />
IV. Observations<br />
The observations you will be doing are actual images of the Sun’s surface using the <strong>CLEA</strong> program. The<br />
data you will be using comes from the GONG program ( http://gong.nso.edu/). You will do the following<br />
things in this observation:<br />
• observe, locate and measure 3 sunspot groups at different latitudes; and<br />
• use your observations to determine the rotation rate of the Sun at those latitudes.<br />
Observation<br />
1. Start the solar rotation lab.<br />
2. Log in to the program by entering your name into the appropriate place after selecting Log In from<br />
the File menu. After logging in, select File → Run.<br />
3. To make measurements, you need to load the images into the program. To begin this process, select<br />
File → Image Database → Image Directory → Load. A new window will open, with two columns<br />
showing. In the right hand column, will be the list of image files covering a span of 4 months (some<br />
days will have multiple images).<br />
• Choose a month from which you will choose your observation dates from (January, February,<br />
March, or April).<br />
• Choose 15 days in that month to get images from (these should be consecutive).
68 CHAPTER C. COMPUTER LABORATORIES (<strong>CLEA</strong>)<br />
• Select an image from each day (attempt to use the same observation time for each image, although<br />
this is not critical).<br />
• To load images, click on the image name so that it is highlighted, then right click the filename<br />
and choose Load. Loaded images will appear in the left hand column.<br />
4. Click on the first image in the left hand column. A new window should move to the front, showing the<br />
image for that day. In that window, select Animation → On. This will cycle through the images,<br />
giving you a slideshow of your selected images. You should see sunspots move from left to right across<br />
the Sun’s surface. After you’ve observed this, you can turn the animation off.<br />
5. Make sure that the displayed image is the first one by clicking on the first image in your list in the left<br />
hand column. You will now choose 3 sunspot groups to observe. Pick three different groups that lie at<br />
different latitudes on the Sun (remember latitude is the distance north or south of the equator). The<br />
sunspots you choose to measure should be anywhere from the center to the left hand side of the Sun.<br />
To measure the sunspots, use the procedure below.<br />
• Click on your first sunspot group. Two new windows should appear, one with a zoomed in view<br />
of the sunspot and a second for you to record the information in. In the window with the zoomed<br />
in view (titled “Locate Centroid”), use the scrollbars to center the cursor on the darkest portion<br />
of the sunspot.<br />
• In the blank field labeled “Spot ID” in the second window, type the letter “A.” When done, hit<br />
the Record button.<br />
• Repeat this for the 2 other sunspot groups you wish to observe, labeling them “B” and “C”<br />
respectively. Your image should now have 3 green squares, with labels, surrounding each of the 3<br />
sunspots you are observing.<br />
6. Click on the next image, repeating the above procedure for each sunspot, labeling appropriately.<br />
Repeat this process until you have measured the sunspots in all of your images, or until all 3 spots<br />
have disappeared around the edge of the Sun. Finally, before you quit this window, hit Finished.<br />
7. Please print your data file by first selecting, from the main window, File → Measurement Data →<br />
Save Data. Then select File → Measurement Data → View/Edit Data. A data window will<br />
appear; select List → Print to print your data.<br />
You will now analyze your data to determine the rotational period of the Sun. The computer will plot<br />
the data and you will use simple controls to obtain a best-fit line through your data points. The slope of<br />
this graph will be in degrees/day which you can use to determine the rotational period.<br />
1. In the main window, select Analysis → Plot/Fit Data.<br />
2. In analysis window, select File → Dataset → Load → Longitude Values. A new window will<br />
appear - double-click on the row for “A.” The data points will appear on the graph as well as a straight<br />
line. Beneath that in the center are some controls which can modify the slope and position of the line.<br />
To the left is a readout specifying how good of a fit the line is to the data (RMS) - the goal is to get<br />
that as close to zero as possible. To get the best fit use the following procedure.<br />
• Make sure that “coarse” adjustments are selected.<br />
• Adjust the sliders which control the position and slope of the line until the line gives a fairly good<br />
initial fit to the data.<br />
• Change “coarse” to “fine” to make the remaining adjustments.<br />
• While watching the error, adjust the slope and position such that the error is minimized (ie, you<br />
want a value for the RMS that is as small as possible).
CHAPTER C. COMPUTER LABORATORIES (<strong>CLEA</strong>) 69<br />
• When done, select File → Record results.<br />
• Right click on the “A” in the graph and choose Remove Dataset.<br />
3. Repeat this process for the data for sunspots “B” and “C.” Close the “<strong>Solar</strong> <strong>Rotation</strong> Analysis” window.<br />
4. In this window, select Analysis → Results list. Copy the information from that window into Table<br />
C.9.<br />
Table C.9: Data for observed sunspots<br />
Sunspot Mean latitude <strong>Rotation</strong> rate<br />
A<br />
B<br />
C<br />
V. Calculations<br />
You will now calculate the rotational period for the Sun. You will first calculate the rotational period of the<br />
Sun, as seen from Earth, using the rotation rate. This period is called the synodic period. Since the Earth is<br />
also moving around the Sun as it follows its orbit, the period calculated above is not the period that someone<br />
who is at rest with respect to the Sun would measure (like someone looking from another star). You will<br />
then calculate the rotational period of the Sun with respect to the stars (the sidereal period). Finally, you<br />
will see if there is a difference in rotational period at different latitudes.<br />
1. To calculate the synodic period, remember that in one rotation the Sun will rotate a full 360 ◦ and<br />
you have a rotation rate in degrees/day. Calculate the synodic period for each sunspot and fill in the<br />
appropriate spot in Table C.10<br />
2. To convert from synodic period (S) to sidereal period (P), use the equation below.<br />
P = S × 365.25<br />
S + 365.25<br />
Record the calculated sidereal periods in Table C.10.<br />
3. Do you notice any trends when comparing rotational periods to latitude from your observed sunspots?<br />
If so, describe the relationship between them.
70 CHAPTER C. COMPUTER LABORATORIES (<strong>CLEA</strong>)<br />
Table C.10: <strong>Rotation</strong>al periods for observed sunspots<br />
Sunspot Synodic Period (S) Sidereal Period (P)<br />
A<br />
B<br />
C