Ornament Box - Scor-Pal!
Ornament Box - Scor-Pal!
Ornament Box - Scor-Pal!

Create successful ePaper yourself
Turn your PDF publications into a flip-book with our unique Google optimized e-Paper software.
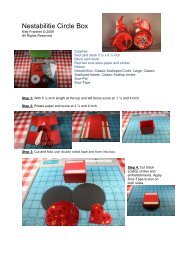
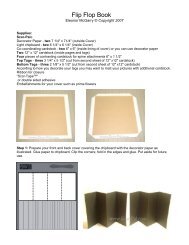
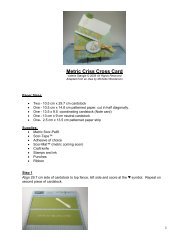
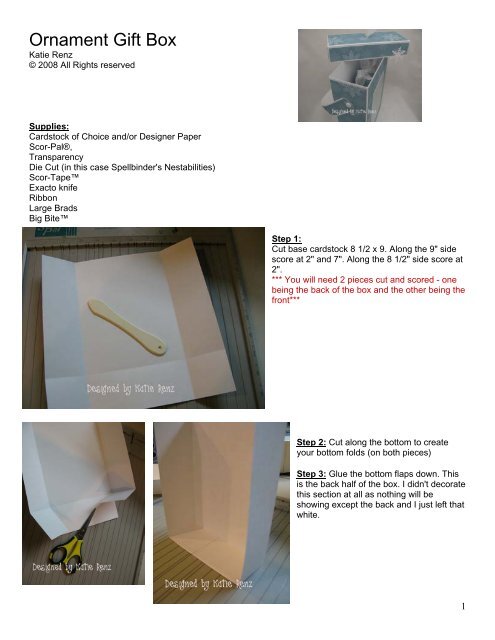
<strong>Ornament</strong> Gift <strong>Box</strong><br />
Katie Renz<br />
© 2008 All Rights reserved<br />
Supplies:<br />
Cardstock of Choice and/or Designer Paper<br />
<strong>Scor</strong>-<strong>Pal</strong>®,<br />
Transparency<br />
Die Cut (in this case Spellbinder's Nestabilities)<br />
<strong>Scor</strong>-Tape<br />
Exacto knife<br />
Ribbon<br />
Large Brads<br />
Big Bite<br />
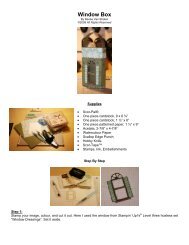
Step 1:<br />
Cut base cardstock 8 1/2 x 9. Along the 9" side<br />
score at 2" and 7". Along the 8 1/2" side score at<br />
2".<br />
*** You will need 2 pieces cut and scored - one<br />
being the back of the box and the other being the<br />
front***<br />
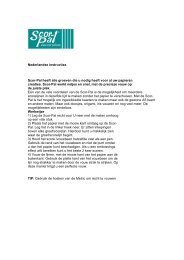
Step 2: Cut along the bottom to create<br />
your bottom folds (on both pieces)<br />
Step 3: Glue the bottom flaps down. This<br />
is the back half of the box. I didn't decorate<br />
this section at all as nothing will be<br />
showing except the back and I just left that<br />
white.<br />
1
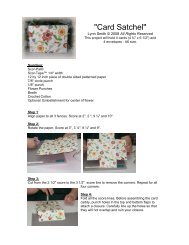
Step 4: Cut a piece of designer paper that measures 6 1/4" x 4 3/4". This will leave you a slight border around<br />
the paper.<br />
Place this piece of paper on your die cut machine and then center your die cut where you want your window.<br />
Step 5: Now place your designer paper with<br />
the cut out window over the front of the front<br />
half of the box. Center the next size smaller die<br />
in the cut window.<br />
***Fold the side flaps under so the whole thing<br />
will fit through the machine. It won't matter<br />
because you will have more designer paper on<br />
the sides***<br />
Step 6: Turn the front 1/2 of the box to the<br />
inside and attach a piece of transparency to<br />
the inside of the box.<br />
2
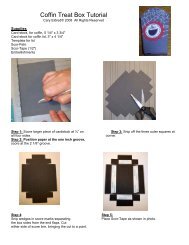
Step 7: Glue the bottom flaps together and then slide the back half<br />
into the front half and glue bottom and sides together.<br />
*** this example does not have the window cut out***<br />
Step 8: Cut a piece of cardstock 7 1/8" x 4 1/8" for the lid.<br />
<strong>Scor</strong>e 1" on all 4 sides and cut on score marks on 2 opposite<br />
sides.<br />
Step 9: Cut designer paper to fit the top (4 7/8"<br />
x 1 7/8"), front (4 7/8" x 7/8"), and the sides<br />
(1 7/8" x 7/8")<br />
Glue flaps on inside.<br />
3
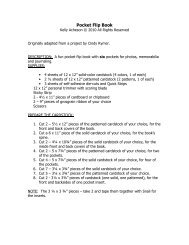
Step 10: Flip top over and cut a slit in the center of the lid. This<br />
is where the ribbon will be inserted.<br />
Step 11: Fold<br />
ribbon in 1/2<br />
and insert the<br />
folded section<br />
through the<br />
slit and adjust<br />
to desired<br />
loop length.<br />
Use the tails that are hanging on the inside to loosely tie the hanger from the ornament. It will stay in place<br />
perfectly because the ornament weighs nothing.<br />
Here is another picture of the box with top and ornament.<br />
Handle for box:<br />
4
Strip of cardstock 1" x 12"<br />
Designer Paper 3/4" x 12"<br />
Round the ends with a corner rounder.<br />
Punch a hole in each handle. Mark<br />
the placement on the sides of the<br />
box. Make sure that placement is<br />
done with the lid on. Mark with<br />
some sort of marker.<br />
You can use a paper piercer, but<br />
be careful. Use a Cropadile Big<br />
Bite because all the hand held<br />
ones do not go deep enough.<br />
Attach with large brads.<br />
To make the gorgeous ornament go to<br />
http://katiespaperhaven.blogspot.com/2008/11/its-christmas-in-limelight.html<br />
5