

Chapter 1. Getting Started - Kodak
Chapter 1. Getting Started - Kodak
Chapter 1. Getting Started - Kodak

You also want an ePaper? Increase the reach of your titles
YUMPU automatically turns print PDFs into web optimized ePapers that Google loves.
<strong>Chapter</strong> 2. Proofing Job Files<br />
Defining the RIP Setup<br />
Table 2.1<br />
Logical RIP ID assignments for the default process color<br />
RIP configuration<br />
RIP Color Logical RIP ID Number<br />
6 Black 6<br />
7 Yellow 7<br />
8 Yellow 8<br />
The logical RIP ID numbers for the first process color RIP would be<br />
entered in the text box as 1, 3, 7, and 5. The logical RIP ID numbers<br />
for the second process color RIP would be entered in the text box as<br />
2, 4, 8, and 6.<br />
5. For each printhead that is assigned to the RIP, enter the position of<br />
the RIP, as measured from the upper-left corner of the web, in the<br />
Printhead position (X,Y) text boxes. Enter the horizontal position in<br />
the left text box and the vertical position in the right text box.<br />
6. Click OK. The RIP information appears in the RIPs section of the<br />
Proof Setup palette.<br />
7. Repeat steps 1 through 5 for each RIP used in the job.<br />
Using the Default RIP Setup<br />
When you check Ignore IJQ file on opening in the Proof Setup palette,<br />
the software uses the default RIP setup defined in the Preferences dialog.<br />
(See <strong>Chapter</strong> 1 for details on defining default settings.)<br />
Using the RIP Setup from an Existing IJQ File<br />
Use the following steps to import the RIP setup information from an<br />
existing IJQ file:<br />
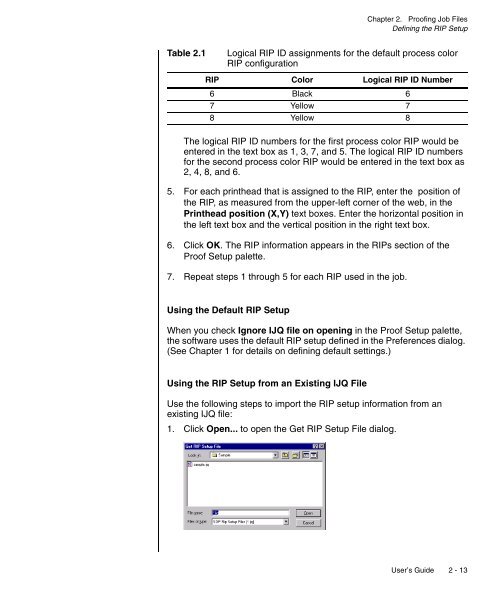
<strong>1.</strong> Click Open... to open the Get RIP Setup File dialog.<br />
User’s Guide 2 - 13


