17 Strand double braid lanyard reverse pattern ... - Charles HAMEL
17 Strand double braid lanyard reverse pattern ... - Charles HAMEL
17 Strand double braid lanyard reverse pattern ... - Charles HAMEL

Create successful ePaper yourself
Turn your PDF publications into a flip-book with our unique Google optimized e-Paper software.
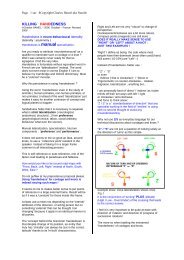
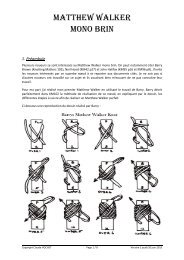
<strong>17</strong> <strong>Strand</strong> <strong>double</strong> <strong>braid</strong> <strong>lanyard</strong> <strong>reverse</strong> <strong>pattern</strong> joints<br />
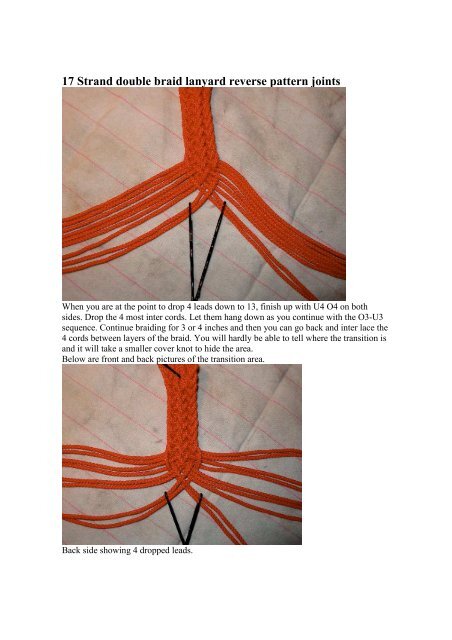
When you are at the point to drop 4 leads down to 13, finish up with U4 O4 on both<br />
sides. Drop the 4 most inter cords. Let them hang down as you continue with the O3-U3<br />
sequence. Continue <strong>braid</strong>ing for 3 or 4 inches and then you can go back and inter lace the<br />
4 cords between layers of the <strong>braid</strong>. You will hardly be able to tell where the transition is<br />
and it will take a smaller cover knot to hide the area.<br />
Below are front and back pictures of the transition area.<br />
Back side showing 4 dropped leads.
Front showing continuation with O3-U3 sequence.<br />
Back showing continuation with O3-U3 sequence.
Front of <strong>braid</strong> continued for 2 inches<br />
Back side showing 4 dropped leads tucked before cutting off.
Middle section of <strong>lanyard</strong> showing reversing of <strong>braid</strong>. (front side)<br />
Middle section of <strong>lanyard</strong> showing reversing of <strong>braid</strong>. (back side)<br />
When starting the <strong>17</strong> strand <strong>braid</strong> I always use a “hair pin” or “bobby pin” to mark off<br />
and hold the two groups of cords flat and to separate them. Instead of starting the <strong>braid</strong> at<br />
the mid point, I always start about 1 to 2 inches before the middle.
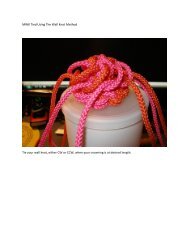
After you have reached the desired length of <strong>braid</strong> continue for about the same distance<br />
as you started early on the middle, this gives you some <strong>braid</strong> to undo on the started end.<br />
When you undo this area be sure to remove the cords in sequence. That is 1 at a time<br />
from each side and try to keep them in order alternating from 9 on the left and 8on the<br />
right each time until you reach the mid point. At this time you Just start your normal O4-<br />
U4 sequence. Depending where you stop un<strong>braid</strong>ing will determine if you start your <strong>braid</strong><br />
with O4-U4 or U4-O4 sequence. You only have two choices so you will know right away<br />
if not started in the right sequence. You will have an x on each side of the where you start<br />
the <strong>reverse</strong> <strong>braid</strong>ing instead of the normal chevron <strong>pattern</strong>. This has to be there as you are<br />
indeed reversing the order. The main problem I found was keeping the stands in<br />
sequential order as you will have half of the cords coming from the top side of the <strong>braid</strong><br />
and half from the bottom side of the <strong>braid</strong> in an alternating sequence of top bottom top<br />
bottom. Its easier than it sounds but can be done with out to much of a problem. Give it a<br />
try once and you will see<br />
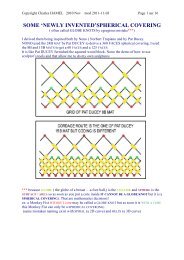
Middle joint of the two 13 strand sides see next page
Middle joint of the two 13 strand sides<br />
Picture one<br />
Picture two<br />
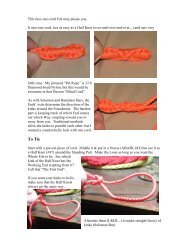
The Joint was made by interweaving the two 13 strands. You finish the 13<br />
<strong>braid</strong> strand with the left side with 7 stands on the left and 6 strands on the right<br />
side and the right hand side just the opposite: 6 strands on the left and 7 strands<br />
on the right. Now you place the two sides together edge to edge. Over one under<br />
one the 6 strands from the right with the 7 strands from the left side where they<br />
cross, this is all the interweave that is needed. This leaves you with 13 strands
on each side. Drop the middle strand on the right side and begin your over 6<br />
under 6 <strong>braid</strong>.<br />
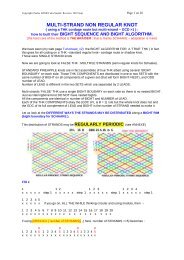
It works out just fine as you will see after about an inch and all strands have<br />
made one pass. This is a little harder to maintain the same tension through out<br />
the <strong>braid</strong>ing so watch it carefully. Braid as long as you want and the do the rest<br />
as desired. I Split the 25 leads into three 8 strand groups and made 3 separate<br />
leads and loops. Choice is yours. Braiding in this manner has allowed me to use<br />
the same cover knot on all joints and transitions for a much easier and neater<br />
looking project.<br />
DON B. WRIGHT