13607: Navistar UnderPro Siren Speaker - Whelen Engineering
13607: Navistar UnderPro Siren Speaker - Whelen Engineering
13607: Navistar UnderPro Siren Speaker - Whelen Engineering

Create successful ePaper yourself
Turn your PDF publications into a flip-book with our unique Google optimized e-Paper software.
®<br />
ENGINEERING COMPANY INC.<br />
51 Winthrop Road<br />
Chester, Connecticut 06412-0684<br />
Phone: (860) 526-9504<br />
Fax: (860) 526-4078<br />
Internet: www.whelen.com<br />
Sales e-mail: autosale@whelen.com<br />
Canadian Sales e-mail: autocan@whelen.com<br />
Customer Service e-mail: custserv@whelen.com<br />
Installation Guide:<br />
<strong>Navistar</strong> Underpro <strong>Siren</strong><br />
Automotive: <strong>Siren</strong>s/Switches<br />
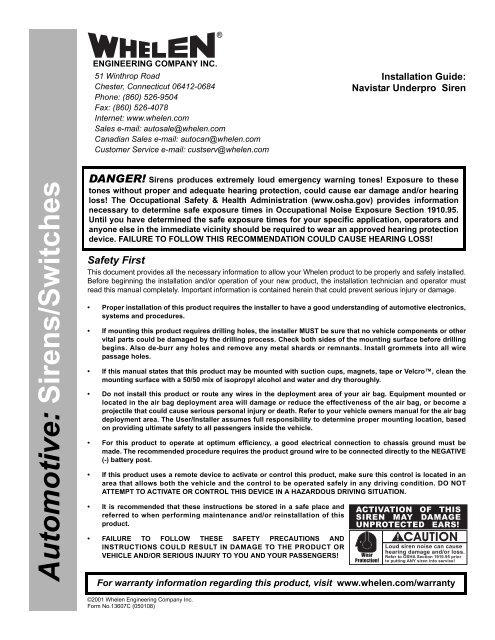
DANGER! <strong>Siren</strong>s produces extremely loud emergency warning tones! Exposure to these<br />
tones without proper and adequate hearing protection, could cause ear damage and/or hearing<br />
loss! The Occupational Safety & Health Administration (www.osha.gov) provides information<br />
necessary to determine safe exposure times in Occupational Noise Exposure Section 1910.95.<br />
Until you have determined the safe exposure times for your specific application, operators and<br />
anyone else in the immediate vicinity should be required to wear an approved hearing protection<br />
device. FAILURE TO FOLLOW THIS RECOMMENDATION COULD CAUSE HEARING LOSS!<br />
Safety First<br />
This document provides all the necessary information to allow your <strong>Whelen</strong> product to be properly and safely installed.<br />
Before beginning the installation and/or operation of your new product, the installation technician and operator must<br />
read this manual completely. Important information is contained herein that could prevent serious injury or damage.<br />
• Proper installation of this product requires the installer to have a good understanding of automotive electronics,<br />
systems and procedures.<br />
• If mounting this product requires drilling holes, the installer MUST be sure that no vehicle components or other<br />
vital parts could be damaged by the drilling process. Check both sides of the mounting surface before drilling<br />
begins. Also de-burr any holes and remove any metal shards or remnants. Install grommets into all wire<br />
passage holes.<br />
• If this manual states that this product may be mounted with suction cups, magnets, tape or Velcro, clean the<br />
mounting surface with a 50/50 mix of isopropyl alcohol and water and dry thoroughly.<br />
• Do not install this product or route any wires in the deployment area of your air bag. Equipment mounted or<br />
located in the air bag deployment area will damage or reduce the effectiveness of the air bag, or become a<br />
projectile that could cause serious personal injury or death. Refer to your vehicle owners manual for the air bag<br />
deployment area. The User/Installer assumes full responsibility to determine proper mounting location, based<br />
on providing ultimate safety to all passengers inside the vehicle.<br />
• For this product to operate at optimum efficiency, a good electrical connection to chassis ground must be<br />
made. The recommended procedure requires the product ground wire to be connected directly to the NEGATIVE<br />
(-) battery post.<br />
• If this product uses a remote device to activate or control this product, make sure this control is located in an<br />
area that allows both the vehicle and the control to be operated safely in any driving condition. DO NOT<br />
ATTEMPT TO ACTIVATE OR CONTROL THIS DEVICE IN A HAZARDOUS DRIVING SITUATION.<br />
• It is recommended that these instructions be stored in a safe place and<br />
referred to when performing maintenance and/or reinstallation of this<br />
product.<br />
• FAILURE TO FOLLOW THESE SAFETY PRECAUTIONS AND<br />
INSTRUCTIONS COULD RESULT IN DAMAGE TO THE PRODUCT OR<br />
VEHICLE AND/OR SERIOUS INJURY TO YOU AND YOUR PASSENGERS!<br />
ACTIVATION OF THIS<br />
SIREN MAY DAMAGE<br />
UNPROTECTED EARS!<br />
Wear<br />
Protection!<br />
CAUTION<br />
Loud siren noise can cause<br />
hearing damage and/or loss.<br />
Refer to OSHA Section 1910.95 prior<br />
to putting ANY siren into service!<br />
For warranty information regarding this product, visit www.whelen.com/warranty<br />
©2001 <strong>Whelen</strong> <strong>Engineering</strong> Company Inc.<br />
Form No.<strong>13607</strong>C (050108)<br />
Page 1
Installation<br />
1. Determine whether the Underpro is to be mounted on<br />
the passenger or driver side of the vehicle bumper.<br />
Note:<br />
An Underpro can be made to fit either the<br />
passenger- or driver-side by removing and<br />
inverting (flipping) the mounting bracket.<br />
2. Align mounting bracket with bumper holes as shown.<br />
Secure the assembly firmly to the bumper using the<br />
hardware provided.<br />
3. Extend the siren wires to your siren amplifier and<br />
connect as per its instructions..<br />
<strong>Navistar</strong> Mounting Bracket<br />
P/N 07-283615-023<br />
100W Driver<br />
P/N 43-0263147-00<br />
Driver Mount Spacer<br />
P/N 20-0042800-00<br />
3/8-16<br />
Elastic Stop Nut<br />
<strong>Navistar</strong> Underpro Assembly<br />
Driver Side - 01-0883699-00<br />
3/8” Flat Washer<br />
Adhesive Backed Gasket<br />
P/N 38-0222065-00<br />
3/8-16x1¼“<br />
Hex Bolt<br />
Underpro Horn<br />
P/N 11-583670-002<br />
¼” Internal Tooth<br />
Lock Washer<br />
¼ - 20 x 1” Socket Head<br />
SS Bolt<br />
<strong>Navistar</strong> Underpro Assembly<br />
Passenger Side - 01-0883699-01<br />
Page 2