Inlay Box Workshop - Cindy Drozda
Inlay Box Workshop - Cindy Drozda
Inlay Box Workshop - Cindy Drozda

Create successful ePaper yourself
Turn your PDF publications into a flip-book with our unique Google optimized e-Paper software.
<strong>Cindy</strong> <strong>Drozda</strong><br />
4<br />
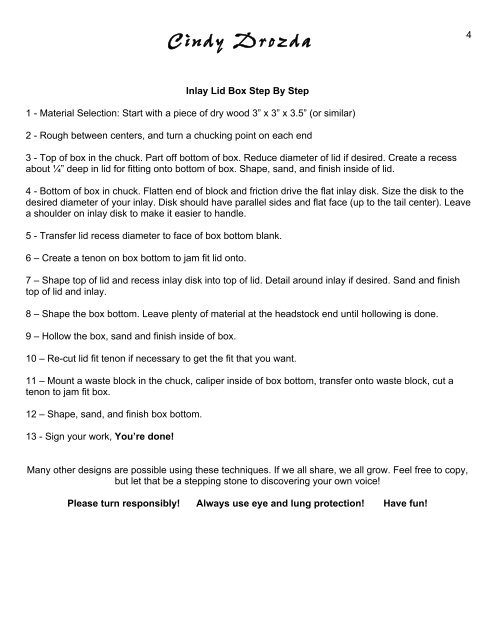
<strong>Inlay</strong> Lid <strong>Box</strong> Step By Step<br />
1 - Material Selection: Start with a piece of dry wood 3” x 3” x 3.5” (or similar)<br />
2 - Rough between centers, and turn a chucking point on each end<br />
3 - Top of box in the chuck. Part off bottom of box. Reduce diameter of lid if desired. Create a recess<br />
about ¼” deep in lid for fitting onto bottom of box. Shape, sand, and finish inside of lid.<br />
4 - Bottom of box in chuck. Flatten end of block and friction drive the flat inlay disk. Size the disk to the<br />
desired diameter of your inlay. Disk should have parallel sides and flat face (up to the tail center). Leave<br />
a shoulder on inlay disk to make it easier to handle.<br />
5 - Transfer lid recess diameter to face of box bottom blank.<br />
6 – Create a tenon on box bottom to jam fit lid onto.<br />
7 – Shape top of lid and recess inlay disk into top of lid. Detail around inlay if desired. Sand and finish<br />
top of lid and inlay.<br />
8 – Shape the box bottom. Leave plenty of material at the headstock end until hollowing is done.<br />
9 – Hollow the box, sand and finish inside of box.<br />
10 – Re-cut lid fit tenon if necessary to get the fit that you want.<br />
11 – Mount a waste block in the chuck, caliper inside of box bottom, transfer onto waste block, cut a<br />
tenon to jam fit box.<br />
12 – Shape, sand, and finish box bottom.<br />
13 - Sign your work, You’re done!<br />
Many other designs are possible using these techniques. If we all share, we all grow. Feel free to copy,<br />
but let that be a stepping stone to discovering your own voice!<br />
Please turn responsibly! Always use eye and lung protection! Have fun!