PROFESSIONAL WINDSHIELD REPAIR KIT - Wurth USA
PROFESSIONAL WINDSHIELD REPAIR KIT - Wurth USA
PROFESSIONAL WINDSHIELD REPAIR KIT - Wurth USA

You also want an ePaper? Increase the reach of your titles
YUMPU automatically turns print PDFs into web optimized ePapers that Google loves.
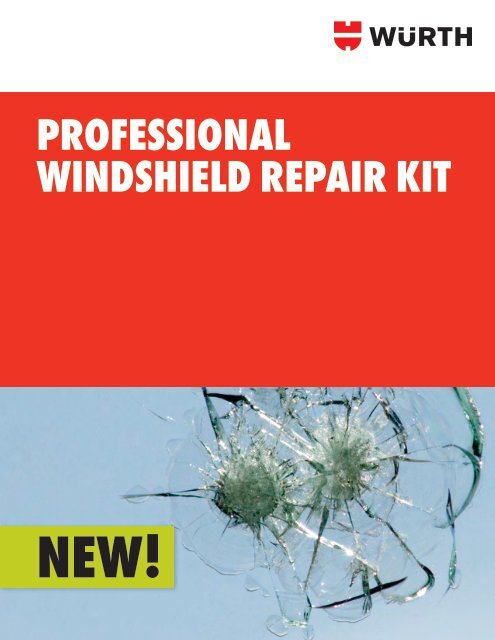
<strong>PROFESSIONAL</strong><br />
<strong>WINDSHIELD</strong> <strong>REPAIR</strong> <strong>KIT</strong><br />
© 2011 WURTH <strong>USA</strong>, Inc. Revision 03/2011_RefrigerantMgmtSystem<br />
NEW!
<strong>PROFESSIONAL</strong> <strong>WINDSHIELD</strong> <strong>REPAIR</strong> <strong>KIT</strong><br />
Features<br />
• Double-sided case holds all tools,<br />
equipment and supplies<br />
• Easy plunger automatic injector<br />
system<br />
• Bridge assembly adjusts vertically<br />
and horizontally<br />
• Special vaccum cup keeps the<br />
injector tightly fitted to the glass<br />
• Includes training video<br />
• One-shot repair resins<br />
• Each kit is ready to make 20<br />
repairs<br />
© 2012 WURTH <strong>USA</strong>, Inc. Revision 10/2012_WindsheildRepairKit<br />
Description Art. #<br />
Windshield Repair Kit 19645005<br />
Premium Windshield Repair Kit (shown above) 19645006<br />
Replacement Items<br />
Description Art. #<br />
Ultra Violet 12V. Lamp 0891634430<br />
Cleaning Jar - 6 oz 0891634435<br />
Dust Blower 0891634436<br />
Chip Savers - 100 Pack 0891634437<br />
Bridge Assmembly Complete 0891634450<br />
Inspection Mirror 071535795<br />
Injector Seals - 5 Pack 0891634438<br />
Scribe Steel Point 071470150<br />
Curing Tabs - 100 Pack 0891634423<br />
Nylon Stick 0891634431<br />
Centering Tool 0891634441<br />
Ultra Violet Shield 0891634440<br />
Replacement Chemicals<br />
Description Art. #<br />
Windshield Repair Resin (one shot) - 5 pack 0891634420<br />
Premium Pit Resin 0891634422<br />
Premium Pit Polish 08930000<br />
Suitable for<br />
• Laminated automotive glass<br />
• Vertical repairs<br />
• Edge Repair<br />
• Curved glass<br />
• For the repair of bull’s-eyes, star<br />
breaks, cracks and combination<br />
breaks in laminated automotive<br />
glass<br />
Uses<br />
• Buses<br />
• Trucks<br />
• Automotive<br />
• Fleet Vehicles<br />
• Commercial Applications -<br />
Store Front Windows<br />
• Industrial Doorways
BEFORE<br />
AFTER<br />
© 2012 WURTH <strong>USA</strong>, Inc. Revision 10/2012_WindsheildRepairKit
HOW TO...<br />
2. The inspection mirror magnifies the break 3x.<br />
1. Inspect the break<br />
Glass temperature must be between +70˚F and + 100˚F<br />
3. Clean the impact point or pit with a steel<br />
probe. This dislodges any loose glass particles.<br />
© 2012 WURTH <strong>USA</strong>, Inc. Revision 10/2012_WindsheildRepairKit<br />
4. Blow any dust particles free to insure the pit<br />
is clean.<br />
5. Ensure that the bridge is centered in the<br />
adjusting slot. Back off the leveling screws and<br />
injector barrel so the bridge firmly affixes to the<br />
windshield without interference.<br />
< 7. Screw down the leveling screws until they<br />
just touch the glass.<br />
> 8. Screw down the injector barrel until it just<br />
touches the glass. Advance the leveling screws 2<br />
full turns. Then advance the injector barrel 1/2<br />
turn more. Remove injection plunger from tube.<br />
6. Push the flip lever down to lock the bridge<br />
in place. Center the injector barrel over the pit.<br />
Make any adjustments necessary by loosening<br />
the adjusting nut.
10. Make sure you get the resin to the bottom of<br />
the injector barrel. The white end seal must be<br />
filled with resin for a successful repair.<br />
9. Load the injector with 1 syringe of fill resin.<br />
11. Put the injector plunger in the vacuum<br />
position. Pull back on the knob, rotate 1/4 turn<br />
clockwise, and lock in place. Ensure that the<br />
piston is retracted.<br />
12. Screw injector plunger until it stops. DO<br />
NOT over tighten.<br />
13. Begin your first pressure cycle. Hold barrel<br />
with off hand, pull back on plunger with other<br />
hand, rotate 1/4 turn clockwise, and gently<br />
lower into place.<br />
© 2012 WURTH <strong>USA</strong>, Inc. Revision 10/2012_WindsheildRepairKit<br />
Basic Cycles to Complete a Repair<br />
1. First pressure cycle: 5 minues<br />
2. First vacuum cycle: 30 seconds<br />
3: Second pressure cycle: 2 minutes<br />
4. Second vacuum cycle: 30 seconds<br />
5. Third pressure cycle: 2 minutes<br />
Always end on a pressure cycle.<br />
Most repairs will require between 2 and 4 total cycles to remove<br />
all air. The process is completed when no air remains in the<br />
break.<br />
14. Apply a slight amount of pressure to the injector plunger. The<br />
plunger should not move more than 1/16” down. DO NOT bottom<br />
out the plunger as this could crack the windshield.<br />
Leave in first pressure cycle for 5 minutes.<br />
15. First 30 second vacuum cycle. Hold barrel with off hand, pull<br />
back with other hand, rotate 1/4 turn clockwise and lock into place.
16. Flip locking lever up to release vacuum<br />
cup. Gently pry vacuum cup from glass to break<br />
suction. DO NOT pull on bridge as this may<br />
damage the vacuum cup and/or windshield.<br />
17. Apply a drop of pit resin just below the pit.<br />
Squeeze the resin out slowly and make sure there<br />
are no air bubbles. Use a straight pin to pop any<br />
air bubbles.<br />
18. Gently lay the curing tab in place. Do not<br />
push on the tab as this can force resin out of the<br />
pit. The goal is to have a dome of resin over the<br />
pit which will be scraped flush.<br />
< 19. Place UV light over break and leave for<br />
5 minutes. Then break suction by gently lifting<br />
edges of suction cups. There are small tabs on<br />
each suction cup for this purpose.<br />
20. Hold new razor at a 90˚ angle and scrape<br />
resin flush. Use firm, long, fast strokes.<br />
DO NOT stop over the pit area as this<br />
can pop the resin cap from the filled pit.<br />
© 2012 WURTH <strong>USA</strong>, Inc. Revision 10/2012_WindsheildRepairKit<br />
Crack after removal of pit resin and curing tab but before polishing resin
21. Apply a drop of pit polish to shine the<br />
finished pit. Use a razor cover to polish the pit.<br />
You may also use a rag, towel or cork to polish<br />
the pit.<br />
Wipe clean.<br />
© 2012 WURTH <strong>USA</strong>, Inc. Revision 10/2012_WindsheildRepairKit<br />
22. The finished repair is flush and has no air remaining in the break. A repaired chip will not disappear but will leave a small scar.
<strong>PROFESSIONAL</strong> WINDSHEILD<br />
<strong>REPAIR</strong> <strong>KIT</strong><br />
WURTH <strong>USA</strong> Inc.<br />
93 Grant Street<br />
Ramsey, NJ 07446<br />
1-800 WURTH <strong>USA</strong> (987-8487)<br />
www.wurthusa.com<br />
© WURTH <strong>USA</strong> Inc. 2012<br />
Printed in New Jersey<br />
The information enclosed is privileged and confidential property of<br />
WURTH <strong>USA</strong>, Inc. Any dissemination, distribution or copying of this communication<br />
is strictly prohibited.<br />
© 2011 WURTH <strong>USA</strong>, Inc. Revision 03/2011_RefrigerantMgmtSystem