Create successful ePaper yourself
Turn your PDF publications into a flip-book with our unique Google optimized e-Paper software.
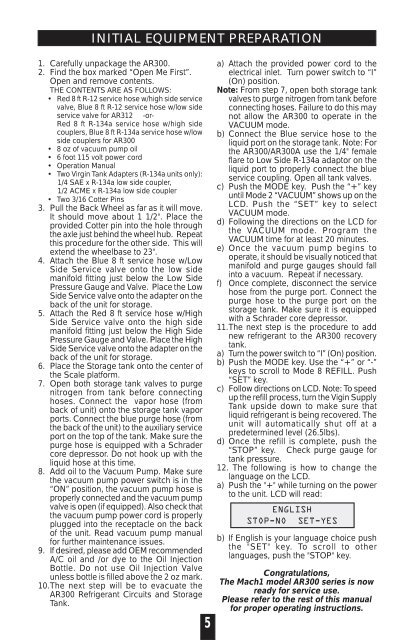
INITIAL EQUIPMENT PREPARATION1. Carefully unpackage the AR300.2. Find the box marked “Open Me First”.Open and remove contents.THE CONTENTS ARE AS FOLLOWS:• Red 8 ft R-12 service hose w/high side servicevalve, Blue 8 ft R-12 service hose w/low sideservice valve for AR312 -or-Red 8 ft R-134a service hose w/high sidecouplers, Blue 8 ft R-134a service hose w/lowside couplers for AR300• 8 oz of vacuum pump oil• 6 foot 115 volt power cord• Operation Manual• Two Virgin Tank Adapters (R-134a units only):1/4 SAE x R-134a low side coupler,1/2 ACME x R-134a low side coupler• Two 3/16 Cotter Pins3. Pull the Back Wheel as far as it will move.It should move about 1 1/2". Place theprovided Cotter pin into the hole throughthe axle just behind the wheel hub. Repeatthis procedure for the other side. This willextend the wheelbase to 23".4. Attach the Blue 8 ft service hose w/LowSide Service valve onto the low sidemanifold fitting just below the Low SidePressure Gauge and Valve. Place the LowSide Service valve onto the adapter on theback of the unit for storage.5. Attach the Red 8 ft service hose w/HighSide Service valve onto the high sidemanifold fitting just below the High SidePressure Gauge and Valve. Place the HighSide Service valve onto the adapter on theback of the unit for storage.6. Place the Storage tank onto the center ofthe Scale platform.7. Open both storage tank valves to purgenitrogen from tank before connectinghoses. Connect the vapor hose (fromback of unit) onto the storage tank vaporports. Connect the blue purge hose (fromthe back of the unit) to the auxiliary serviceport on the top of the tank. Make sure thepurge hose is equipped with a Schradercore depressor. Do not hook up with theliquid hose at this time.8. Add oil to the Vacuum Pump. Make surethe vacuum pump power switch is in the“ON” position, the vacuum pump hose isproperly connected and the vacuum pumpvalve is open (if equipped). Also check thatthe vacuum pump power cord is properlyplugged into the receptacle on the backof the unit. Read vacuum pump manualfor further maintenance issues.9. If desired, please add OEM recommendedA/C oil and /or dye to the Oil InjectionBottle. Do not use Oil Injection Valveunless bottle is filled above the 2 oz mark.10.The next step will be to evacuate theAR300 Refrigerant Circuits and StorageTank.5a) Attach the provided power cord to theelectrical inlet. Turn power switch to “I”(On) position.Note: From step 7, open both storage tankvalves to purge nitrogen from tank beforeconnecting hoses. Failure to do this maynot allow the AR300 to operate in theVACUUM mode.b) Connect the Blue service hose to theliquid port on the storage tank. Note: Forthe AR300/AR300A use the 1/4" femaleflare to Low Side R-134a adaptor on theliquid port to properly connect the blueservice coupling. Open all tank valves.c) Push the MODE key. Push the “+” keyuntil Mode 2 “VACUUM” shows up on theLCD. Push the “SET” key to selectVACUUM mode.d) Following the directions on the LCD forthe VACUUM mode. Program theVACUUM time for at least 20 minutes.e) Once the vacuum pump begins tooperate, it should be visually noticed thatmanifold and purge gauges should fallinto a vacuum. Repeat if necessary.f) Once complete, disconnect the servicehose from the purge port. Connect thepurge hose to the purge port on thestorage tank. Make sure it is equippedwith a Schrader core depressor.11.The next step is the procedure to addnew refrigerant to the AR300 recoverytank.a) Turn the power switch to “I” (On) position.b) Push the MODE key. Use the “+” or “-”keys to scroll to Mode 8 REFILL. Push“SET” key.c) Follow directions on LCD. Note: To speedup the refill process, turn the Vigin SupplyTank upside down to make sure thatliquid refrigerant is being recovered. Theunit will automatically shut off at apredetermined level (26.5lbs).d) Once the refill is complete, push the“STOP” key. Check purge gauge fortank pressure.12. The following is how to change thelanguage on the LCD.a) Push the "+" while turning on the powerto the unit. LCD will read:ENGLISHSTOP-NO SET-YESb) If English is your language choice pushthe "SET" key. To scroll to otherlanguages, push the "STOP" key.Congratulations,The Mach1 model AR300 series is nowready for service use.Please refer to the rest of this manualfor proper operating instructions.


