Download installation guide
Download installation guide
Download installation guide
- No tags were found...

Create successful ePaper yourself
Turn your PDF publications into a flip-book with our unique Google optimized e-Paper software.
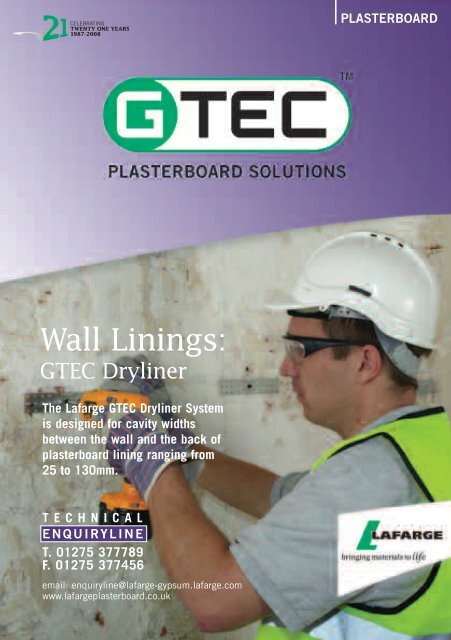
PLASTERBOARDWall Linings:GTEC DrylinerThe Lafarge GTEC Dryliner Systemis designed for cavity widthsbetween the wall and the back ofplasterboard lining ranging from25 to 130mm.TECHNICALENQUIRYLINET. 01275 377789F. 01275 377456email: enquiryline@lafarge-gypsum.lafarge.comwww.lafargeplasterboard.co.uk
INSTALLATION1 Fix GTEC Dryliner Track RD9 at 600mm centresto the floor using suitable fixings. Allow forrequired cavity width(25mm to 130mm).Note: If applying GTEC Dryliner Track directlyto new concrete, the concrete must be dryand a damp-proof membrane must be used.On uneven floors a timber sole plate may berequired.Note: Ensure that thelarge flange of both GTECDryliner Tracks is on theplasterboard side.2Fix GTEC Dryliner Track to ceiling with a suitablefixing, ensuring GTEC Dryliner Track at ceiling isplumb with that on the floor.For 12.5mm plasterboard mark vertical lines at600mm horizontal centres on the wall to locateGTEC Dryliner Channels RD1. For other boardthicknesses or for thermalcheck boards contactEnquiryline. Mark lines 50mm from externalcorners. At internal corners allow for width ofabutting wall lining and framing.3Starting at centre of wall height, position GTECDryliner SR Brackets RD2 directly to wall atmaximum 800mm vertical centres on themarked lines. Secure each bracket to wallwith a suitable fixing through the horizontal slot.Fold out the toothed wings of each bracket toform legs.
4Cut each GTEC Dryliner Channel RD1 5mmshorter than the floor to ceiling height. Locatethe GTEC Dryliner Channel RD1 into GTECDryliner Track at floor and ceiling.Where wall height exceedschannel length, connecttwo lengths of channeltogether with GTEC DrylinerChannel Connector RD3.5Ensure the channel is plumb, and secure toeach bracket leg using GTEC Pan Head SelfTapping screws. Where necessary bend backthe legs of the bracket so they do not protrudepast the face of the channel.6Cut the plasterboard 5mm shorter than thefloor-to-ceiling height, butt the board firmlyagainst ceiling and fix the plasterboards tothe framing with GTEC Self Tapping screwsat 300mm centres.Butt the plasterboard edges lightly againsteach other and centre the edges over thechannels. Where the height of the lining isgreater than the plasterboard length, useGTEC Fixing Channel to support the horizontalcut edges of the plasterboards.IG/WLD/0308/CD
Lafarge GTEC:Dryliner SystemComponentsLafargecodeDimensionsThe Lafarge GTEC Dryliner System issuitable for drylining both new andexisting uneven masonry backgroundsand for the concealment of services.It is simple, quick, cost effective andcompletely dry. Suitable for internaluse in all commercial and domesticapplications.GTEC DrylinerChannelGTEC Dryliner SR &XR BracketRD1RD2RD112400mm3000mm25-60mm25-130mmApplications• For cavity width between wall and backof plasterboard lining ranging from 25to 130mm.• Lining masonry walls which have surfacefixed services.• Lining walls which are uneven.GTEC Dryliner SR &XR Bracket*GTEC DrylinerTrackRD3RD9100mm3000mmBenefits• A completely dry system using securemechanical fixings.• Surface-mounted services can easilybe accommodated.• Mineral wool can be incorporatedwithin the cavity for thermal oracoustic insulation.• Suitable for fixing all types ofplasterboard.Good Site Practice• Walls must be treated for any dampbefore <strong>installation</strong>.• Secure fixing into existing backgroundis essential when installing this system.GTEC MetalAngleGTEC Pan Head SelfTapping screwsGTEC Self Tappingscrews**GTEC Wafer HeadSelf TappingscrewsGTEC BoardMFC233011PHST500various**14WHST500See GTECProductSelectorInstallationGuide fordetails.3600mm11mmrangingfrom25 to 86mm14mmvarious*Use to connect channels together when wall lining height isgreater than the channel length.**See GTEC Fixings Selector Installation Guide for details.