Time Matters Version 11 Upgrade Checklist - LexisNexis Support ...
Time Matters Version 11 Upgrade Checklist - LexisNexis Support ...
Time Matters Version 11 Upgrade Checklist - LexisNexis Support ...
Create successful ePaper yourself
Turn your PDF publications into a flip-book with our unique Google optimized e-Paper software.
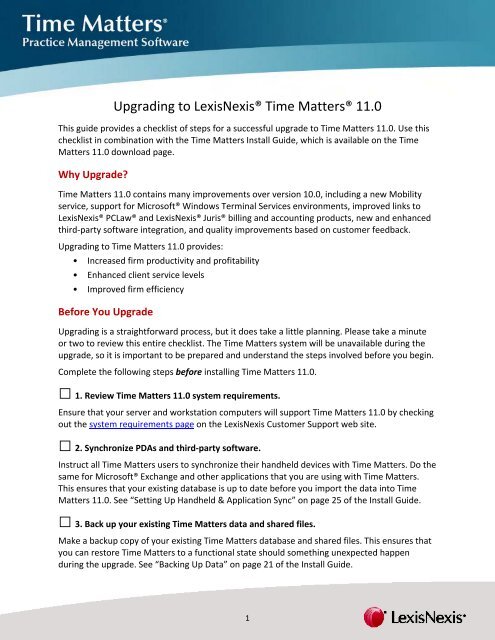
Performing the <strong>Upgrade</strong>Do the following steps after you have completed all the steps in the preceding section.□ 4. Download the <strong>Time</strong> <strong>Matters</strong> installation files.The e‐mail you received acknowledging your entitlement to <strong>Time</strong> <strong>Matters</strong> <strong>11</strong>.0 contains a linkto download the software. Note that there are three separate files to download: one to install<strong>Time</strong> <strong>Matters</strong> (setupe.exe), one to install the new <strong>Time</strong> <strong>Matters</strong> Mobility service (setup.exe),and one to install Microsoft Exchange Synchronization (setupex.exe). Follow each link and savethe file shown in the pop‐up window.□ 5. Install <strong>Time</strong> <strong>Matters</strong> <strong>11</strong>.0.Run the <strong>Time</strong> <strong>Matters</strong> installation wizard (setupe.exe) and follow the instructions in the wizard.Note: Be sure you install with Administrator privileges.□ 6. Register <strong>Time</strong> <strong>Matters</strong> <strong>11</strong>.0.When you start <strong>Time</strong> <strong>Matters</strong> <strong>11</strong>.0 for the first time, you will be connected to the <strong>LexisNexis</strong>®registration server. A success message will appear when the registration is complete.□ 7. Import data from your previous version of <strong>Time</strong> <strong>Matters</strong>.After completing registration, you will automatically be prompted to import data from yourprevious version of <strong>Time</strong> <strong>Matters</strong>. In addition, you may also need to convert billing and/oraccounting data if you use Billing <strong>Matters</strong>. See “Importing Data from a Previous Installation” onpage 42 of the Install Guide.Important: Check your data to ensure that it has been completely and correctly imported.□ 8. Send installation instructions to the <strong>Time</strong> <strong>Matters</strong> users in your firm.Copy the information on the last screen of the import wizard and send it to all of your <strong>Time</strong><strong>Matters</strong> users. This information includes the path to a setup file (setupe.exe) that resides in theSetup folder in your <strong>Time</strong> <strong>Matters</strong> shared files location. When this file is used to install <strong>Time</strong><strong>Matters</strong>, the application will be pre‐configured to connect to your version <strong>11</strong>.0 database.(Note: This step applies to users who will access <strong>Time</strong> <strong>Matters</strong> via the client software and notthrough Microsoft Windows Terminal Services.)□ 9. Back up your <strong>Time</strong> <strong>Matters</strong> <strong>11</strong>.0 data and shared files.Run the backup procedure in <strong>Time</strong> <strong>Matters</strong> <strong>11</strong>.0 to back up your database and shared files. See“Backing Up Data” on page 21 of the Install Guide.2
□ 10. Synchronize PDAs and third‐party software with <strong>Time</strong> <strong>Matters</strong> <strong>11</strong>.0.Instruct <strong>Time</strong> <strong>Matters</strong> users to synchronize their handheld devices with the new <strong>Time</strong> <strong>Matters</strong><strong>11</strong>.0 database. Do the same for Microsoft Exchange and other third‐party applications. See“Setting Up Handheld & Application Sync” on page 25 of the Install Guide.□ <strong>11</strong>. Copy program customizations.Some user‐customizable features such as Power Views and Drop‐down Field Values are basedon files external to <strong>Time</strong> <strong>Matters</strong>. <strong>Time</strong> <strong>Matters</strong> <strong>11</strong>.0 now copies these files over during theinstall if you so choose. If you did not elect to do this step during installation, these files mustnow be manually copied to the correct locations in order for the customizations to be availablein <strong>Time</strong> <strong>Matters</strong> <strong>11</strong>.0. See “Copying Your Customized Features to <strong>Time</strong> <strong>Matters</strong> <strong>11</strong>.0” on page47 of the Install Guide.□ 12. (Optional) Install <strong>Time</strong> <strong>Matters</strong> Mobility and Microsoft Exchange Synchronization.Run the installation wizards for the additional features you want to use: setup.exe for <strong>Time</strong><strong>Matters</strong> Mobility, and setupex.exe for Microsoft Exchange Synchronization.<strong>LexisNexis</strong> and the Knowledge Burst logo are registered trademarks of Reed Elsevier Properties Inc., used under license.<strong>Time</strong> <strong>Matters</strong> and Juris are registered trademarks of <strong>LexisNexis</strong>, a division of Reed Elsevier Inc. PCLaw is a registered trademarkof <strong>LexisNexis</strong> Practice Management Systems Inc. Other products or services may be trademarks or registered trademarks oftheir respective companies.Copyright © 20<strong>11</strong> <strong>LexisNexis</strong>. All rights reserved.3


