
You also want an ePaper? Increase the reach of your titles
YUMPU automatically turns print PDFs into web optimized ePapers that Google loves.
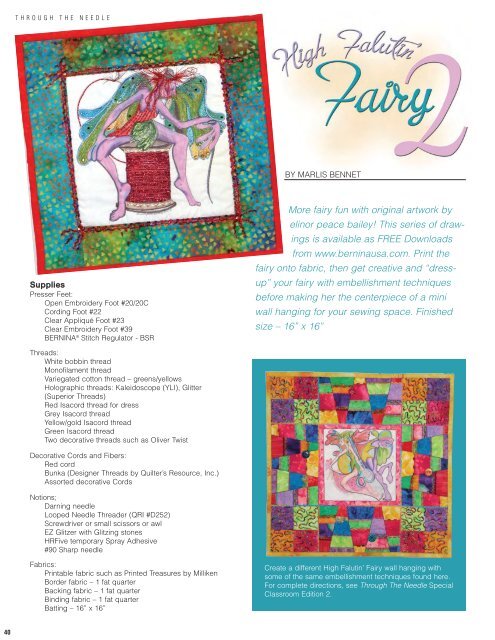
THROUGH THE NEEDLEBY MARLIS BENNETSuppliesPresser Feet:Open Embroidery Foot #20/20CCording Foot #22Clear Appliqué Foot #23Clear Embroidery Foot #39BERNINA ® Stitch Regulator - BSRMore fairy fun with original artwork byelinor peace bailey! This series of drawingsis available as FREE <strong>Download</strong>sfrom www.berninausa.com. Print thefairy onto fabric, then get creative and “dressup”your fairy with embellishment techniquesbefore making her the centerpiece of a miniwall hanging for your sewing space. Finishedsize – 16” x 16”Threads:White bobbin threadMonofilament threadVariegated cotton thread – greens/yellowsHolographic threads: Kaleidoscope (YLI), Glitter(Superior Threads)Red Isacord thread for dressGrey Isacord threadYellow/gold Isacord threadGreen Isacord threadTwo decorative threads such as Oliver TwistDecorative Cords and Fibers:Red cordBunka (Designer Threads by Quilter’s Resource, Inc.)Assorted decorative CordsNotions;Darning needleLooped Needle Threader (QRI #D252)Screwdriver or small scissors or awlEZ Glitzer with Glitzing stonesHRFive temporary Spray Adhesive#90 Sharp needleFabrics:Printable fabric such as Printed Treasures by MillikenBorder fabric – 1 fat quarterBacking fabric – 1 fat quarterBinding fabric – 1 fat quarterBatting – 16” x 16”Create a different High Falutin’ Fairy wall hanging withsome of the same embellishment techniques found here.For complete directions, see Through The Needle SpecialClassroom Edition 2.40