Arduino Fio Programming
Arduino Fio Programming
Arduino Fio Programming
Create successful ePaper yourself
Turn your PDF publications into a flip-book with our unique Google optimized e-Paper software.
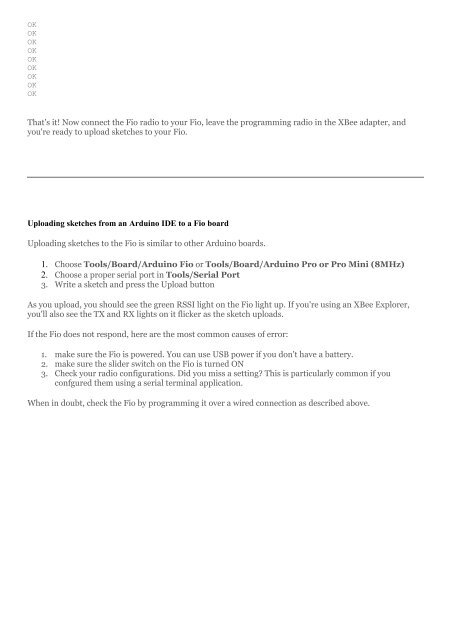
OKOKOKOKOKOKOKOKOKThat's it! Now connect the <strong>Fio</strong> radio to your <strong>Fio</strong>, leave the programming radio in the XBee adapter, andyou're ready to upload sketches to your <strong>Fio</strong>.Uploading sketches from an <strong>Arduino</strong> IDE to a <strong>Fio</strong> boardUploading sketches to the <strong>Fio</strong> is similar to other <strong>Arduino</strong> boards.1. Choose Tools/Board/<strong>Arduino</strong> <strong>Fio</strong> or Tools/Board/<strong>Arduino</strong> Pro or Pro Mini (8MHz)2. Choose a proper serial port in Tools/Serial Port3. Write a sketch and press the Upload buttonAs you upload, you should see the green RSSI light on the <strong>Fio</strong> light up. If you're using an XBee Explorer,you'll also see the TX and RX lights on it flicker as the sketch uploads.If the <strong>Fio</strong> does not respond, here are the most common causes of error:1. make sure the <strong>Fio</strong> is powered. You can use USB power if you don't have a battery.2. make sure the slider switch on the <strong>Fio</strong> is turned ON3. Check your radio configurations. Did you miss a setting? This is particularly common if youconfgured them using a serial terminal application.When in doubt, check the <strong>Fio</strong> by programming it over a wired connection as described above.


