

Slipstream - April 2002
The monthly newsletter of the Maverick Region of the Porsche Club of America
The monthly newsletter of the Maverick Region of the Porsche Club of America

You also want an ePaper? Increase the reach of your titles
YUMPU automatically turns print PDFs into web optimized ePapers that Google loves.
Tow Hitch Installation-Who needs a Cayenne to tow?<br />
By Noby Takahashi<br />
On a rainy Sunday afternoon in December, a few Mavericks<br />
gathered at the home of Rocky Johnson to install a trailer<br />
hitch on a Boxster. Our trailer hitch kit was purchased<br />
from Evolution Motorsports (http://www.EvoMS.com) in<br />
Tempe, AZ, 800-998-8510. Why were we doing this? So that<br />
we can tow our track tires and associated tools out to our driving<br />
events. This is an alternative to the Tow Vehicle/Car Trailer<br />
scenario.<br />
Photo by Noby Takahashi<br />
Photo by Noby Takahashi<br />
Taking apart Wayne’s car<br />
the tongue extension with a rubber mallet. Be sure that the<br />
center hole is perfectly aligned with the tow hook hole. That big<br />
bolt requires a 1-1/4” socket.<br />
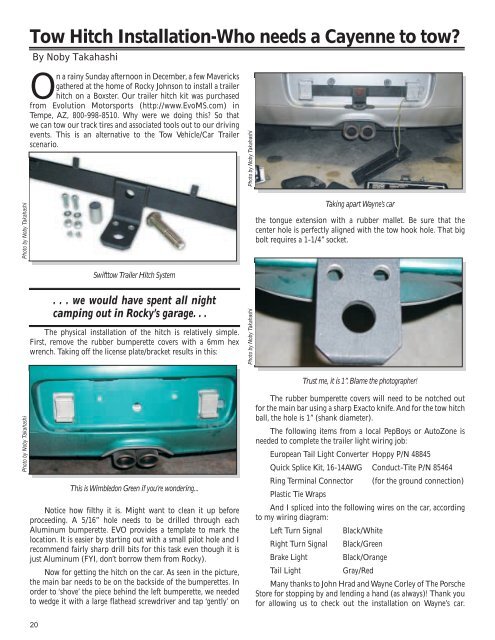
Swifttow Trailer Hitch System<br />
. . . we would have spent all night<br />
camping out in Rocky’s garage. . .<br />
The physical installation of the hitch is relatively simple.<br />
First, remove the rubber bumperette covers with a 6mm hex<br />
wrench. Taking off the license plate/bracket results in this:<br />
Photo by Noby Takahashi<br />
Trust me, it is 1”. Blame the photographer!<br />
Photo by Noby Takahashi<br />
This is Wimbledon Green if you’re wondering...<br />
Notice how filthy it is. Might want to clean it up before<br />
proceeding. A 5/16” hole needs to be drilled through each<br />
Aluminum bumperette. EVO provides a template to mark the<br />
location. It is easier by starting out with a small pilot hole and I<br />
recommend fairly sharp drill bits for this task even though it is<br />
just Aluminum (FYI, don’t borrow them from Rocky).<br />
Now for getting the hitch on the car. As seen in the picture,<br />
the main bar needs to be on the backside of the bumperettes. In<br />
order to ‘shove’ the piece behind the left bumperette, we needed<br />
to wedge it with a large flathead screwdriver and tap ‘gently’ on<br />
The rubber bumperette covers will need to be notched out<br />
for the main bar using a sharp Exacto knife. And for the tow hitch<br />
ball, the hole is 1” (shank diameter).<br />
The following items from a local PepBoys or AutoZone is<br />
needed to complete the trailer light wiring job:<br />
European Tail Light Converter Hoppy P/N 48845<br />
Quick Splice Kit, 16-14AWG Conduct-Tite P/N 85464<br />
Ring Terminal Connector (for the ground connection)<br />
Plastic Tie Wraps<br />
And I spliced into the following wires on the car, according<br />
to my wiring diagram:<br />
Left Turn Signal Black/White<br />
Right Turn Signal Black/Green<br />
Brake Light Black/Orange<br />
Tail Light<br />
Gray/Red<br />
Many thanks to John Hrad and Wayne Corley of The Porsche<br />
Store for stopping by and lending a hand (as always)! Thank you<br />
for allowing us to check out the installation on Wayne’s car.<br />
20


