
You also want an ePaper? Increase the reach of your titles
YUMPU automatically turns print PDFs into web optimized ePapers that Google loves.
Call Now<br />
1-800-213-8289<br />
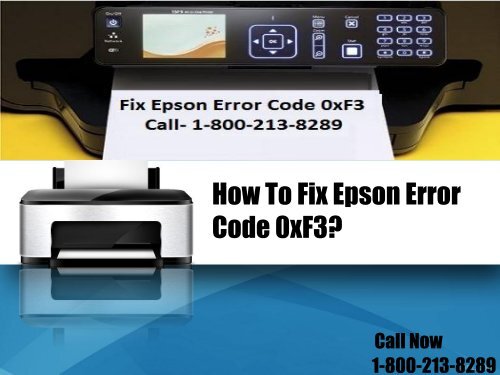
<strong>How</strong> <strong>To</strong> <strong>Fix</strong> <strong>Epson</strong> <strong>Error</strong><br />
<strong>Code</strong> <strong>0xF3</strong>?
<strong>Fix</strong> <strong>Epson</strong> <strong>Error</strong> <strong>Code</strong> <strong>0xF3</strong><br />
This <strong>Epson</strong> error code may occur due to<br />
foreign objects that are stuck inside the<br />
printer or any other printer obstructions<br />
are being found. The error is further found<br />
to happen while the carriage reaches its<br />
rightmost home position. These are just<br />
only few reasons but also, it can happen<br />
due to clogged or disconnected ink-vacuum<br />
tubes in <strong>Epson</strong> printers. Our professional<br />
team members have found solution to fix<br />
<strong>Epson</strong> <strong>Error</strong> <strong>Code</strong> <strong>0xF3</strong> that are quite easy<br />
for users to follow.<br />
Call Now<br />
1-800-213-8289
Call Now<br />
1-800-213-8289<br />
Steps to <strong>Fix</strong> <strong>Epson</strong> <strong>Error</strong> <strong>Code</strong> <strong>0xF3</strong><br />
• Step 1: Remove few illegal components of printer<br />
• Remove all the external <strong>Epson</strong> printer component including ink<br />
tanks and then remove the Windows system as well as the rear<br />
component of the <strong>Epson</strong> printer<br />
• Step 2: Managing the ink level<br />
• The next step will be to dismount the printer’s ink lever carefully and<br />
then, remove the front panel screws of the printer<br />
• Step 3: Working with the printer’s LCD panel<br />
• <strong>To</strong> remove the error, users are suggested to dismount the LCD as<br />
well as the front panel of the device.<br />
• Now de-attach the back panel screws of the <strong>Epson</strong> printer to deal<br />
with the process carefully
• Step 4: Removing the main back cover<br />
• Users are suggested to remove the main back section to deal efficiently<br />
with the LCD display features<br />
• Gently clean up the left encoder section of the printer device with the help<br />
of dry cleenex tissue paper<br />
• Next users are suggested to gently clean the right encoder of the device<br />
with the help of dry cleenex paper<br />
• Step 5: Testing the printer<br />
• If users are needed to test the printer then, they need carefully insert the<br />
paper and the cover 2 switch with the help of paper scotch tool.<br />
• At last, you need to remount the printer carefully but before make sure that<br />
you have removed the scotch by following steps in reversing mode.<br />
Call Now<br />
1-800-213-8289
Contact <strong>Epson</strong> Printer Customer Support<br />
Number For Instantaneous Support
GET IN TOUCH WITH US<br />
<strong>Epson</strong> Printer Support Number<br />
https://www.facebook.com/<strong>Epson</strong>PrinterTechnicalSupportNumberforP<br />
rinterRepair<br />
https://plus.google.com/101938860674288193774<br />
https://twitter.com/<strong>Epson</strong>printerhel<br />
https://www.linkedin.com/in/epson-printer-support-number<br />
Call Now