April 2018 Your Handmade Home
online home magazine filled with farmhouse decor and design, DIY projects and artisan handmade goods
online home magazine filled with farmhouse decor and design, DIY projects and artisan handmade goods

Create successful ePaper yourself
Turn your PDF publications into a flip-book with our unique Google optimized e-Paper software.
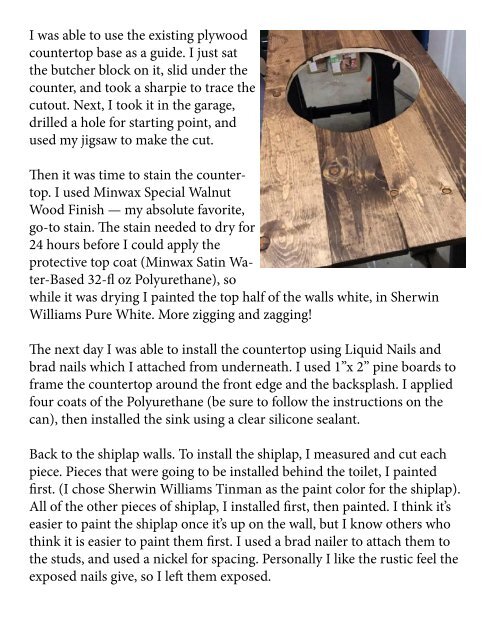
I was able to use the existing plywood<br />
countertop base as a guide. I just sat<br />
the butcher block on it, slid under the<br />
counter, and took a sharpie to trace the<br />
cutout. Next, I took it in the garage,<br />
drilled a hole for starting point, and<br />
used my jigsaw to make the cut.<br />
Once I got to this point in the reno, I was exhausted and ready to be done.<br />
I know all my DIY friends can relate! But there was still finish work to<br />
do, so I trudged along. I framed the mirror, made a built-in to replace the<br />
medicine cabinet, and made pipe shelving. Whew!<br />
Here are some pics of the final look.<br />
Then it was time to stain the countertop.<br />
I used Minwax Special Walnut<br />
Wood Finish — my absolute favorite,<br />
go-to stain. The stain needed to dry for<br />
24 hours before I could apply the<br />
protective top coat (Minwax Satin Water-Based<br />
32-fl oz Polyurethane), so<br />
while it was drying I painted the top half of the walls white, in Sherwin<br />
Williams Pure White. More zigging and zagging!<br />
The next day I was able to install the countertop using Liquid Nails and<br />
brad nails which I attached from underneath. I used 1”x 2” pine boards to<br />
frame the countertop around the front edge and the backsplash. I applied<br />
four coats of the Polyurethane (be sure to follow the instructions on the<br />
can), then installed the sink using a clear silicone sealant.<br />
Back to the shiplap walls. To install the shiplap, I measured and cut each<br />
piece. Pieces that were going to be installed behind the toilet, I painted<br />
first. (I chose Sherwin Williams Tinman as the paint color for the shiplap).<br />
All of the other pieces of shiplap, I installed first, then painted. I think it’s<br />
easier to paint the shiplap once it’s up on the wall, but I know others who<br />
think it is easier to paint them first. I used a brad nailer to attach them to<br />
the studs, and used a nickel for spacing. Personally I like the rustic feel the<br />
exposed nails give, so I left them exposed.