OPTIX RVCSTAR
High Performance mini camera
High Performance mini camera

You also want an ePaper? Increase the reach of your titles
YUMPU automatically turns print PDFs into web optimized ePapers that Google loves.
pt x<br />
360<br />
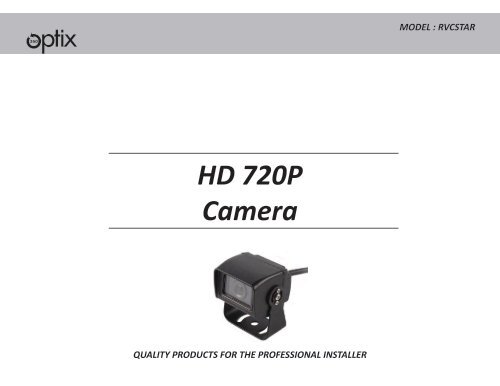
MODEL : <strong>RVCSTAR</strong><br />
HD 720P<br />
Camera<br />
QUALITY PRODUCTS FOR THE PROFESSIONAL INSTALLER
360<br />
pt x<br />
MODEL : <strong>RVCSTAR</strong><br />
Table of Contents<br />
INTRODUCTION 3<br />
Contents<br />
DEVICE 4<br />
QUICK START/INSTALLATION 5<br />
Wiring
360<br />
pt x<br />
MODEL : <strong>RVCSTAR</strong><br />
INTRODUCTION<br />
Congratulations on your purchase of the Optix “Commercial Grade 720P HD Camera”. With camera installed,<br />
you are able to have a great visual of what is behind your vehicle while going in reverse. Ideal while backing up into<br />
a parking space, driveway, bays, etc.<br />
Contents<br />
1- <strong>RVCSTAR</strong> Camera
360<br />
pt x<br />
MODEL : <strong>RVCSTAR</strong><br />
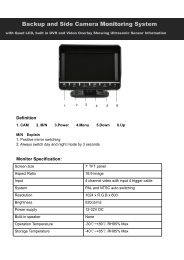
DEVICE<br />
This unit has an amazing 480p quality image. Working with PAL/NSTC. The<br />
camera has a 170 degree viewing angle working with 12 volts only. This<br />
Device is a commercial grade camera with a IP68 rating. Ideal for Trailers and<br />
haling.
360<br />
pt x<br />
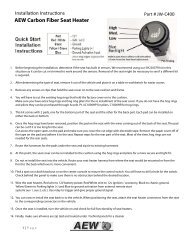
QUICK START/INSTALLATION<br />
MODEL : <strong>RVCSTAR</strong><br />
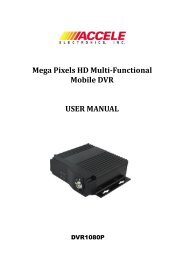
A. Mounting the camera really depends on the type of vehicle you have. In the image<br />
below you have an example of a big trailer, with the camera mounted on the<br />
top-rear part of it giving you that 170-degree view from top-down.<br />
B. Route wires into the vehicle. Run video cable wire to the front of the car or where<br />
the placing of the monitor.<br />
1. Find the best placement for your camera. Place it with a good<br />
view of your surroundings.<br />
2. After finding the location you desire, mount your camera and<br />
route your wires into the vehicle.<br />
3. Wire your camera. You will need ground (black) and 12v<br />
reverse signal (red). This camera comes with the option to turn<br />
IR on or leave it off. Can connect to camera power wires if<br />
desired for IR ON feature.<br />
170<br />
o<br />
4. After all connections have been made and camera is<br />
connected to monitor, adjust camera to the best and safest<br />
viewing angle.<br />
5. All wires should be routed under panels or under carpet and<br />
zip tied to existing harnesses for a cleaner factory look.<br />
Accele Electronics will not be responsible for damages caused to your car<br />
due to improper installation. For complete owners manual please visit<br />
https://accele.com/technical-support-ii/rvcstarThank you for being a<br />
valued customer of ACCELE ELECTRONICS