Installation Guide for Device Driver Windows Vista - EK-Team
Installation Guide for Device Driver Windows Vista - EK-Team
Installation Guide for Device Driver Windows Vista - EK-Team

You also want an ePaper? Increase the reach of your titles
YUMPU automatically turns print PDFs into web optimized ePapers that Google loves.
Installing the driver <strong>for</strong> the plotter VP500, VP100 or VE300<br />
within <strong>Windows</strong> <strong>Vista</strong><br />
Important!! DO NOT connect the output device to the PC UNTIL the drivers are installed!<br />
(if you have already done so, please follow the instructions of this document starting from step 8)<br />
1. Login into your Computer using an account with administrative rights.<br />
2. Deactivate the User Account Control. Here is how to do it:<br />
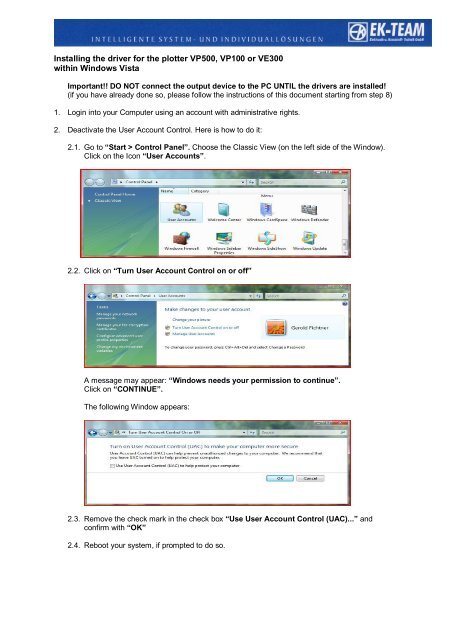
2.1. Go to “Start > Control Panel”. Choose the Classic View (on the left side of the Window).<br />
Click on the Icon “User Accounts”.<br />
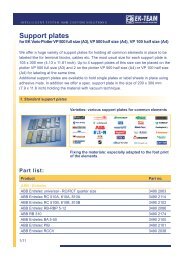
2.2. Click on “Turn User Account Control on or off”<br />
A message may appear: “<strong>Windows</strong> needs your permission to continue”.<br />
Click on “CONTINUE”.<br />
The following Window appears:<br />
2.3. Remove the check mark in the check box “Use User Account Control (UAC)...” and<br />
confirm with “OK”<br />
2.4. Reboot your system, if prompted to do so.
3. In order to continue, you need to know if you are running the 32-bit version or the 64-bit version of<br />
<strong>Windows</strong> <strong>Vista</strong> on your computer. If you are not sure, you can open the following window:<br />
Start > Control Panel > System and Maintenance > System<br />
or Start > Control Panel > System (when using the classical view of the control panel)<br />
Within the line “System type” you can find the in<strong>for</strong>mation needed.<br />
4. Open the folder Psetup on your installation CD, and from there, open the sub-folder “<strong>Vista</strong>_32”<br />
(<strong>for</strong> the 32-Bit version of <strong>Windows</strong> <strong>Vista</strong>) or “<strong>Vista</strong>_64” (<strong>for</strong> the 64-Bit version of <strong>Windows</strong> <strong>Vista</strong>).<br />
Be sure to choose the correct version!<br />
Start the <strong>Windows</strong> batch File “setup” with a double click on the symbol.
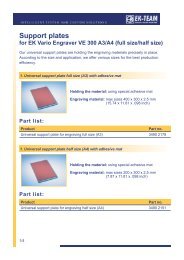
5. During installation, a command-line window appears. Also, following message window pops up:<br />
“<strong>Windows</strong> can't verify the publisher of this driver software”<br />
Choose “Install this driver software anyway”.<br />
6. The <strong>Installation</strong> can take about one minute. After a successful installation the command-line<br />
window issues the following message (the text may differ slightly, depending on your <strong>Windows</strong><br />
<strong>Vista</strong> version):<br />
Close the command-line window.<br />
7. Change User Account Control settings to its original value (see step 2) and restart the system.
8. Now connect your VP500, VP100 or VE300 plotter/engraver to the system and switch on the<br />
power. Go to “Start > Control Panel > Printers”. If the installation was successful, you will find<br />
your plotter in the list of Printers and Faxes. The installation is completed.<br />
If the installation was NOT successful, then the window “Found New Hardware” appears.<br />
Click on ”Locate and install driver (recommended)”.<br />
9. If a window appears, asking “Allow windows to search online....?” answer with “Don't search<br />
online”.
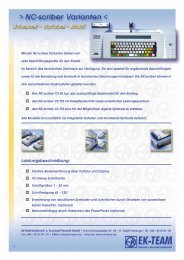
10. After the following window appears, insert the installation CD into the drive and click on “Next”.<br />
11. The recognized drivers on the CD are listed.<br />
Choose the entry …\Psetup\vista_64\vp500_generic.inf (<strong>for</strong> the 64-Bit version of <strong>Windows</strong><br />
<strong>Vista</strong>). or …\Psetup\vista_32\vp500_generic.inf (<strong>for</strong> the 32-Bit version of <strong>Windows</strong> <strong>Vista</strong>) and<br />
click on “Next“, to start the installation.
If this list does NOT appear (or you have stored the driver files at a different location on your<br />
computer), you can search <strong>for</strong> the driver files manually.<br />
11.1. Click on “I don't have the disk. Show me other options.” (in the window shown above)<br />
11.2. Choose “browse my computer <strong>for</strong> driver software (advanced)”<br />
11.3. Click on “Browse” und select the path Psetup\vista_32 or Psetup\vista-64, depending on<br />
whether you have a 32-bit or 64-bit version of <strong>Windows</strong> <strong>Vista</strong>.<br />
(In order to determine which <strong>Windows</strong> <strong>Vista</strong> version you have, see step 3 of this document.)<br />
Confirm with “OK” and then “Next”. The installation starts now.
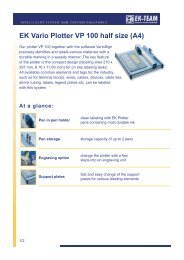
12. During the installation the following message appears:<br />
“<strong>Windows</strong> can't verify the publisher of this driver software”:<br />
Choose “Install the driver software anyway”.<br />
13. After a successful installation <strong>Windows</strong> issues the following message. Press click on “Close” to<br />
complete the installation.<br />
14. Reopen the window “Control Panel > Printers”. Your plotter should now appear in the list of<br />
Printers and Faxes.