IAN 86827 - Kompernass
IAN 86827 - Kompernass
IAN 86827 - Kompernass
Create successful ePaper yourself
Turn your PDF publications into a flip-book with our unique Google optimized e-Paper software.
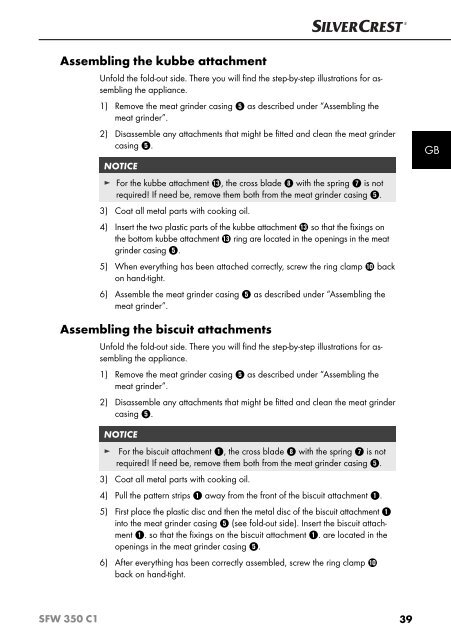
Assembling the kubbe attachment<br />
Unfold the fold-out side. There you will fi nd the step-by-step illustrations for assembling<br />
the appliance.<br />
1) Remove the meat grinder casing 5 as described under “Assembling the<br />
meat grinder”.<br />
2) Disassemble any attachments that might be fi tted and clean the meat grinder<br />
casing 5.<br />
NOTICE<br />
► For the kubbe attachment e, the cross blade 8 with the spring 7 is not<br />
required! If need be, remove them both from the meat grinder casing 5.<br />
3) Coat all metal parts with cooking oil.<br />
4) Insert the two plastic parts of the kubbe attachment e so that the fi xings on<br />
the bottom kubbe attachment e ring are located in the openings in the meat<br />
grinder casing 5.<br />
5) When everything has been attached correctly, screw the ring clamp 0 back<br />
on hand-tight.<br />
6) Assemble the meat grinder casing 5 as described under “Assembling the<br />
meat grinder”.<br />
GB<br />
Assembling the biscuit attachments<br />
Unfold the fold-out side. There you will fi nd the step-by-step illustrations for assembling<br />
the appliance.<br />
1) Remove the meat grinder casing 5 as described under “Assembling the<br />
meat grinder”.<br />
2) Disassemble any attachments that might be fi tted and clean the meat grinder<br />
casing 5.<br />
NOTICE<br />
► For the biscuit attachment 1, the cross blade 8 with the spring 7 is not<br />
required! If need be, remove them both from the meat grinder casing 5.<br />
3) Coat all metal parts with cooking oil.<br />
4) Pull the pattern strips 1 away from the front of the biscuit attachment 1.<br />
5) First place the plastic disc and then the metal disc of the biscuit attachment 1<br />
into the meat grinder casing 5 (see fold-out side). Insert the biscuit attachment<br />
1. so that the fi xings on the biscuit attachment 1. are located in the<br />
openings in the meat grinder casing 5.<br />
6) After everything has been correctly assembled, screw the ring clamp 0<br />
back on hand-tight.<br />
SFW 350 C1<br />
39


