Samsung DIGIMAX i6 - User Manual_8.15 MB, pdf, ENGLISH
Samsung DIGIMAX i6 - User Manual_8.15 MB, pdf, ENGLISH
Samsung DIGIMAX i6 - User Manual_8.15 MB, pdf, ENGLISH
You also want an ePaper? Increase the reach of your titles
YUMPU automatically turns print PDFs into web optimized ePapers that Google loves.
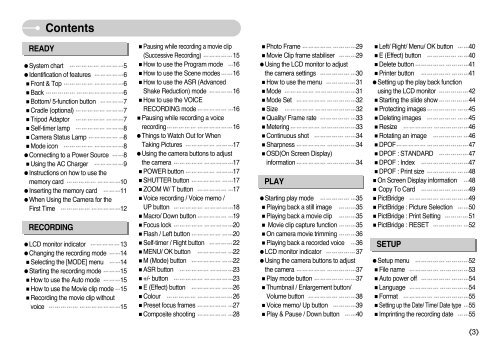
Contents<br />
READY<br />
System chart 5<br />
Identification of features 6<br />
Front & Top 6<br />
Back 6<br />
Bottom/ 5-function button 7<br />
Cradle (optional) 7<br />
Tripod Adaptor 7<br />
Self-timer lamp 8<br />
Camera Status Lamp 8<br />
Mode icon 8<br />
Connecting to a Power Source 8<br />
Using the AC Charger 9<br />
Instructions on how to use the<br />
memory card 10<br />
Inserting the memory card 11<br />
When Using the Camera for the<br />
First Time 12<br />
RECORDING<br />
LCD monitor indicator 13<br />
Changing the recording mode 14<br />
Selecting the [MODE] menu 14<br />
Starting the recording mode 15<br />
How to use the Auto mode 15<br />
How to use the Movie clip mode 15<br />
Recording the movie clip without<br />
voice 15<br />
Pausing while recording a movie clip<br />
(Successive Recording) 15<br />
How to use the Program mode 16<br />
How to use the Scene modes 16<br />
How to use the ASR (Advanced<br />
Shake Reduction) mode 16<br />
How to use the VOICE<br />
RECORDING mode 16<br />
Pausing while recording a voice<br />
recording 16<br />
Things to Watch Out for When<br />
Taking Pictures 17<br />
Using the camera buttons to adjust<br />
the camera 17<br />
POWER button 17<br />
SHUTTER button 17<br />
ZOOM W/ T button 17<br />
Voice recording / Voice memo /<br />
UP button 18<br />
Macro/ Down button 19<br />
Focus lock 20<br />
Flash / Left button 20<br />
Self-timer / Right button 22<br />
MENU/ OK button 22<br />
M (Mode) button 22<br />
ASR button 23<br />
+/- button 23<br />
E (Effect) button 26<br />
Colour 26<br />
Preset focus frames 27<br />
Composite shooting 28<br />
Photo Frame 29<br />
Movie Clip frame stabiliser 29<br />
Using the LCD monitor to adjust<br />
the camera settings 30<br />
How to use the menu 31<br />
Mode 31<br />
Mode Set 32<br />
Size 32<br />
Quality/ Frame rate 33<br />
Metering 33<br />
Continuous shot 34<br />
Sharpness 34<br />
OSD(On Screen Display)<br />
information 34<br />
PLAY<br />
Starting play mode 35<br />
Playing back a still image 35<br />
Playing back a movie clip 35<br />
Movie clip capture function 35<br />
On camera movie trimming 36<br />
Playing back a recorded voice 36<br />
LCD monitor indicator 37<br />
Using the camera buttons to adjust<br />
the camera 37<br />
Play mode button 37<br />
Thumbnail / Enlargement button/<br />
Volume button 38<br />
Voice memo/ Up button 39<br />
Play & Pause / Down button 40<br />
Left/ Right/ Menu/ OK button 40<br />
E (Effect) button 40<br />
Delete button 41<br />
Printer button 41<br />
Setting up the play back function<br />
using the LCD monitor 42<br />
Starting the slide show 44<br />
Protecting images 45<br />
Deleting images 45<br />
Resize 46<br />
Rotating an image 46<br />
DPOF 47<br />
DPOF : STANDARD 47<br />
DPOF : Index 47<br />
DPOF : Print size 48<br />
On Screen Display information 48<br />
Copy To Card 49<br />
PictBridge 49<br />
PictBridge : Picture Selection 50<br />
PictBridge : Print Setting 51<br />
PictBridge : RESET 52<br />
SETUP<br />
Setup menu 52<br />
File name 53<br />
Auto power off 54<br />
Language 54<br />
Format 55<br />
Setting up the Date/ Time/ Date type 55<br />
Imprinting the recording date 55<br />
3


