

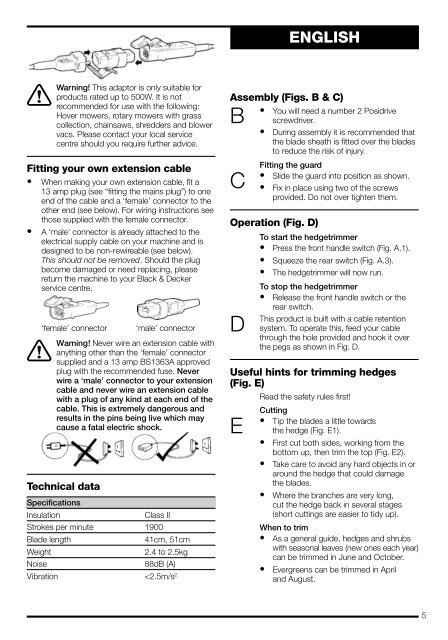
BlackandDecker Hedgetrimmer- Gt260 - Type 3 - Instruction Manual (Europeo)
BlackandDecker Hedgetrimmer- Gt260 - Type 3 - Instruction Manual (Europeo)
BlackandDecker Hedgetrimmer- Gt260 - Type 3 - Instruction Manual (Europeo)

Create successful ePaper yourself
Turn your PDF publications into a flip-book with our unique Google optimized e-Paper software.
ENGLISH<br />
!<br />
Warning! This adaptor is only suitable for<br />
products rated up to 500W. It is not Assembly (Figs. B & C)<br />
recommended for use with the following:<br />
• You will need a number 2 Posidrive<br />
Hover mowers, rotary mowers with grass<br />
B screwdriver.<br />
collection, chainsaws, shredders and blower<br />
vacs. Please contact your local service<br />
• During assembly it is recommended that<br />
centre should you require further advice.<br />
the blade sheath is fitted over the blades<br />
to reduce the risk of injury.<br />
Fitting your own extension cable<br />
Fitting the guard<br />
• Slide the guard into position as shown.<br />
• When making your own extension cable, fit a C<br />
13 amp plug (see “fitting the mains plug”) to one • Fix in place using two of the screws<br />
end of the cable and a ‘female’ connector to the<br />
provided. Do not over tighten them.<br />
other end (see below). For wiring instructions see<br />
those supplied with the female connector. Operation (Fig. D)<br />
• A ‘male’ connector is already attached to the<br />
electrical supply cable on your machine and is<br />
To start the hedgetrimmer<br />
designed to be non-rewireable (see below).<br />
• Press the front handle switch (Fig. A.1).<br />
This should not be removed. Should the plug<br />
• Squeeze the rear switch (Fig. A.3).<br />
become damaged or need replacing, please<br />
• The hedgetrimmer will now run.<br />
return the machine to your Black & Decker<br />
service centre.<br />
To stop the hedgetrimmer<br />
• Release the front handle switch or the<br />
rear switch.<br />
D<br />
This product is built with a cable retention<br />
‘female’ connector ‘male’ connector<br />
system. To operate this, feed your cable<br />
through the hole provided and hook it over<br />
Warning! Never wire an extension cable with<br />
the pegs as shown in Fig. D.<br />
! anything other than the ‘female’ connector<br />
supplied and a 13 amp BS1363A approved<br />
plug with the recommended fuse. Never Useful hints for trimming hedges<br />
wire a ‘male’ connector to your extension (Fig. E)<br />
cable and never wire an extension cable<br />
with a plug of any kind at each end of the<br />
Read the safety rules first!<br />
cable. This is extremely dangerous and<br />
Cutting<br />
results in the pins being live which may<br />
• Tip the blades a little towards<br />
cause a fatal electric shock. E the hedge (Fig. E1).<br />
• First cut both sides, working from the<br />
bottom up, then trim the top (Fig. E2).<br />
• Take care to avoid any hard objects in or<br />
around the hedge that could damage<br />
Technical data<br />
the blades.<br />
• Where the branches are very long,<br />
Specifications<br />
cut the hedge back in several stages<br />
Insulation<br />
Class II<br />
(short cuttings are easier to tidy up).<br />
Strokes per minute 1900<br />
When to trim<br />
Blade length<br />
41cm, 51cm<br />
• As a general guide, hedges and shrubs<br />
Weight<br />
2.4 to 2.5kg<br />
with seasonal leaves (new ones each year)<br />
can be trimmed in June and October.<br />
Noise<br />
88dB (A)<br />
• Evergreens can be trimmed in April<br />
Vibration


