

BlackandDecker Trapano Percussione- Kr1001 - Type 1 - Instruction Manual (Inglese - Arabo)
BlackandDecker Trapano Percussione- Kr1001 - Type 1 - Instruction Manual (Inglese - Arabo)
BlackandDecker Trapano Percussione- Kr1001 - Type 1 - Instruction Manual (Inglese - Arabo)

You also want an ePaper? Increase the reach of your titles
YUMPU automatically turns print PDFs into web optimized ePapers that Google loves.
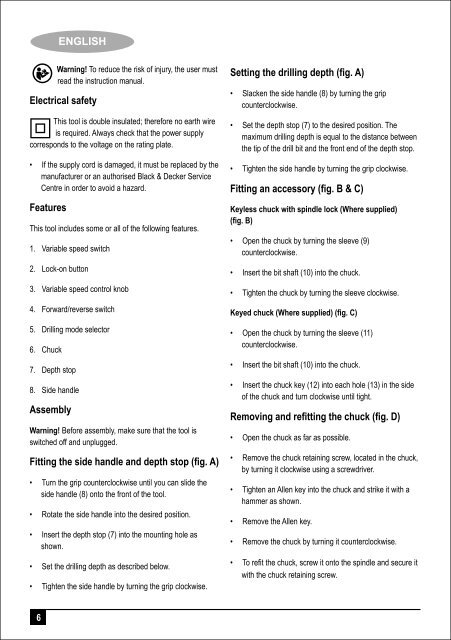
ENGLISH<br />
Warning! To reduce the risk of injury, the user must<br />
read the instruction manual.<br />
Electrical safety<br />
This tool is double insulated; therefore no earth wire<br />
is required. Always check that the power supply<br />
corresponds to the voltage on the rating plate.<br />
• If the supply cord is damaged, it must be replaced by the<br />
manufacturer or an authorised Black & Decker Service<br />
Centre in order to avoid a hazard.<br />
Features<br />
This tool includes some or all of the following features.<br />
1. Variable speed switch<br />
2. Lock-on button<br />
3. Variable speed control knob<br />
4. Forward/reverse switch<br />
5. Drilling mode selector<br />
6. Chuck<br />
7. Depth stop<br />
8. Side handle<br />
Assembly<br />
Warning! Before assembly, make sure that the tool is<br />
switched off and unplugged.<br />
Fitting the side handle and depth stop (fig. A)<br />
• Turn the grip counterclockwise until you can slide the<br />
side handle (8) onto the front of the tool.<br />
• Rotate the side handle into the desired position.<br />
• Insert the depth stop (7) into the mounting hole as<br />
shown.<br />
• Set the drilling depth as described below.<br />
• Tighten the side handle by turning the grip clockwise.<br />
Setting the drilling depth (fig. A)<br />
• Slacken the side handle (8) by turning the grip<br />
counterclockwise.<br />
• Set the depth stop (7) to the desired position. The<br />
maximum drilling depth is equal to the distance between<br />
the tip of the drill bit and the front end of the depth stop.<br />
• Tighten the side handle by turning the grip clockwise.<br />
Fitting an accessory (fig. B & C)<br />
Keyless chuck with spindle lock (Where supplied)<br />
(fig. B)<br />
• Open the chuck by turning the sleeve (9)<br />
counterclockwise.<br />
• Insert the bit shaft (10) into the chuck.<br />
• Tighten the chuck by turning the sleeve clockwise.<br />
Keyed chuck (Where supplied) (fig. C)<br />
• Open the chuck by turning the sleeve (11)<br />
counterclockwise.<br />
• Insert the bit shaft (10) into the chuck.<br />
• Insert the chuck key (12) into each hole (13) in the side<br />
of the chuck and turn clockwise until tight.<br />
Removing and refitting the chuck (fig. D)<br />
• Open the chuck as far as possible.<br />
• Remove the chuck retaining screw, located in the chuck,<br />
by turning it clockwise using a screwdriver.<br />
• Tighten an Allen key into the chuck and strike it with a<br />
hammer as shown.<br />
• Remove the Allen key.<br />
• Remove the chuck by turning it counterclockwise.<br />
• To refit the chuck, screw it onto the spindle and secure it<br />
with the chuck retaining screw.<br />
6


