

KitchenAid T 16 A1 D/HA - Fridge/freezer combination - T 16 A1 D/HA - Fridge/freezer combination EN (853903401500) Istruzioni per l'Uso
KitchenAid T 16 A1 D/HA - Fridge/freezer combination - T 16 A1 D/HA - Fridge/freezer combination EN (853903401500) Istruzioni per l'Uso
KitchenAid T 16 A1 D/HA - Fridge/freezer combination - T 16 A1 D/HA - Fridge/freezer combination EN (853903401500) Istruzioni per l'Uso

You also want an ePaper? Increase the reach of your titles
YUMPU automatically turns print PDFs into web optimized ePapers that Google loves.
USING FOR THE FIRST TIME<br />
Connect the appliance to the power supply.<br />
In models with electronics, a sound signal may be emitted, which means that the tem<strong>per</strong>ature<br />
alarm has been activated: press the sound alarm off button. Where provided, position the<br />
antibacterial anti-odour filter in the fan as demonstrated in the filter packaging.<br />
Note: After turning the appliance on, you must wait for 4-5 hours for the correct storage<br />
tem<strong>per</strong>ature to be reached for a normally filled appliance.<br />
MAINT<strong>EN</strong>ANCE AND CLEANING<br />
OF THE APPLICANCE<br />
Clean the appliance occasionally with a cloth and a solution of warm<br />
water and neutral cleaning agents specifically for cleaning the inside<br />
of the refrigerator. Do not use abrasive cleaning agents. To ensure<br />
the constant and correct flow of the defrosting water, regularly clean<br />
the inside of the drain situated in the back wall of the refrigerator<br />
compartment near the fruit and vegetable drawer using the utensil<br />
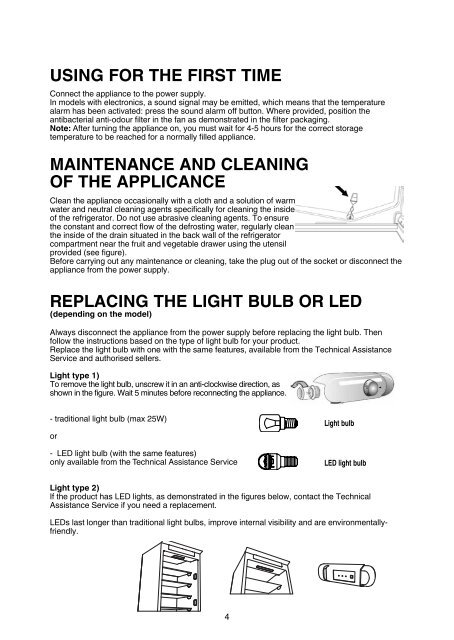
provided (see figure).<br />
Before carrying out any maintenance or cleaning, take the plug out of the socket or disconnect the<br />
appliance from the power supply.<br />
Replacing the light bulb or LED<br />
(depending on the model)<br />
Always disconnect the appliance from the power supply before replacing the light bulb. Then<br />
follow the instructions based on the type of light bulb for your product.<br />
Replace the light bulb with one with the same features, available from the Technical Assistance<br />
Service and authorised sellers.<br />
Light type 1)<br />
To remove the light bulb, unscrew it in an anti-clockwise direction, as<br />
shown in the figure. Wait 5 minutes before reconnecting the appliance.<br />
- traditional light bulb (max 25W)<br />
or<br />
- LED light bulb (with the same features)<br />
only available from the Technical Assistance Service<br />
Light bulb<br />
LED light bulb<br />
Light type 2)<br />
If the product has LED lights, as demonstrated in the figures below, contact the Technical<br />
Assistance Service if you need a replacement.<br />
LEDs last longer than traditional light bulbs, improve internal visibility and are environmentallyfriendly.<br />
LED- strip<br />
Dragon<br />
et2<br />
4


