You also want an ePaper? Increase the reach of your titles
YUMPU automatically turns print PDFs into web optimized ePapers that Google loves.
EN<br />
ENGLISH<br />
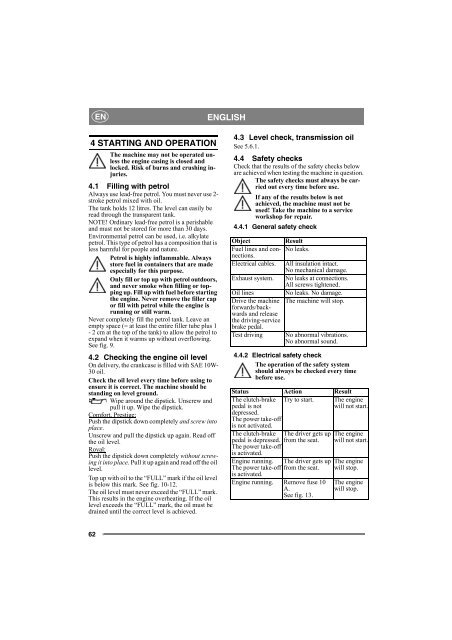
4 STARTING AND OPERATION<br />
The machine may not be operated unless<br />
the engine casing is closed and<br />
locked. Risk of burns and crushing injuries.<br />
4.1 Filling with petrol<br />
Always use lead-free petrol. You must never use 2-<br />
stroke petrol mixed with oil.<br />
The tank holds 12 litres. The level can easily be<br />
read through the transparent tank.<br />
NOTE! Ordinary lead-free petrol is a perishable<br />
and must not be stored for more than 30 days.<br />
Environmental petrol can be used, i.e. alkylate<br />
petrol. This type of petrol has a composition that is<br />
less harmful for people and nature.<br />
Petrol is highly inflammable. Always<br />
store fuel in containers that are made<br />
especially for this purpose.<br />
Only fill or top up with petrol outdoors,<br />
and never smoke when filling or topping<br />
up. Fill up with fuel before starting<br />
the engine. Never remove the filler cap<br />
or fill with petrol while the engine is<br />
running or still warm.<br />
Never completely fill the petrol tank. Leave an<br />
empty space (= at least the entire filler tube plus 1<br />
- 2 cm at the top of the tank) to allow the petrol to<br />
expand when it warms up without overflowing.<br />
See fig. 9.<br />
4.2 Checking the engine oil level<br />
On delivery, the crankcase is filled with SAE 10W-<br />
30 oil.<br />
Check the oil level every time before using to<br />
ensure it is correct. The machine should be<br />
standing on level ground.<br />
Wipe around the dipstick. Unscrew and<br />
pull it up. Wipe the dipstick.<br />
Comfort, Prestige:<br />
Push the dipstick down completely and screw into<br />
place.<br />
Unscrew and pull the dipstick up again. Read off<br />
the oil level.<br />
Royal:<br />
Push the dipstick down completely without screwing<br />
it into place. Pull it up again and read off the oil<br />
level.<br />
Top up with oil to the “FULL” mark if the oil level<br />
is below this mark. See fig. 10-12.<br />
The oil level must never exceed the “FULL” mark.<br />
This results in the engine overheating. If the oil<br />
level exceeds the “FULL” mark, the oil must be<br />
drained until the correct level is achieved.<br />
4.3 Level check, transmission oil<br />
See 5.6.1.<br />
4.4 Safety checks<br />
Check that the results of the safety checks below<br />
are achieved when testing the machine in question.<br />
The safety checks must always be carried<br />
out every time before use.<br />
If any of the results below is not<br />
achieved, the machine must not be<br />
used! Take the machine to a service<br />
workshop for repair.<br />
4.4.1 General safety check<br />
Object<br />
Result<br />
Fuel lines and connections.<br />
No leaks.<br />
Electrical cables. All insulation intact.<br />
No mechanical damage.<br />
Exhaust system. No leaks at connections.<br />
All screws tightened.<br />
Oil lines No leaks. No damage.<br />
Drive the machine The machine will stop.<br />
forwards/backwards<br />
and release<br />
the driving-service<br />
brake pedal.<br />
Test driving No abnormal vibrations.<br />
No abnormal sound.<br />
4.4.2 Electrical safety check<br />
The operation of the safety system<br />
should always be checked every time<br />
before use.<br />
Status Action Result<br />
The clutch-brake<br />
pedal is not<br />
depressed.<br />
The power take-off<br />
is not activated.<br />
Try to start. The engine<br />
will not start.<br />
The clutch-brake<br />
pedal is depressed.<br />
The power take-off<br />
is activated.<br />
Engine running.<br />
The power take-off<br />
is activated.<br />
The driver gets up<br />
from the seat.<br />
The driver gets up<br />
from the seat.<br />
Engine running. Remove fuse 10<br />
A.<br />
See fig. 13.<br />
The engine<br />
will not start.<br />
The engine<br />
will stop.<br />
The engine<br />
will stop.<br />
62


