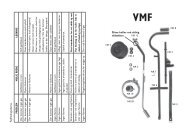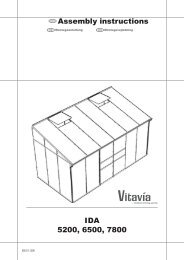
Ida 900, 1300 assembly instructions - OPJ Handel A/S
Ida 900, 1300 assembly instructions - OPJ Handel A/S
Ida 900, 1300 assembly instructions - OPJ Handel A/S

Create successful ePaper yourself
Turn your PDF publications into a flip-book with our unique Google optimized e-Paper software.
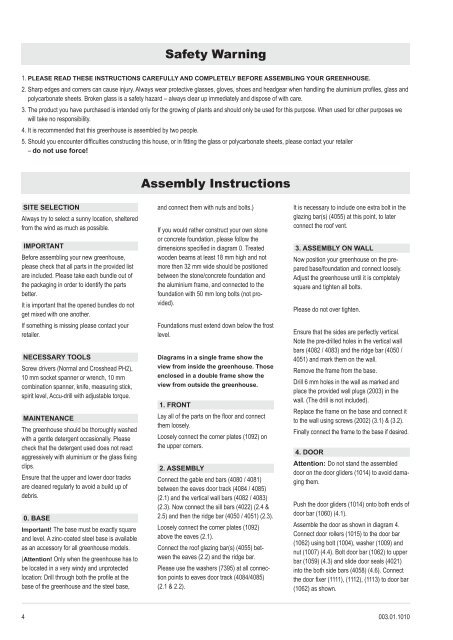
1. pleaSe reaD tHeSe inStrUctionS careFUlly anD completely BeFore aSSemBlinG yoUr GreenHoUSe.<br />
2. Sharp edges and corners can cause injury. Always wear protective glasses, gloves, shoes and headgear when handling the aluminium profiles, glass and<br />
polycarbonate sheets. Broken glass is a safety hazard – always clear up immediately and dispose of with care.<br />
3. The product you have purchased is intended only for the growing of plants and should only be used for this purpose. When used for other purposes we<br />
will take no responsibility.<br />
4. It is recommended that this greenhouse is assembled by two people.<br />
4<br />
Site Selection<br />
Always try to select a sunny location, sheltered<br />
from the wind as much as possible.<br />
important<br />
Before assembling your new greenhouse,<br />
please check that all parts in the provided list<br />
are included. Please take each bundle out of<br />
the packaging in order to identify the parts<br />
better.<br />
It is important that the opened bundles do not<br />
get mixed with one another.<br />
If something is missing please contact your<br />
retailer.<br />
neceSSary toolS<br />
Screw drivers (Normal and Crosshead PH2),<br />
10 mm socket spanner or wrench, 10 mm<br />
combination spanner, knife, measuring stick,<br />
spirit level, Accu-drill with adjustable torque.<br />
maintenance<br />
The greenhouse should be thoroughly washed<br />
with a gentle detergent occasionally. Please<br />
check that the detergent used does not react<br />
aggressively with aluminium or the glass fixing<br />
clips.<br />
Ensure that the upper and lower door tracks<br />
are cleaned regularly to avoid a build up of<br />
debris.<br />
0. BaSe<br />
important! The base must be exactly square<br />
and level. A zinc-coated steel base is available<br />
as an accessory for all greenhouse models.<br />
(attention! Only when the greenhouse has to<br />
be located in a very windy and unprotected<br />
location: Drill through both the profile at the<br />
base of the greenhouse and the steel base,<br />
Safety Warning<br />
5. Should you encounter difficulties constructing this house, or in fitting the glass or polycarbonate sheets, please contact your retailer<br />
– do not use force!<br />
<strong>assembly</strong> Instructions<br />
and connect them with nuts and bolts.)<br />
If you would rather construct your own stone<br />
or concrete foundation, please follow the<br />
dimensions specified in diagram 0. Treated<br />
wooden beams at least 18 mm high and not<br />
more then 32 mm wide should be positioned<br />
between the stone/concrete foundation and<br />
the aluminium frame, and connected to the<br />
foundation with 50 mm long bolts (not provided).<br />
Foundations must extend down below the frost<br />
level.<br />
Diagrams in a single frame show the<br />
view from inside the greenhouse. those<br />
enclosed in a double frame show the<br />
view from outside the greenhouse.<br />
1. Front<br />
Lay all of the parts on the floor and connect<br />
them loosely.<br />
Loosely connect the corner plates (1092) on<br />
the upper corners.<br />
2. aSSemBly<br />
Connect the gable end bars (4080 / 4081)<br />
between the eaves door track (4084 / 4085)<br />
(2.1) and the vertical wall bars (4082 / 4083)<br />
(2.3). Now connect the sill bars (4022) (2.4 &<br />
2.5) and then the ridge bar (4050 / 4051) (2.3).<br />
Loosely connect the corner plates (1092)<br />
above the eaves (2.1).<br />
Connect the roof glazing bar(s) (4055) between<br />
the eaves (2.2) and the ridge bar.<br />
Please use the washers (7395) at all connection<br />
points to eaves door track (4084/4085)<br />
(2.1 & 2.2).<br />
It is necessary to include one extra bolt in the<br />
glazing bar(s) (4055) at this point, to later<br />
connect the roof vent.<br />
3. aSSemBly on Wall<br />
Now position your greenhouse on the prepared<br />
base/foundation and connect loosely.<br />
Adjust the greenhouse until it is completely<br />
square and tighten all bolts.<br />
Please do not over tighten.<br />
Ensure that the sides are perfectly vertical.<br />
Note the pre-drilled holes in the vertical wall<br />
bars (4082 / 4083) and the ridge bar (4050 /<br />
4051) and mark them on the wall.<br />
Remove the frame from the base.<br />
Drill 6 mm holes in the wall as marked and<br />
place the provided wall plugs (2003) in the<br />
wall. (The drill is not included).<br />
Replace the frame on the base and connect it<br />
to the wall using screws (2002) (3.1) & (3.2).<br />
Finally connect the frame to the base if desired.<br />
4. Door<br />
attention: Do not stand the assembled<br />
door on the door gliders (1014) to avoid damaging<br />
them.<br />
Push the door gliders (1014) onto both ends of<br />
door bar (1060) (4.1).<br />
Assemble the door as shown in diagram 4.<br />
Connect door rollers (1015) to the door bar<br />
(1062) using bolt (1004), washer (1009) and<br />
nut (1007) (4.4). Bolt door bar (1062) to upper<br />
bar (1059) (4.3) and slide door seals (4021)<br />
into the both side bars (4058) (4.6). Connect<br />
the door fixer (1111), (1112), (1113) to door bar<br />
(1062) as shown.<br />
003.01.1010