
Create successful ePaper yourself
Turn your PDF publications into a flip-book with our unique Google optimized e-Paper software.
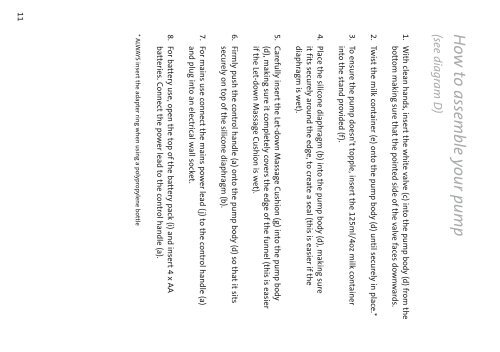
11<br />
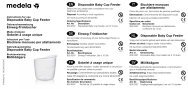
* ALWAYS insert the adapter ring when using a polypropylene bottle<br />
8. For battery use, open the top of the battery pack (i) and insert 4 x AA<br />
batteries. Connect the power lead to the control handle (a).<br />
7. For mains use connect the mains power lead (j) to the control handle (a)<br />
and plug into an electrical wall socket.<br />
6. Firmly push the control handle (a) onto the pump body (d) so that it sits<br />
securely on top of the silicone diaphragm (b).<br />
5. Carefully insert the Let-down Massage Cushion (g) into the pump body<br />
(d), making sure it completely covers the edge of the funnel (this is easier<br />
if the Let-down Massage Cushion is wet).<br />
4. Place the silicone diaphragm (b) into the pump body (d), making sure<br />
it fits securely around the edge, to create a seal (this is easier if the<br />
diaphragm is wet).<br />
3. To ensure the pump doesn’t topple, insert the 125ml/4oz milk container<br />
into the stand provided (f).<br />
2. Twist the milk container (e) onto the pump body (d) until securely in place.*<br />
1. With clean hands, insert the white valve (c) into the pump body (d) from the<br />
bottom making sure that the pointed side of the valve faces downwards.<br />
How to assemble your pump<br />
(see diagram D)