Notice de montage - Leroy Merlin
Notice de montage - Leroy Merlin
Notice de montage - Leroy Merlin

You also want an ePaper? Increase the reach of your titles
YUMPU automatically turns print PDFs into web optimized ePapers that Google loves.
➊<br />
➊<br />
ou<br />
➊<br />
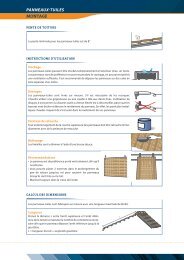
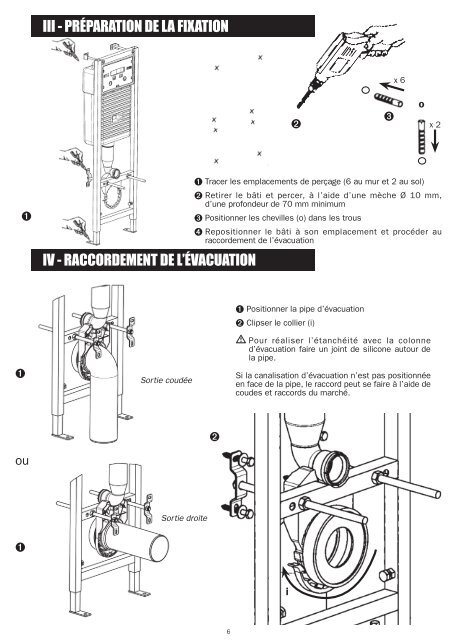
III - PRÉPARATION DE LA FIXATION<br />
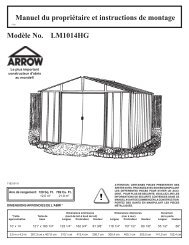
IV - RACCORDEMENT DE L’ÉVACUATION<br />
Sortie coudée<br />
Sortie droite<br />
➊ Tracer les emplacements <strong>de</strong> perçage (6 au mur et 2 au sol)<br />
➋ Retirer le bâti et percer, à l’ai<strong>de</strong> d’une mèche Ø 10 mm,<br />
d’une profon<strong>de</strong>ur <strong>de</strong> 70 mm minimum<br />
➌ Positionner les chevilles (o) dans les trous<br />
➍ Repositionner le bâti à son emplacement et procé<strong>de</strong>r au<br />
raccor<strong>de</strong>ment <strong>de</strong> l’évacuation<br />
➋<br />
6<br />
➋<br />
➊ Positionner la pipe d’évacuation<br />
➋ Clipser le collier (i)<br />
➌<br />
x 6<br />
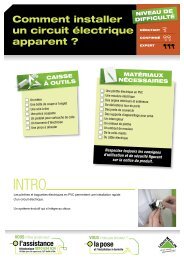
Pour réaliser l’étanchéité avec la colonne<br />
d’évacuation faire un joint <strong>de</strong> silicone autour <strong>de</strong><br />
la pipe.<br />
Si la canalisation d’évacuation n’est pas positionnée<br />
en face <strong>de</strong> la pipe, le raccord peut se faire à l’ai<strong>de</strong> <strong>de</strong><br />
cou<strong>de</strong>s et raccords du marché.<br />
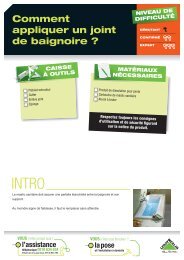
i<br />
o<br />
x 2