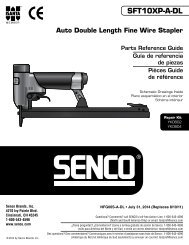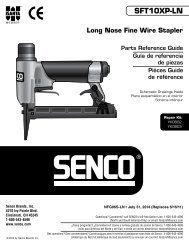
Operating Instructions Instrucciones de Operacion Mode d ... - Senco
Operating Instructions Instrucciones de Operacion Mode d ... - Senco
Operating Instructions Instrucciones de Operacion Mode d ... - Senco

You also want an ePaper? Increase the reach of your titles
YUMPU automatically turns print PDFs into web optimized ePapers that Google loves.
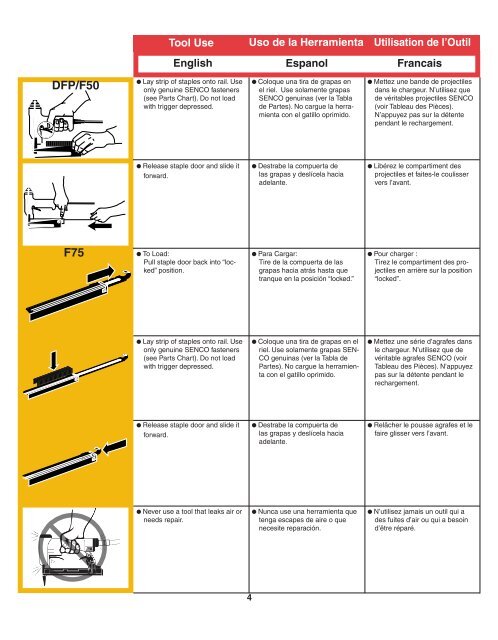
DFP/F50<br />
F75<br />
Tool Use Uso <strong>de</strong> la Herramienta Utilisation <strong>de</strong> l’Outil<br />
English Espanol Francais<br />
l Lay strip of staples onto rail. Use<br />
only genuine SENCO fasteners<br />
(see Parts Chart). Do not load<br />
with trigger <strong>de</strong>pressed.<br />
l Release staple door and sli<strong>de</strong> it<br />
forward.<br />
l To Load:<br />
Pull staple door back into “locked”<br />
position.<br />
l Lay strip of staples onto rail. Use<br />
only genuine SENCO fasteners<br />
(see Parts Chart). Do not load<br />
with trigger <strong>de</strong>pressed.<br />
l Release staple door and sli<strong>de</strong> it<br />
forward.<br />
l Never use a tool that leaks air or<br />
needs repair.<br />
4<br />
l Coloque una tira <strong>de</strong> grapas en<br />
el riel. Use solamente grapas<br />
SENCO genuinas (ver la Tabla<br />
<strong>de</strong> Partes). No cargue la herramienta<br />
con el gatillo oprimido.<br />
l Destrabe la compuerta <strong>de</strong><br />
las grapas y <strong>de</strong>slícela hacia<br />
a<strong>de</strong>lante.<br />
l Para Cargar:<br />
Tire <strong>de</strong> la compuerta <strong>de</strong> las<br />
grapas hacia atrás hasta que<br />
tranque en la posición “locked.”<br />
l Coloque una tira <strong>de</strong> grapas en el<br />
riel. Use solamente grapas SEN-<br />
CO genuinas (ver la Tabla <strong>de</strong><br />
Partes). No cargue la herramienta<br />
con el gatillo oprimido.<br />
l Destrabe la compuerta <strong>de</strong><br />
las grapas y <strong>de</strong>slícela hacia<br />
a<strong>de</strong>lante.<br />
l Nunca use una herramienta que<br />
tenga escapes <strong>de</strong> aire o que<br />
necesite reparación.<br />
l Mettez une ban<strong>de</strong> <strong>de</strong> projectiles<br />
dans le chargeur. N’utilisez que<br />
<strong>de</strong> véritables projectiles SENCO<br />
(voir Tableau <strong>de</strong>s Pièces).<br />
N’appuyez pas sur la détente<br />
pendant le rechargement.<br />
l Libérez le compartiment <strong>de</strong>s<br />
projectiles et faites-le coulisser<br />
vers l’avant.<br />
l Pour charger :<br />
Tirez le compartiment <strong>de</strong>s projectiles<br />
en arrière sur la position<br />
“locked”.<br />
l Mettez une série d’agrafes dans<br />
le chargeur. N’utilisez que <strong>de</strong><br />
véritable agrafes SENCO (voir<br />
Tableau <strong>de</strong>s Pièces). N’appuyez<br />
pas sur la détente pendant le<br />
rechargement.<br />
l Relâcher le pousse agrafes et le<br />
faire glisser vers l’avant.<br />
l N’utilisez jamais un outil qui a<br />
<strong>de</strong>s fuites d’air ou qui a besoin<br />
d’être réparé.