Onduleur photovoltaïque série ES ES2200 / ES3300 ... - Effekta
Onduleur photovoltaïque série ES ES2200 / ES3300 ... - Effekta
Onduleur photovoltaïque série ES ES2200 / ES3300 ... - Effekta

You also want an ePaper? Increase the reach of your titles
YUMPU automatically turns print PDFs into web optimized ePapers that Google loves.
<strong>Onduleur</strong> <strong>photovoltaïque</strong> <strong>série</strong> <strong>ES</strong> Mise en service<br />
7.3 Mise en service de l’onduleur <strong>photovoltaïque</strong><br />
• Vérifiez que le sectionneur de courant continu est activé et le cas échéant,<br />
tournez-le en position MARCHE.<br />
• Placez le sectionneur de courant alternatif en position MARCHE.<br />
• Attendez 30 secondes (temps d’attente prescrit par la loi).<br />
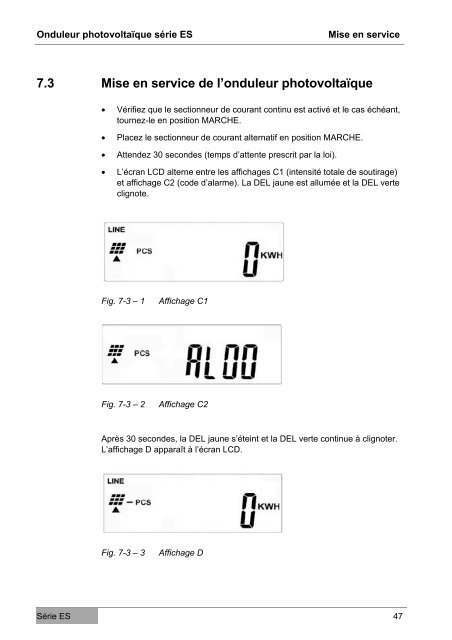
• L’écran LCD alterne entre les affichages C1 (intensité totale de soutirage)<br />
et affichage C2 (code d’alarme). La DEL jaune est allumée et la DEL verte<br />
clignote.<br />
Fig. 7-3 – 1 Affichage C1<br />
Fig. 7-3 – 2 Affichage C2<br />
Après 30 secondes, la DEL jaune s’éteint et la DEL verte continue à clignoter.<br />
L’affichage D apparaît à l’écran LCD.<br />
Fig. 7-3 – 3 Affichage D<br />
Série <strong>ES</strong> 47