Series 7 - Braun Consumer Service spare parts use instructions ...
Series 7 - Braun Consumer Service spare parts use instructions ...
Series 7 - Braun Consumer Service spare parts use instructions ...

Create successful ePaper yourself
Turn your PDF publications into a flip-book with our unique Google optimized e-Paper software.
6<br />
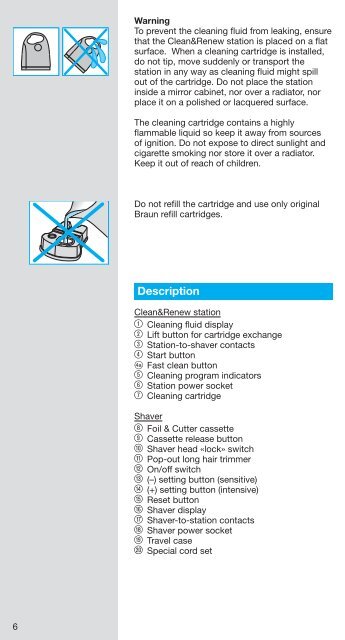
Warning<br />
To prevent the cleaning fl uid from leaking, ensure<br />
that the Clean&Renew station is placed on a fl at<br />
surface. When a cleaning cartridge is installed,<br />
do not tip, move suddenly or transport the<br />
station in any way as cleaning fl uid might spill<br />
out of the cartridge. Do not place the station<br />
inside a mirror cabinet, nor over a radiator, nor<br />
place it on a polished or lacquered surface.<br />
The cleaning cartridge contains a highly<br />
fl ammable liquid so keep it away from sources<br />
of ignition. Do not expose to direct sunlight and<br />
cigarette smoking nor store it over a radiator.<br />
Keep it out of reach of children.<br />
Do not refi ll the cartridge and <strong>use</strong> only original<br />
<strong>Braun</strong> refi ll cartridges.<br />
Description<br />
Clean&Renew station<br />
1 Cleaning fl uid display<br />
2 Lift button for cartridge exchange<br />
3 Station-to-shaver contacts<br />
4 Start button<br />
D Fast clean button<br />
5 Cleaning program indicators<br />
6 Station power socket<br />
7 Cleaning cartridge<br />
Shaver<br />
8 Foil & Cutter cassette<br />
9 Cassette release button<br />
0 Shaver head «lock» switch<br />
q Pop-out long hair trimmer<br />
w On/off switch<br />
e (–) setting button (sensitive)<br />
r (+) setting button (intensive)<br />
t Reset button<br />
z Shaver display<br />
u Shaver-to-station contacts<br />
i Shaver power socket<br />
o Travel case<br />
p Special cord set