
You also want an ePaper? Increase the reach of your titles
YUMPU automatically turns print PDFs into web optimized ePapers that Google loves.
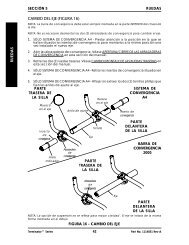
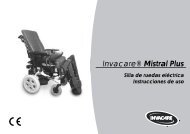
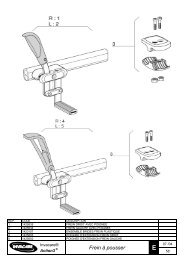
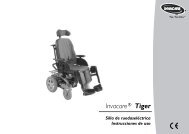
<strong>Dress</strong> <strong>Toileting</strong>Thank you for purchasing an <strong>Invacare®</strong>sling.The following user guide must be read and adhered to, or the warranty may be void.Please check your sling on delivery – if the sling is not in perfect condition, please contact yoursupplier.The <strong>Invacare®</strong><strong>Toileting</strong> sling combines quick and easy application with maximum personalaccess for dressing and hygiene. It is only suitable for clients with good head and trunk control;however the sling can promote independence, as arms are free for function.Sling application – Sitting in chair or wheelchairLean the client forward ensuring that he is well supported to reduce risk of falling and topromote feelings of security.Slide the sling down behind the back of the client in a central position with the aperture apexaligned with the waist - the padded upper edge must be right under the arms.Sit the client back against the sling. Picture 1.The arms must be outside the sling.Pass the leg support towards the front of the chair to each side of the thigh and under thethigh. Picture 2.Sling application – Sitting in a bedLean the client forward ensuring that they are well supported to reduce risk of falling and topromote feelings of security.Slide sling down behind the back of the client in a central position with the aperture apexaligned with the base of the spine.Sit the client back against the sling. Picture 3.Application of the legs strapsCrossed legs straps:For maximum security, cross the legs straps. This will reduce the risk of forward pitching andalso maintain a better alignment of the hips and lower limbs. Picture 4.Looping the leg sections together:If the client feels this is more comfortable pass each individual leg strap under both legs.Ensure that the client is not prone to spasm and there has been a risk assessment completedto address the possibility of forward pitching. Picture 5.Uncrossed leg straps:Apply each leg strap to each leg, but do not cross the straps before attaching to the spreaderbar or lifting strap. This can be recommended when the client has abdominal sensitivity orrequires intimate hygiene. Picture 6.Note: It is crucial for the sitting position that the leg support is placed correctly.Clients with reduced hip control must have the leg supports placed close to the groin.