

Acer XS-X10 - Guide de démarrage rapide
Acer XS-X10 - Guide de démarrage rapide
Acer XS-X10 - Guide de démarrage rapide

You also want an ePaper? Increase the reach of your titles
YUMPU automatically turns print PDFs into web optimized ePapers that Google loves.
English<br />
Bahasa Indonesia<br />
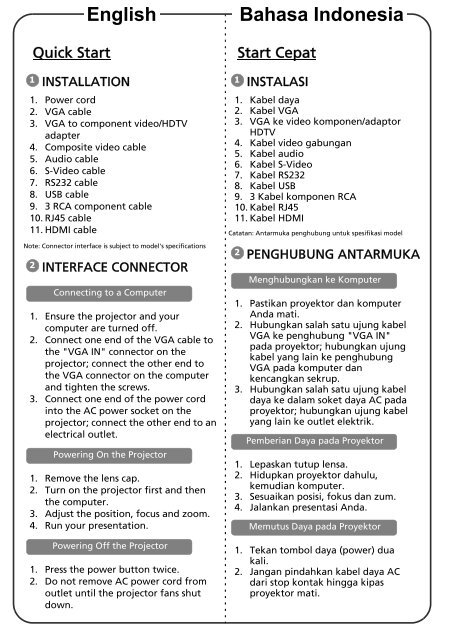
Quick Start<br />
1<br />
INSTALLATION<br />
1. Power cord<br />
2. VGA cable<br />
3. VGA to component vi<strong>de</strong>o/HDTV<br />
adapter<br />
4. Composite vi<strong>de</strong>o cable<br />
5. Audio cable<br />
6. S-Vi<strong>de</strong>o cable<br />
7. RS232 cable<br />
8. USB cable<br />
9. 3 RCA component cable<br />
10. RJ45 cable<br />
11. HDMI cable<br />
Note: Connector interface is subject to mo<strong>de</strong>l's specifications<br />
2<br />
INTERFACE CONNECTOR<br />
Connecting to a Computer<br />
1. Ensure the projector and your<br />
computer are turned off.<br />
2. Connect one end of the VGA cable to<br />
the "VGA IN" connector on the<br />
projector; connect the other end to<br />
the VGA connector on the computer<br />
and tighten the screws.<br />
3. Connect one end of the power cord<br />
into the AC power socket on the<br />
projector; connect the other end to an<br />
electrical outlet.<br />
Powering On the Projector<br />
1. Remove the lens cap.<br />
2. Turn on the projector first and then<br />
the computer.<br />
3. Adjust the position, focus and zoom.<br />
4. Run your presentation.<br />
Powering Off the Projector<br />
1. Press the power button twice.<br />
2. Do not remove AC power cord from<br />
outlet until the projector fans shut<br />
down.<br />
1<br />
Start Cepat<br />
INSTALASI<br />
1. Kabel daya<br />
2. Kabel VGA<br />
3. VGA ke vi<strong>de</strong>o komponen/adaptor<br />
HDTV<br />
4. Kabel vi<strong>de</strong>o gabungan<br />
5. Kabel audio<br />
6. Kabel S-Vi<strong>de</strong>o<br />
7. Kabel RS232<br />
8. Kabel USB<br />
9. 3 Kabel komponen RCA<br />
10. Kabel RJ45<br />
11. Kabel HDMI<br />
Catatan: Antarmuka penghubung untuk spesifikasi mo<strong>de</strong>l<br />
2<br />
PENGHUBUNG ANTARMUKA<br />
Menghubungkan ke Komputer<br />
1. Pastikan proyektor dan komputer<br />
Anda mati.<br />
2. Hubungkan salah satu ujung kabel<br />
VGA ke penghubung "VGA IN"<br />
pada proyektor; hubungkan ujung<br />
kabel yang lain ke penghubung<br />
VGA pada komputer dan<br />
kencangkan sekrup.<br />
3. Hubungkan salah satu ujung kabel<br />
daya ke dalam soket daya AC pada<br />
proyektor; hubungkan ujung kabel<br />
yang lain ke outlet elektrik.<br />
Pemberian Daya pada Proyektor<br />
1. Lepaskan tutup lensa.<br />
2. Hidupkan proyektor dahulu,<br />
kemudian komputer.<br />
3. Sesuaikan posisi, fokus dan zum.<br />
4. Jalankan presentasi Anda.<br />
Memutus Daya pada Proyektor<br />
1. Tekan tombol daya (power) dua<br />
kali.<br />
2. Jangan pindahkan kabel daya AC<br />
dari stop kontak hingga kipas<br />
proyektor mati.


