BlackandDecker Meuleuse Petit Diamètre- Kg900 - Type 2 - Instruction Manual (Européen)
BlackandDecker Meuleuse Petit Diamètre- Kg900 - Type 2 - Instruction Manual (Européen)
BlackandDecker Meuleuse Petit Diamètre- Kg900 - Type 2 - Instruction Manual (Européen)
Create successful ePaper yourself
Turn your PDF publications into a flip-book with our unique Google optimized e-Paper software.
ENGLISH<br />
Safety warnings specific for sanding operations<br />
Do not use excessively oversized sanding disc paper.<br />
Follow manufacturers recomm<strong>en</strong>dations, wh<strong>en</strong><br />
selecting sanding paper. Larger sanding paper<br />
ext<strong>en</strong>ding beyond the sanding pad pres<strong>en</strong>ts a laceration<br />
hazard and may cause snagging, tearing of the disc or<br />
kickback.<br />
Safety warnings specific for polishing operations<br />
Do not allow any loose portion of the polishing bonnet<br />
or its attachm<strong>en</strong>t strings to spin freely. Tuck away or<br />
trim any loose attachm<strong>en</strong>t strings. Loose and spinning<br />
attachm<strong>en</strong>t strings can <strong>en</strong>tangle your fingers or snag on the<br />
workpiece.<br />
Safety warnings specific for wire brushing operations<br />
Be aware that wire bristles are thrown by the brush<br />
ev<strong>en</strong> during ordinary operation. Do not overs<strong>tre</strong>ss the<br />
wires by applying excessive load to the brush. The wire<br />
bristles can easily p<strong>en</strong>etrate light clothing and/or skin.<br />
If the use of a guard is recomm<strong>en</strong>ded for wire<br />
brushing, do not allow any interfer<strong>en</strong>ce of the wire<br />
wheel or brush with the guard. Wire wheel or brush may<br />
expand in diameter due to work load and c<strong>en</strong>trifugal forces.<br />
Safety of others<br />
This appliance is not int<strong>en</strong>ded for use by persons<br />
(including childr<strong>en</strong>) with reduced physical, s<strong>en</strong>sory or<br />
m<strong>en</strong>tal capabilities, or lack of experi<strong>en</strong>ce and<br />
knowledge, unless they have be<strong>en</strong> giv<strong>en</strong> supervision or<br />
instruction concerning the use of the appliance by a<br />
person responsible for the their safety.<br />
Childr<strong>en</strong> should be supervised to <strong>en</strong>sure that they do<br />
not play with the appliance.<br />
Vibration<br />
The declared vibration emission values stated in the<br />
technical data and the declaration of conformity have be<strong>en</strong><br />
measured in accordance with a standard test method<br />
provided by EN 60745 and may be used for comparing one<br />
tool with another. The declared vibration emission value may<br />
also be used in a preliminary assessm<strong>en</strong>t of exposure.<br />
Warning! The vibration emission value during actual use of the<br />
power tool can differ from the declared value dep<strong>en</strong>ding on the<br />
ways in which the tool is used. The vibration level may increase<br />
above the level stated.<br />
Wh<strong>en</strong> assessing vibration exposure to determine safety<br />
measures required by 2002/44/EC to protect persons<br />
regularly using power tools in employm<strong>en</strong>t, an estimation of<br />
vibration exposure should consider, the actual conditions of<br />
use and the way the tool is used, including taking account of<br />
all parts of the operating cycle such as the times wh<strong>en</strong> the<br />
tool is switched off and wh<strong>en</strong> it is running idle in addition to<br />
the trigger time.<br />
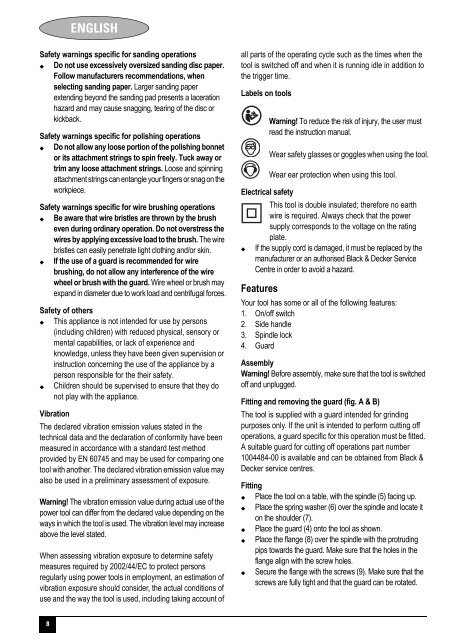
Labels on tools<br />
Electrical safety<br />
<br />
Warning! To reduce the risk of injury, the user must<br />
read the instruction manual.<br />
Wear safety glasses or goggles wh<strong>en</strong> using the tool.<br />
Wear ear protection wh<strong>en</strong> using this tool.<br />
This tool is double insulated; therefore no earth<br />
wire is required. Always check that the power<br />
supply corresponds to the voltage on the rating<br />
plate.<br />
If the supply cord is damaged, it must be replaced by the<br />
manufacturer or an authorised Black & Decker Service<br />
C<strong>en</strong><strong>tre</strong> in order to avoid a hazard.<br />
Features<br />
Your tool has some or all of the following features:<br />
1. On/off switch<br />
2. Side handle<br />
3. Spindle lock<br />
4. Guard<br />
Assembly<br />
Warning! Before assembly, make sure that the tool is switched<br />
off and unplugged.<br />
Fitting and removing the guard (fig. A & B)<br />
The tool is supplied with a guard int<strong>en</strong>ded for grinding<br />
purposes only. If the unit is int<strong>en</strong>ded to perform cutting off<br />
operations, a guard specific for this operation must be fitted.<br />
A suitable guard for cutting off operations part number<br />
1004484-00 is available and can be obtained from Black &<br />
Decker service c<strong>en</strong><strong>tre</strong>s.<br />
Fitting<br />
Place the tool on a table, with the spindle (5) facing up.<br />
Place the spring washer (6) over the spindle and locate it<br />
on the shoulder (7).<br />
Place the guard (4) onto the tool as shown.<br />
Place the flange (8) over the spindle with the protruding<br />
pips towards the guard. Make sure that the holes in the<br />
flange align with the screw holes.<br />
Secure the flange with the screws (9). Make sure that the<br />
screws are fully tight and that the guard can be rotated.<br />
8


