

Karcher DS 6.000 - manuals
Karcher DS 6.000 - manuals
Karcher DS 6.000 - manuals

You also want an ePaper? Increase the reach of your titles
YUMPU automatically turns print PDFs into web optimized ePapers that Google loves.
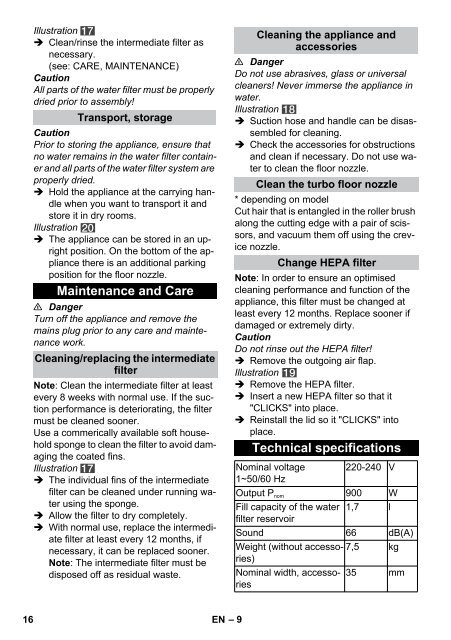
Illustration<br />
Clean/rinse the intermediate filter as<br />
necessary.<br />
(see: CARE, MAINTENANCE)<br />
Caution<br />
All parts of the water filter must be properly<br />
dried prior to assembly!<br />
Transport, storage<br />
Caution<br />
Prior to storing the appliance, ensure that<br />
no water remains in the water filter container<br />
and all parts of the water filter system are<br />
properly dried.<br />
Hold the appliance at the carrying handle<br />
when you want to transport it and<br />
store it in dry rooms.<br />
Illustration<br />
The appliance can be stored in an upright<br />
position. On the bottom of the appliance<br />
there is an additional parking<br />
position for the floor nozzle.<br />
Maintenance and Care<br />
Danger<br />
Turn off the appliance and remove the<br />
mains plug prior to any care and maintenance<br />
work.<br />
Cleaning/replacing the intermediate<br />
filter<br />
Note: Clean the intermediate filter at least<br />
every 8 weeks with normal use. If the suction<br />
performance is deteriorating, the filter<br />
must be cleaned sooner.<br />
Use a commerically available soft household<br />
sponge to clean the filter to avoid damaging<br />
the coated fins.<br />
Illustration<br />
The individual fins of the intermediate<br />
filter can be cleaned under running water<br />
using the sponge.<br />
Allow the filter to dry completely.<br />
With normal use, replace the intermediate<br />
filter at least every 12 months, if<br />
necessary, it can be replaced sooner.<br />
Note: The intermediate filter must be<br />
disposed off as residual waste.<br />
Cleaning the appliance and<br />
accessories<br />
Danger<br />
Do not use abrasives, glass or universal<br />
cleaners! Never immerse the appliance in<br />
water.<br />
Illustration<br />
Suction hose and handle can be disassembled<br />
for cleaning.<br />
Check the accessories for obstructions<br />
and clean if necessary. Do not use water<br />
to clean the floor nozzle.<br />
Clean the turbo floor nozzle<br />
* depending on model<br />
Cut hair that is entangled in the roller brush<br />
along the cutting edge with a pair of scissors,<br />
and vacuum them off using the crevice<br />
nozzle.<br />
Change HEPA filter<br />
Note: In order to ensure an optimised<br />
cleaning performance and function of the<br />
appliance, this filter must be changed at<br />
least every 12 months. Replace sooner if<br />
damaged or extremely dirty.<br />
Caution<br />
Do not rinse out the HEPA filter!<br />
Remove the outgoing air flap.<br />
Illustration<br />
Remove the HEPA filter.<br />
Insert a new HEPA filter so that it<br />
"CLICKS" into place.<br />
Reinstall the lid so it "CLICKS" into<br />
place.<br />
Technical specifications<br />
Nominal voltage 220-240 V<br />
1~50/60 Hz<br />
Output P nom 900 W<br />
Fill capacity of the water 1,7 l<br />
filter reservoir<br />
Sound 66 dB(A)<br />
Weight (without accessories)<br />
7,5 kg<br />
Nominal width, accessories<br />
35 mm<br />
16 EN – 9


