

BlackandDecker Meule A Polir- Bpgp1518 - Type 1 - Instruction Manual (Turque)
BlackandDecker Meule A Polir- Bpgp1518 - Type 1 - Instruction Manual (Turque)
BlackandDecker Meule A Polir- Bpgp1518 - Type 1 - Instruction Manual (Turque)

Create successful ePaper yourself
Turn your PDF publications into a flip-book with our unique Google optimized e-Paper software.
ENGLISH<br />
when the tool is switched off and when it is running<br />
idle in addition to the trigger time.<br />
Use of extension cords<br />
Make sure the extension cord is in good condition<br />
before using. Always use the proper size extension<br />
cords with the tool – that is, proper wire size for<br />
various lengths of cord and heavy enough to carry<br />
the current the tool will draw. Use of an undersized<br />
cord will cause a drop in line voltage resulting in<br />
loss of power and overheating. For proper size<br />
cords see chart below.<br />
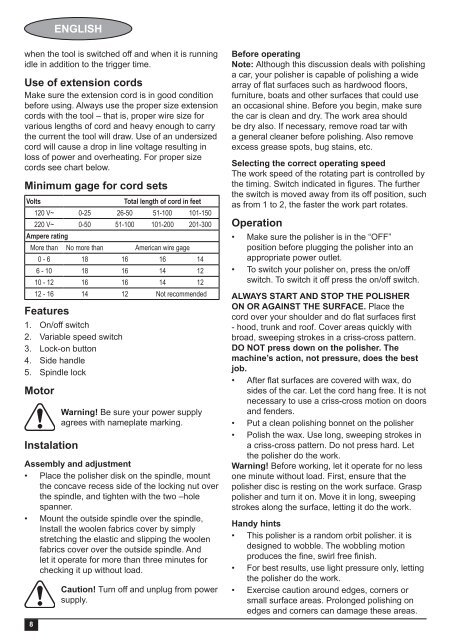
Minimum gage for cord sets<br />
Volts<br />
Total length of cord in feet<br />
120 V~ 0-25 26-50 51-100 101-150<br />
220 V~ 0-50 51-100 101-200 201-300<br />
Ampere rating<br />
More than No more than American wire gage<br />
0 - 6 18 16 16 14<br />
6 - 10 18 16 14 12<br />
10 - 12 16 16 14 12<br />
12 - 16 14 12 Not recommended<br />
Features<br />
1. On/off switch<br />
2. Variable speed switch<br />
3. Lock-on button<br />
4. Side handle<br />
5. Spindle lock<br />
Motor<br />
Instalation<br />
8<br />
Warning! Be sure your power supply<br />
agrees with nameplate marking.<br />
Assembly and adjustment<br />
• Place the polisher disk on the spindle, mount<br />
the concave recess side of the locking nut over<br />
the spindle, and tighten with the two –hole<br />
spanner.<br />
• Mount the outside spindle over the spindle,<br />
Install the woolen fabrics cover by simply<br />
stretching the elastic and slipping the woolen<br />
fabrics cover over the outside spindle. And<br />
let it operate for more than three minutes for<br />
checking it up without load.<br />
Caution! Turn off and unplug from power<br />
supply.<br />
Before operating<br />
Note: Although this discussion deals with polishing<br />
a car, your polisher is capable of polishing a wide<br />
array of fl at surfaces such as hardwood fl oors,<br />
furniture, boats and other surfaces that could use<br />
an occasional shine. Before you begin, make sure<br />
the car is clean and dry. The work area should<br />
be dry also. If necessary, remove road tar with<br />
a general cleaner before polishing. Also remove<br />
excess grease spots, bug stains, etc.<br />
Selecting the correct operating speed<br />
The work speed of the rotating part is controlled by<br />
the timing. Switch indicated in fi gures. The further<br />
the switch is moved away from its off position, such<br />
as from 1 to 2, the faster the work part rotates.<br />
Operation<br />
• Make sure the polisher is in the “OFF”<br />
position before plugging the polisher into an<br />
appropriate power outlet.<br />
• To switch your polisher on, press the on/off<br />
switch. To switch it off press the on/off switch.<br />
ALWAYS START AND STOP THE POLISHER<br />
ON OR AGAINST THE SURFACE. Place the<br />
cord over your shoulder and do fl at surfaces fi rst<br />
- hood, trunk and roof. Cover areas quickly with<br />
broad, sweeping strokes in a criss-cross pattern.<br />
DO NOT press down on the polisher. The<br />
machine’s action, not pressure, does the best<br />
job.<br />
• After fl at surfaces are covered with wax, do<br />
sides of the car. Let the cord hang free. It is not<br />
necessary to use a criss-cross motion on doors<br />
and fenders.<br />
• Put a clean polishing bonnet on the polisher<br />
• Polish the wax. Use long, sweeping strokes in<br />
a criss-cross pattern. Do not press hard. Let<br />
the polisher do the work.<br />
Warning! Before working, let it operate for no less<br />
one minute without load. First, ensure that the<br />
polisher disc is resting on the work surface. Grasp<br />
polisher and turn it on. Move it in long, sweeping<br />
strokes along the surface, letting it do the work.<br />
Handy hints<br />
• This polisher is a random orbit polisher. it is<br />
designed to wobble. The wobbling motion<br />
produces the fi ne, swirl free fi nish.<br />
• For best results, use light pressure only, letting<br />
the polisher do the work.<br />
• Exercise caution around edges, corners or<br />
small surface areas. Prolonged polishing on<br />
edges and corners can damage these areas.


