

Karcher K 2.980M PLUS T80*EU - manuals
Karcher K 2.980M PLUS T80*EU - manuals
Karcher K 2.980M PLUS T80*EU - manuals

You also want an ePaper? Increase the reach of your titles
YUMPU automatically turns print PDFs into web optimized ePapers that Google loves.
Before Startup<br />
Mount loose parts delivered with appliance prior<br />
to start-up.<br />
Illustrations on Page 2<br />
Illustration<br />
Insert the transport wheels and lock them.<br />
Illustration<br />
Pull out the clamp for the high-pressure hose<br />
from the trigger gun (e.g. with a small screwdriver).<br />
Illustration<br />
Connect high pressure hose to trigger gun.<br />
Push the clamp in until it locks. Check the secure<br />
connection by pulling on the high-pressure<br />
hose.<br />
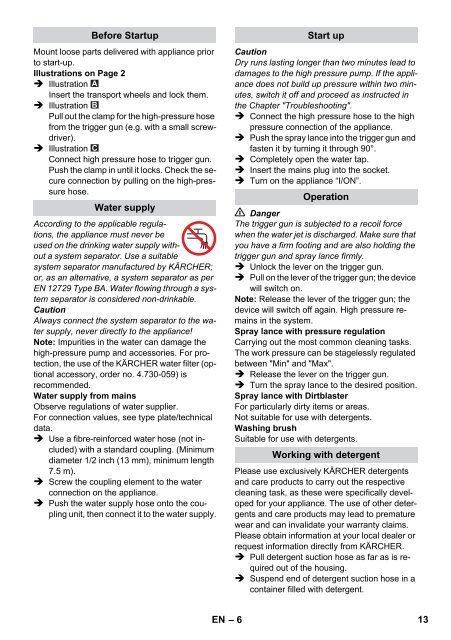
Water supply<br />
According to the applicable regulations,<br />
the appliance must never be<br />
used on the drinking water supply without<br />
a system separator. Use a suitable<br />
system separator manufactured by KÄRCHER;<br />
or, as an alternative, a system separator as per<br />
EN 12729 Type BA. Water flowing through a system<br />
separator is considered non-drinkable.<br />
Caution<br />
Always connect the system separator to the water<br />
supply, never directly to the appliance!<br />
Note: Impurities in the water can damage the<br />
high-pressure pump and accessories. For protection,<br />
the use of the KÄRCHER water filter (optional<br />
accessory, order no. 4.730-059) is<br />
recommended.<br />
Water supply from mains<br />
Observe regulations of water supplier.<br />
For connection values, see type plate/technical<br />
data.<br />
Use a fibre-reinforced water hose (not included)<br />
with a standard coupling. (Minimum<br />
diameter 1/2 inch (13 mm), minimum length<br />
7.5 m).<br />
Screw the coupling element to the water<br />
connection on the appliance.<br />
Push the water supply hose onto the coupling<br />
unit, then connect it to the water supply.<br />
Start up<br />
Caution<br />
Dry runs lasting longer than two minutes lead to<br />
damages to the high pressure pump. If the appliance<br />
does not build up pressure within two minutes,<br />
switch it off and proceed as instructed in<br />
the Chapter "Troubleshooting".<br />
Connect the high pressure hose to the high<br />
pressure connection of the appliance.<br />
Push the spray lance into the trigger gun and<br />
fasten it by turning it through 90°.<br />
Completely open the water tap.<br />
Insert the mains plug into the socket.<br />
Turn on the appliance “I/ON”.<br />
Operation<br />
Danger<br />
The trigger gun is subjected to a recoil force<br />
when the water jet is discharged. Make sure that<br />
you have a firm footing and are also holding the<br />
trigger gun and spray lance firmly.<br />
Unlock the lever on the trigger gun.<br />
Pull on the lever of the trigger gun; the device<br />
will switch on.<br />
Note: Release the lever of the trigger gun; the<br />
device will switch off again. High pressure remains<br />
in the system.<br />
Spray lance with pressure regulation<br />
Carrying out the most common cleaning tasks.<br />
The work pressure can be stagelessly regulated<br />
between "Min" and "Max".<br />
Release the lever on the trigger gun.<br />
Turn the spray lance to the desired position.<br />
Spray lance with Dirtblaster<br />
For particularly dirty items or areas.<br />
Not suitable for use with detergents.<br />
Washing brush<br />
Suitable for use with detergents.<br />
Working with detergent<br />
Please use exclusively KÄRCHER detergents<br />
and care products to carry out the respective<br />
cleaning task, as these were specifically developed<br />
for your appliance. The use of other detergents<br />
and care products may lead to premature<br />
wear and can invalidate your warranty claims.<br />
Please obtain information at your local dealer or<br />
request information directly from KÄRCHER.<br />
Pull detergent suction hose as far as is required<br />
out of the housing.<br />
Suspend end of detergent suction hose in a<br />
container filled with detergent.<br />
EN – 6<br />
13


