Karcher SC 5 Premium + IronKit - manuals
Karcher SC 5 Premium + IronKit - manuals
Karcher SC 5 Premium + IronKit - manuals
You also want an ePaper? Increase the reach of your titles
YUMPU automatically turns print PDFs into web optimized ePapers that Google loves.
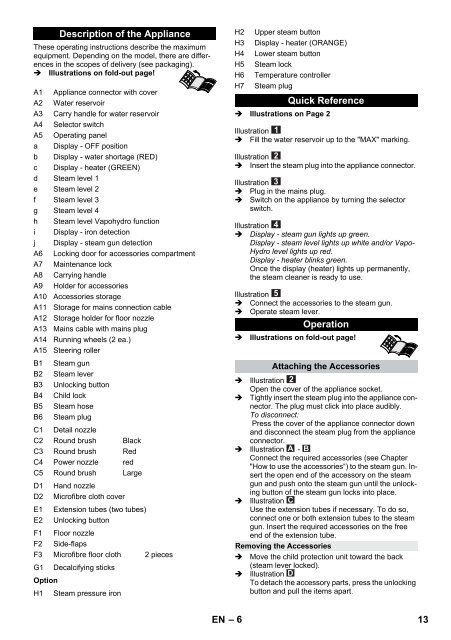
Description of the Appliance<br />
These operating instructions describe the maximum<br />
equipment. Depending on the model, there are differences<br />
in the scopes of delivery (see packaging).<br />
Illustrations on fold-out page!<br />
A1 Appliance connector with cover<br />
A2 Water reservoir<br />
A3 Carry handle for water reservoir<br />
A4 Selector switch<br />
A5 Operating panel<br />
a Display - OFF position<br />
b Display - water shortage (RED)<br />
c Display - heater (GREEN)<br />
d Steam level 1<br />
e Steam level 2<br />
f Steam level 3<br />
g Steam level 4<br />
h Steam level Vapohydro function<br />
i Display - iron detection<br />
j Display - steam gun detection<br />
A6 Locking door for accessories compartment<br />
A7 Maintenance lock<br />
A8 Carrying handle<br />
A9 Holder for accessories<br />
A10 Accessories storage<br />
A11 Storage for mains connection cable<br />
A12 Storage holder for floor nozzle<br />
A13 Mains cable with mains plug<br />
A14 Running wheels (2 ea.)<br />
A15 Steering roller<br />
B1 Steam gun<br />
B2 Steam lever<br />
B3 Unlocking button<br />
B4 Child lock<br />
B5 Steam hose<br />
B6 Steam plug<br />
C1 Detail nozzle<br />
C2 Round brush Black<br />
C3 Round brush Red<br />
C4 Power nozzle red<br />
C5 Round brush Large<br />
D1 Hand nozzle<br />
D2 Microfibre cloth cover<br />
E1 Extension tubes (two tubes)<br />
E2 Unlocking button<br />
F1 Floor nozzle<br />
F2 Side-flaps<br />
F3 Microfibre floor cloth 2 pieces<br />
G1 Decalcifying sticks<br />
Option<br />
H1 Steam pressure iron<br />
H2<br />
H3<br />
H4<br />
H5<br />
H6<br />
H7<br />
Illustrations on Page 2<br />
Illustration<br />
Fill the water reservoir up to the "MAX" marking.<br />
Illustration<br />
Insert the steam plug into the appliance connector.<br />
Illustration<br />
Plug in the mains plug.<br />
Switch on the appliance by turning the selector<br />
switch.<br />
Illustration<br />
Display - steam gun lights up green.<br />
Display - steam level lights up white and/or Vapo-<br />
Hydro level lights up red.<br />
Display - heater blinks green.<br />
Once the display (heater) lights up permanently,<br />
the steam cleaner is ready to use.<br />
Illustration<br />
Connect the accessories to the steam gun.<br />
Operate steam lever.<br />
Operation<br />
<br />
Upper steam button<br />
Display - heater (ORANGE)<br />
Lower steam button<br />
Steam lock<br />
Temperature controller<br />
Steam plug<br />
Quick Reference<br />
Illustrations on fold-out page!<br />
Attaching the Accessories<br />
Illustration<br />
Open the cover of the appliance socket.<br />
Tightly insert the steam plug into the appliance connector.<br />
The plug must click into place audibly.<br />
To disconnect:<br />
Press the cover of the appliance connector down<br />
and disconnect the steam plug from the appliance<br />
connector.<br />
Illustration -<br />
Connect the required accessories (see Chapter<br />
"How to use the accessories“) to the steam gun. Insert<br />
the open end of the accessory on the steam<br />
gun and push onto the steam gun until the unlocking<br />
button of the steam gun locks into place.<br />
Illustration<br />
Use the extension tubes if necessary. To do so,<br />
connect one or both extension tubes to the steam<br />
gun. Insert the required accessories on the free<br />
end of the extension tube.<br />
Removing the Accessories<br />
Move the child protection unit toward the back<br />
(steam lever locked).<br />
Illustration<br />
To detach the accessory parts, press the unlocking<br />
button and pull the items apart.<br />
EN – 6<br />
13


