

Karcher K 2.36 M T 50 - manuals
Karcher K 2.36 M T 50 - manuals
Karcher K 2.36 M T 50 - manuals

You also want an ePaper? Increase the reach of your titles
YUMPU automatically turns print PDFs into web optimized ePapers that Google loves.
Safety Devices<br />
Caution<br />
Safety devices protect the user and must not be<br />
modified or bypassed.<br />
Power switch<br />
The appliance switch prevents unintentional operation<br />
of the appliance.<br />
Lock trigger gun<br />
This lock locks the lever of the trigger gun and<br />
prevents the inadvertent start of the appliance.<br />
Overflow valve with pressure switch<br />
The overflow valve prevents the permissible<br />
working pressure from being exceeded.<br />
If the lever on the trigger gun is released the<br />
pressure switch turns off the pump, the highpressure<br />
jet is stopped. If the lever is pulled the<br />
pump is turned on again.<br />
Prerequisites for the appliance's<br />
stability<br />
Caution<br />
Create stability for the appliance prior to all work<br />
on or with the appliance to prevent accidents or<br />
damage.<br />
– The stability of the appliance is warranted<br />
when it is placed onto an even surface.<br />
Operation<br />
Scope of delivery<br />
The scope of delivery of your appliance is illustrated<br />
on the packaging. Check the contents of the appliance<br />
for completeness when unpacking.<br />
In the event of missing accessories or any transport<br />
damage, please contact your dealer.<br />
Description of the Appliance<br />
Illustrations on Page 2<br />
1 High pressure connection<br />
2 Detergent suction hose (with filter)<br />
3 Appliance switch "0/OFF“/ „I/ON“<br />
4 Storage for high-pressure hose<br />
5 Transport handle<br />
6 Storage for spray lance<br />
7 Storage for trigger gun<br />
8 Mains cable with mains plug<br />
9 Water connection<br />
10 Bearing wheel<br />
11 Coupling element for water connection<br />
12 Trigger gun<br />
13 Lock trigger gun<br />
14 High pressure hose<br />
12 EN - 5<br />
15 Clamp for high pressure hose<br />
16 Spray lance with high pressure nozzle<br />
17 Spray lance with Dirtblaster<br />
Special accessories<br />
Special accessories expand the possibilities of<br />
using your appliance. Please contact your<br />
KÄRCHER dealer for further information.<br />
Before Startup<br />
Mount loose parts delivered with appliance prior<br />
to start-up.<br />
Illustrations on Page 2<br />
Illustration<br />
Insert the transport wheels and lock them.<br />
Illustration<br />
Pull out the clamp for the high-pressure hose<br />
from the trigger gun (e.g. a small screwdriver).<br />
Illustration<br />
Connect high pressure hose to trigger gun.<br />
Push the clamp in until it locks. Check the secure<br />
connection by pulling on the high-pressure<br />
hose.<br />
Water supply<br />
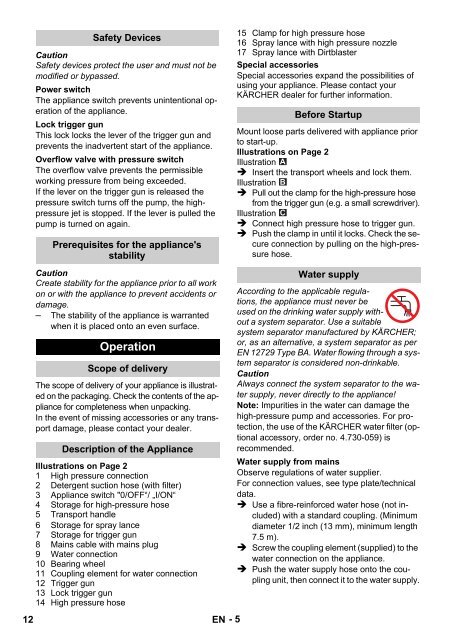
According to the applicable regulations,<br />
the appliance must never be<br />
used on the drinking water supply without<br />
a system separator. Use a suitable<br />
system separator manufactured by KÄRCHER;<br />
or, as an alternative, a system separator as per<br />
EN 12729 Type BA. Water flowing through a system<br />
separator is considered non-drinkable.<br />
Caution<br />
Always connect the system separator to the water<br />
supply, never directly to the appliance!<br />
Note: Impurities in the water can damage the<br />
high-pressure pump and accessories. For protection,<br />
the use of the KÄRCHER water filter (optional<br />
accessory, order no. 4.730-059) is<br />
recommended.<br />
Water supply from mains<br />
Observe regulations of water supplier.<br />
For connection values, see type plate/technical<br />
data.<br />
Use a fibre-reinforced water hose (not included)<br />
with a standard coupling. (Minimum<br />
diameter 1/2 inch (13 mm), minimum length<br />
7.5 m).<br />
Screw the coupling element (supplied) to the<br />
water connection on the appliance.<br />
Push the water supply hose onto the coupling<br />
unit, then connect it to the water supply.


