
Create successful ePaper yourself
Turn your PDF publications into a flip-book with our unique Google optimized e-Paper software.
6 Safety Notes<br />
6 Gloves should be worn during installation to prevent<br />
crushing and cutting injuries.<br />
6 The hot and cold supplies must be of equal<br />
pressures.<br />
Installation Instructions<br />
• The fitting must be installed, flushed and tested after<br />
the valid norms.<br />
• Prior to installation, inspect the product for transport<br />
damages. After it has been installed, no transport or<br />
surface damage will be honoured.<br />
• The fittings must be mounted in an insulated manner<br />
and with sound insulation. (see page 32)<br />
Installation example (see page 31)<br />
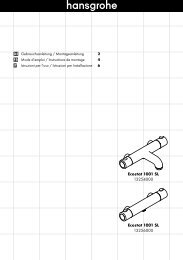
A Quattro 4-Way Diverter Valve<br />
B Shut off valve<br />
C Thermostatic mixer<br />
D Thermostatic mixer with shut off unit<br />
4<br />
English<br />
Assembly (see page 32)<br />
1. Plaster in the installed and checked stop valve, in<br />
case of pre-wall installation cover it with a panel .<br />
After the plastered wall surface is dry seal the gap<br />
between wall and plastic sleeve of the Quattro fourway-diverter<br />
with silicone (free from acetic acid!).<br />
2. Apply PCI-Lastogum or similar sealing compound<br />
on the wall in accordance with manufacturers<br />
indications.<br />
3. Put gasket over the plastic sleeve of the Quattro<br />
four-way-diverter.<br />
Important! The gasket is not suitable for<br />
hot glue.<br />
If the Quattro four-way-diverter should be hot glued,<br />
please take care that it is not damaged.<br />
Symbol description<br />
Assembly see page 32<br />
Do not use silicone containing acetic acid!<br />
Dimensions (see page 33)<br />
Spare parts (see page 34)<br />
Test certificate (see page 33)<br />
Final assembly (see page 35)