You also want an ePaper? Increase the reach of your titles
YUMPU automatically turns print PDFs into web optimized ePapers that Google loves.
EN<br />
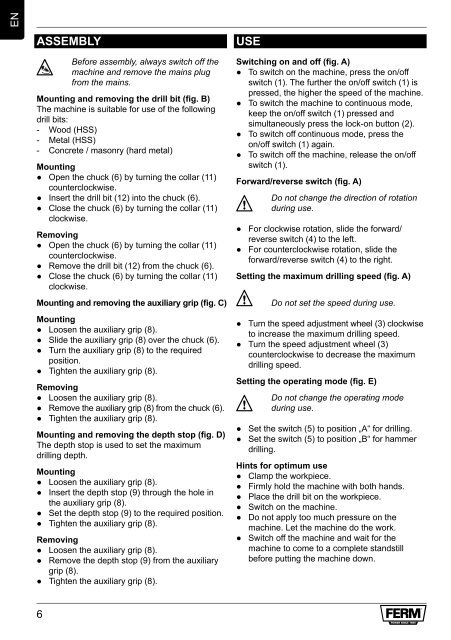
ASSEMBLy<br />
4<br />
6<br />
Before assembly, always switch off the<br />
machine and remove the mains plug<br />
from the mains.<br />
Mounting and removing the drill bit (fig. B)<br />
The machine is suitable for use of the following<br />
drill bits:<br />
- Wood (HSS)<br />
- Metal (HSS)<br />
- Concrete / masonry (hard metal)<br />
Mounting<br />
● Open the chuck (6) by turning the collar (11)<br />
counterclockwise.<br />
● Insert the drill bit (12) into the chuck (6).<br />
● Close the chuck (6) by turning the collar (11)<br />
clockwise.<br />
Removing<br />
● Open the chuck (6) by turning the collar (11)<br />
counterclockwise.<br />
● Remove the drill bit (12) from the chuck (6).<br />
● Close the chuck (6) by turning the collar (11)<br />
clockwise.<br />
Mounting and removing the auxiliary grip (fig. C)<br />
Mounting<br />
● Loosen the auxiliary grip (8).<br />
● Slide the auxiliary grip (8) over the chuck (6).<br />
● Turn the auxiliary grip (8) to the required<br />
position.<br />
● Tighten the auxiliary grip (8).<br />
Removing<br />
● Loosen the auxiliary grip (8).<br />
● Remove the auxiliary grip (8) from the chuck (6).<br />
● Tighten the auxiliary grip (8).<br />
Mounting and removing the depth stop (fig. D)<br />
The depth stop is used to set the maximum<br />
drilling depth.<br />
Mounting<br />
● Loosen the auxiliary grip (8).<br />
● Insert the depth stop (9) through the hole in<br />
the auxiliary grip (8).<br />
● Set the depth stop (9) to the required position.<br />
● Tighten the auxiliary grip (8).<br />
Removing<br />
● Loosen the auxiliary grip (8).<br />
● Remove the depth stop (9) from the auxiliary<br />
grip (8).<br />
● Tighten the auxiliary grip (8).<br />
USE<br />
Switching on and off (fig. A)<br />
● To switch on the machine, press the on/off<br />
switch (1). The further the on/off switch (1) is<br />
pressed, the higher the speed of the machine.<br />
● To switch the machine to continuous mode,<br />
keep the on/off switch (1) pressed and<br />
simultaneously press the lock-on button (2).<br />
● To switch off continuous mode, press the<br />
on/off switch (1) again.<br />
● To switch off the machine, release the on/off<br />
switch (1).<br />
forward/reverse switch (fig. A)<br />
2<br />
Do not change the direction of rotation<br />
during use.<br />
● For clockwise rotation, slide the forward/<br />
reverse switch (4) to the left.<br />
● For counterclockwise rotation, slide the<br />
forward/reverse switch (4) to the right.<br />
Setting the maximum drilling speed (fig. A)<br />
2<br />
Do not set the speed during use.<br />
● Turn the speed adjustment wheel (3) clockwise<br />
to increase the maximum drilling speed.<br />
● Turn the speed adjustment wheel (3)<br />
counterclockwise to decrease the maximum<br />
drilling speed.<br />
Setting the operating mode (fig. E)<br />
2<br />
Do not change the operating mode<br />
during use.<br />
● Set the switch (5) to position „A“ for drilling.<br />
● Set the switch (5) to position „B“ for hammer<br />
drilling.<br />
Hints for optimum use<br />
● Clamp the workpiece.<br />
● Firmly hold the machine with both hands.<br />
● Place the drill bit on the workpiece.<br />
● Switch on the machine.<br />
● Do not apply too much pressure on the<br />
machine. Let the machine do the work.<br />
● Switch off the machine and wait for the<br />
machine to <strong>com</strong>e to a <strong>com</strong>plete standstill<br />
before putting the machine down.


