BlackandDecker Lavapavimenti A Vapore- Fsmh1621 - Type 1 - Instruction Manual (MEA)
BlackandDecker Lavapavimenti A Vapore- Fsmh1621 - Type 1 - Instruction Manual (MEA)
BlackandDecker Lavapavimenti A Vapore- Fsmh1621 - Type 1 - Instruction Manual (MEA)
You also want an ePaper? Increase the reach of your titles
YUMPU automatically turns print PDFs into web optimized ePapers that Google loves.
ENGLISH<br />
(Original instructions)<br />
Attaching the hose and accessories to the Hand<br />
held steam cleaner (Fig. G & H)<br />
Warning! Inspect the seal (22) on the steam nozzle (4) and<br />
hose (23) before each use. If the seal is missing or damaged<br />
then please contact your nearest authorised repair agent. Do<br />
not use the appliance.<br />
Attaching the hose (Fig. G)<br />
u Press in the clips (24) on either side of the hose (23).<br />
u Press the hose (23) onto the steam nozzle (4) and release<br />
the clips (24).<br />
Important! Ensure that the hose (23) is securely fastened<br />
before using the hand held steeam cleaner. If steam escapes<br />
from the joint then the hose is not correctly fit, allow the unit to<br />
cool then remove and re-fit the hose.<br />
Attaching the variable stem jet nozzle (Fig. H)<br />
u Press in the clips (26) on either side of the variable stem<br />
jeet nozzle (27).<br />
u Press the variable stem jet nozzle onto the steam nozzle<br />
(4) or the hose (23) and release the clips (26).<br />
Important! Ensure that the variable stem jet nozzle (27) is<br />
securely fastened before using the hand held steeam cleaner.<br />
If steam escapes from the joint then the variable steam jet<br />
nozzle is not correctly fit, allow the unit to cool then remove<br />
and re-fit the variable steam jet nozzle.<br />
Attaching other accessories (Fig. G)<br />
u Align the lugs on the hose with the recesses on the accessory.<br />
u Press the accessory (25) onto the hose (23) and twist<br />
anti-clockwise untill the accessory clicks into place.<br />
Note! The variable stem jet nozzle may be used without the<br />
hose by fitting them directly to steam nozzle. All other accessories<br />
must be connected to the hose for use.<br />
Removing the hose and accessories(Fig. G & H)<br />
Warning! The Steam nozzle, variable steam jet nozzle, hose<br />
and accessories become hot during use. Allow the unit and all<br />
accessories to cool before removing any accessories.<br />
Removing an accessory (Fig. G)<br />
u Twist the accessory (25) clockwise then pull away from<br />
the hose (23).<br />
Removinging the hose (Fig. G)<br />
u Press in the clips (24) on either side of the hose (23) and<br />
pull away from the steam nozzle (4).<br />
Filling the water tank (Fig. I)<br />
This Steam cleaner incorporates an anti-calc system to help<br />
prolong the life of the system.<br />
Note: Fill the water tank with clean tap water.<br />
Note: In areas of very hard water, the use of de-ionised water<br />
is recommended.<br />
u Open the filler cap (7) by flipping it down.<br />
u Using the jug, fill the water tank (8) with water.<br />
Warning! Your water tank has a 0.35 litre capacity.<br />
u Re-fit the filler cap (7).<br />
Note: Ensure the filler cap is firmly secured.<br />
Use<br />
Important! This unit will kill 99.9% of bacteria & germs when<br />
used in accordance with this manual and with the micro fibre<br />
pad fitted and a continuous run time of 90 seconds.<br />
Switching on and off (Steam mop)<br />
u To switch the appliance on, press the ON/OFF button (1).<br />
It takes approximately 15 seconds for the steam mop to<br />
heat up.<br />
Note: When the steam mop is first turned on the water reservoir<br />
will glow red. Once the steam mop is ready to use the<br />
water reservoir will glow blue.<br />
u To switch the appliance off, press the ON/OFF button (1).<br />
Caution! Never leave the steam mop in one spot on any<br />
surface for any period of time. Always place the steam mop on<br />
the resting mat (13) with the handle (10) in the upright position<br />
when stationary and make sure the steam mop is turned off<br />
when not in use.<br />
Caution! Always empty the steam mop after use.<br />
Autoselect TM Technology (Fig. J)<br />
This steam mop is fitted with an Autoselect TM button (6)<br />
which shows various cleaning applications. They are used to<br />
select the correct operating mode for your particular cleaning<br />
operation.<br />
Using Autoselect TM , choose from one of the following applications<br />
by pressing the autoselect button (6) until the required<br />
setting is selected:<br />
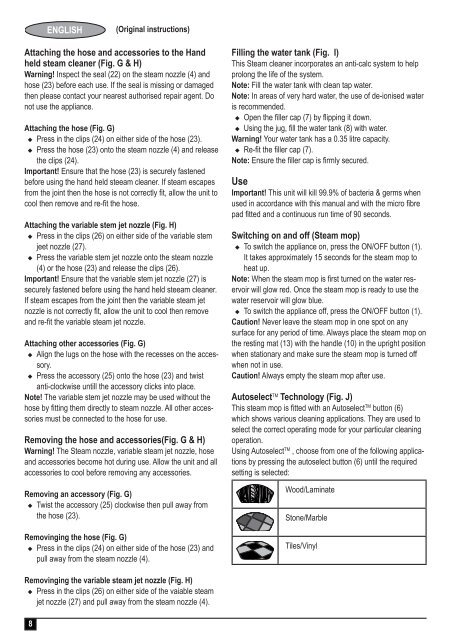
Wood/Laminate<br />
Stone/Marble<br />
Tiles/Vinyl<br />
Removinging the variable steam jet nozzle (Fig. H)<br />
u Press in the clips (26) on either side of the vaiable steam<br />
jet nozzle (27) and pull away from the steam nozzle (4).<br />
8


