BlackandDecker Trapano- Kr531 - Type 1 - Instruction Manual
BlackandDecker Trapano- Kr531 - Type 1 - Instruction Manual
BlackandDecker Trapano- Kr531 - Type 1 - Instruction Manual
Create successful ePaper yourself
Turn your PDF publications into a flip-book with our unique Google optimized e-Paper software.
ENGLISH<br />
Follow the instructions for maintenance and<br />
changing accessories. Keep handles and<br />
switches dry, clean and free from oil and grease.<br />
20.Repairs<br />
This tool complies with relevant safety<br />
requirements. Repairs should only be carried<br />
out by qualified persons using original spare<br />
parts; otherwise this may result in considerable<br />
danger to the user.<br />
Additional safety instructions for Australia and<br />
New Zealand<br />
◆ This appliance is not intended for use by<br />
young or infirm persons without supervision.<br />
Children must be supervised to ensure they do<br />
not play with the appliance.<br />
◆ If the supply cord is damaged, it must be<br />
replaced by the manufacturer or an authorised<br />
Black & Decker Service Centre in order to<br />
avoid a hazard.<br />
ELECTRICAL SAFETY<br />
The electric motor has been designed for one<br />
voltage only. Always check that the power supply<br />
corresponds to the voltage on the rating plate.<br />
This tool is double insulated in accordance<br />
with EN 50144; therefore no earth wire is<br />
required.<br />
Mains plug replacement (U.K. & Ireland only)<br />
◆<br />
◆<br />
◆<br />
Should your mains plug need replacing and<br />
you are competent to do this, proceed as<br />
instructed below. If you are in doubt, contact an<br />
authorised repair agent or a qualified electrician.<br />
Disconnect the plug from the supply and<br />
remove the fuse from the plug.<br />
Cut off the plug and dispose of it safely; a plug<br />
with bared copper conductors is dangerous if<br />
engaged in a live socket outlet.<br />
◆<br />
◆<br />
◆<br />
◆<br />
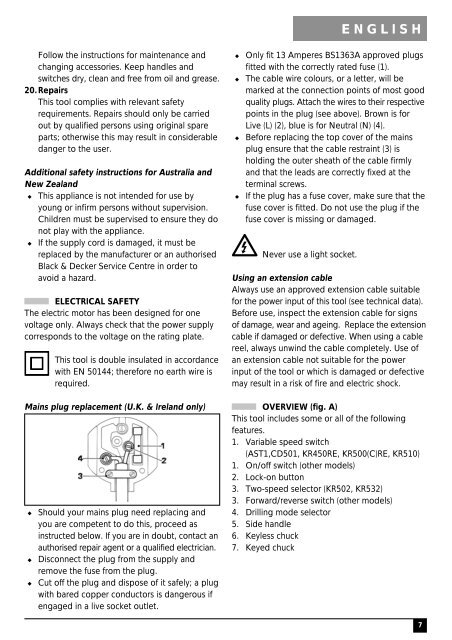
Only fit 13 Amperes BS1363A approved plugs<br />
fitted with the correctly rated fuse (1).<br />
The cable wire colours, or a letter, will be<br />
marked at the connection points of most good<br />
quality plugs. Attach the wires to their respective<br />
points in the plug (see above). Brown is for<br />
Live (L) (2), blue is for Neutral (N) (4).<br />
Before replacing the top cover of the mains<br />
plug ensure that the cable restraint (3) is<br />
holding the outer sheath of the cable firmly<br />
and that the leads are correctly fixed at the<br />
terminal screws.<br />
If the plug has a fuse cover, make sure that the<br />
fuse cover is fitted. Do not use the plug if the<br />
fuse cover is missing or damaged.<br />
Never use a light socket.<br />
Using an extension cable<br />
Always use an approved extension cable suitable<br />
for the power input of this tool (see technical data).<br />
Before use, inspect the extension cable for signs<br />
of damage, wear and ageing. Replace the extension<br />
cable if damaged or defective. When using a cable<br />
reel, always unwind the cable completely. Use of<br />
an extension cable not suitable for the power<br />
input of the tool or which is damaged or defective<br />
may result in a risk of fire and electric shock.<br />
OVERVIEW (fig. A)<br />
This tool includes some or all of the following<br />
features.<br />
1. Variable speed switch<br />
(AST1,CD501, KR450RE, KR500(C)RE, KR510)<br />
1. On/off switch (other models)<br />
2. Lock-on button<br />
3. Two-speed selector (KR502, KR532)<br />
3. Forward/reverse switch (other models)<br />
4. Drilling mode selector<br />
5. Side handle<br />
6. Keyless chuck<br />
7. Keyed chuck<br />
7


