

Makita ASPIRATORE - VC3211MX1 - Manuale Istruzioni
Makita ASPIRATORE - VC3211MX1 - Manuale Istruzioni
Makita ASPIRATORE - VC3211MX1 - Manuale Istruzioni

Create successful ePaper yourself
Turn your PDF publications into a flip-book with our unique Google optimized e-Paper software.
1. Storing the power supply cord (Fig. 5)<br />
NOTICE:<br />
• Do not use the cleaner or a connected electric<br />
power tool with a power supply cord wound on the<br />
base hook. Using the cleaner or the connected electric<br />
power tool with power supply cord may cause damage<br />
the power supply cord.<br />
2. Storing the front cuffs (Fig. 6)<br />
Front cuffs 22, 24 and 38 can be stored (up to two at a<br />
time).<br />
3. Storing the hose (Fig. 7)<br />
4. Resting a reasonable size of electric power tool<br />
for the base hook, such as circular saw. (Fig. 8)<br />
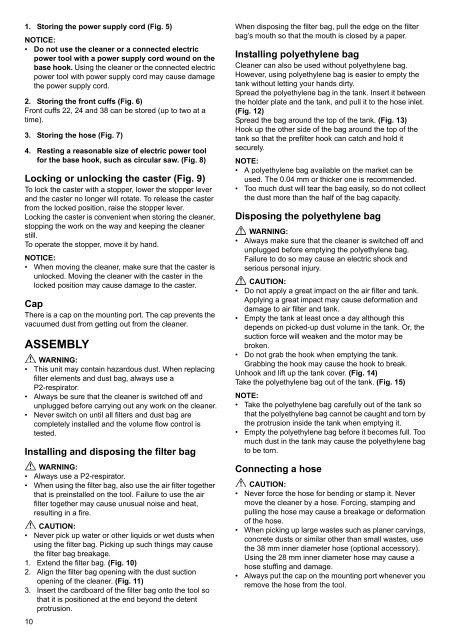
Locking or unlocking the caster (Fig. 9)<br />
To lock the caster with a stopper, lower the stopper lever<br />
and the caster no longer will rotate. To release the caster<br />
from the locked position, raise the stopper lever.<br />
Locking the caster is convenient when storing the cleaner,<br />
stopping the work on the way and keeping the cleaner<br />
still.<br />
To operate the stopper, move it by hand.<br />
NOTICE:<br />
• When moving the cleaner, make sure that the caster is<br />
unlocked. Moving the cleaner with the caster in the<br />
locked position may cause damage to the caster.<br />
Cap<br />
There is a cap on the mounting port. The cap prevents the<br />
vacuumed dust from getting out from the cleaner.<br />
ASSEMBLY<br />
WARNING:<br />
• This unit may contain hazardous dust. When replacing<br />
filter elements and dust bag, always use a<br />
P2-respirator.<br />
• Always be sure that the cleaner is switched off and<br />
unplugged before carrying out any work on the cleaner.<br />
• Never switch on until all filters and dust bag are<br />
completely installed and the volume flow control is<br />
tested.<br />
Installing and disposing the filter bag<br />
WARNING:<br />
• Always use a P2-respirator.<br />
• When using the filter bag, also use the air filter together<br />
that is preinstalled on the tool. Failure to use the air<br />
filter together may cause unusual noise and heat,<br />
resulting in a fire.<br />
CAUTION:<br />
• Never pick up water or other liquids or wet dusts when<br />
using the filter bag. Picking up such things may cause<br />
the filter bag breakage.<br />
1. Extend the filter bag. (Fig. 10)<br />
2. Align the filter bag opening with the dust suction<br />
opening of the cleaner. (Fig. 11)<br />
3. Insert the cardboard of the filter bag onto the tool so<br />
that it is positioned at the end beyond the detent<br />
protrusion.<br />
10<br />
When disposing the filter bag, pull the edge on the filter<br />
bag’s mouth so that the mouth is closed by a paper.<br />
Installing polyethylene bag<br />
Cleaner can also be used without polyethylene bag.<br />
However, using polyethylene bag is easier to empty the<br />
tank without letting your hands dirty.<br />
Spread the polyethylene bag in the tank. Insert it between<br />
the holder plate and the tank, and pull it to the hose inlet.<br />
(Fig. 12)<br />
Spread the bag around the top of the tank. (Fig. 13)<br />
Hook up the other side of the bag around the top of the<br />
tank so that the prefilter hook can catch and hold it<br />
securely.<br />
NOTE:<br />
• A polyethylene bag available on the market can be<br />
used. The 0.04 mm or thicker one is recommended.<br />
• Too much dust will tear the bag easily, so do not collect<br />
the dust more than the half of the bag capacity.<br />
Disposing the polyethylene bag<br />
WARNING:<br />
• Always make sure that the cleaner is switched off and<br />
unplugged before emptying the polyethylene bag.<br />
Failure to do so may cause an electric shock and<br />
serious personal injury.<br />
CAUTION:<br />
• Do not apply a great impact on the air filter and tank.<br />
Applying a great impact may cause deformation and<br />
damage to air filter and tank.<br />
• Empty the tank at least once a day although this<br />
depends on picked-up dust volume in the tank. Or, the<br />
suction force will weaken and the motor may be<br />
broken.<br />
• Do not grab the hook when emptying the tank.<br />
Grabbing the hook may cause the hook to break.<br />
Unhook and lift up the tank cover. (Fig. 14)<br />
Take the polyethylene bag out of the tank. (Fig. 15)<br />
NOTE:<br />
• Take the polyethylene bag carefully out of the tank so<br />
that the polyethylene bag cannot be caught and torn by<br />
the protrusion inside the tank when emptying it.<br />
• Empty the polyethylene bag before it becomes full. Too<br />
much dust in the tank may cause the polyethylene bag<br />
to be torn.<br />
Connecting a hose<br />
CAUTION:<br />
• Never force the hose for bending or stamp it. Never<br />
move the cleaner by a hose. Forcing, stamping and<br />
pulling the hose may cause a breakage or deformation<br />
of the hose.<br />
• When picking up large wastes such as planer carvings,<br />
concrete dusts or similar other than small wastes, use<br />
the 38 mm inner diameter hose (optional accessory).<br />
Using the 28 mm inner diameter hose may cause a<br />
hose stuffing and damage.<br />
• Always put the cap on the mounting port whenever you<br />
remove the hose from the tool.


