

KitchenAid E2BL 19213 F O3 (TK) - Fridge/freezer combination - E2BL 19213 F O3 (TK) - Fridge/freezer combination TR (F085165) Istruzioni per l'Uso
KitchenAid E2BL 19213 F O3 (TK) - Fridge/freezer combination - E2BL 19213 F O3 (TK) - Fridge/freezer combination TR (F085165) Istruzioni per l'Uso
KitchenAid E2BL 19213 F O3 (TK) - Fridge/freezer combination - E2BL 19213 F O3 (TK) - Fridge/freezer combination TR (F085165) Istruzioni per l'Uso

You also want an ePaper? Increase the reach of your titles
YUMPU automatically turns print PDFs into web optimized ePapers that Google loves.
GB<br />
Installation<br />
! Before placing your new appliance into o<strong>per</strong>ation please read these<br />
o<strong>per</strong>ating instructions carefully. They contain important information for safe<br />
use, for installation and for care of the appliance.<br />
! Please keep these o<strong>per</strong>ating instructions for future reference. Pass<br />
them on to possible new owners of the appliance.<br />
Positioning and connection<br />
Positioning<br />
1. Place the appliance in a well-ventilated humidity-free room.<br />
2. Do not obstruct the rear fan grills. The compressor and condenser<br />
give off heat and require good ventilation to o<strong>per</strong>ate correctly and<br />
save energy.<br />
3. Leave a space of at least 10 cm between the top part of the<br />
appliance and any furniture above it, and at least 5 cm between<br />
the sides and any furniture/side walls.<br />
4. Ensure the appliance is away from any sources of heat (direct<br />
sunlight, electric stove, etc.).<br />
5. In order to maintain the correct distance between the appliance<br />
and the wall behind it, fit the spacers supplied in the installation kit,<br />
following the instructions provided.<br />
Levelling<br />
1. Install the appliance on a level and rigid floor.<br />
2. If the floor is not <strong>per</strong>fectly horizontal, adjust the refrigerator by<br />
tightening or loosening the front feet.<br />
Electrical connections<br />
After the appliance has been transported, carefully place it vertically<br />
and wait at least 3 hours before connecting it to the electricity mains.<br />
Before inserting the plug into the electrical socket ensure the following:<br />
• The appliance is earthed and the plug is compliant with the law.<br />
• The socket can withstand the maximum power of the appliance,<br />
which is indicated on the data plate located on the bottom left side<br />
of the fridge (e.g. 150 W).<br />
• The voltage must be in the range between the values indicated on<br />
the data plate located on the bottom left side (e.g. 220-240V).<br />
• The socket is compatible with the plug of the appliance. If the<br />
socket is incompatible with the plug, ask an authorised technician<br />
to replace it (see Assistance). Do not use extension cords or<br />
multiple sockets.<br />
! Once the appliance has been installed, the power supply cable and<br />
the electrical socket must be easily accessible.<br />
! The cable must not be bent or compressed.<br />
! The cable must be checked regularly and replaced by authorised<br />
technicians only (see Assistance).<br />
! The manufacturer declines any liability should these safety<br />
measures not be observed.<br />
2. After a few hours you will be able to put food in the refrigerator.<br />
3. Press the SUPER FREEZE button (rapid freezing): the SUPER<br />
FREEZE indicator light will illuminate. Once the refrigerator has<br />
reached the optimal tem<strong>per</strong>ature, the indicator light goes out and<br />
you can begin food storage.<br />
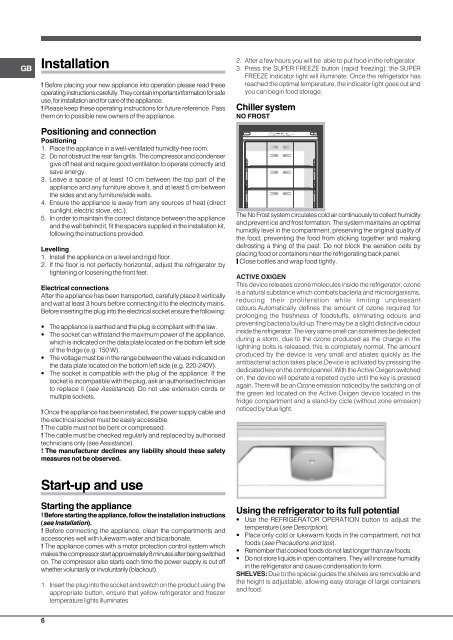
Chiller system<br />
NO FROST<br />
The No Frost system circulates cold air continuously to collect humidity<br />
and prevent ice and frost formation. The system maintains an optimal<br />
humidity level in the compartment, preserving the original quality of<br />
the food, preventing the food from sticking together and making<br />
defrosting a thing of the past. Do not block the aeration cells by<br />
placing food or containers near the refrigerating back panel.<br />
! Close bottles and wrap food tightly.<br />
ACTIVE OXIGEN<br />
This device releases ozone molecules inside the refrigerator; ozone<br />
is a natural substance which combats bacteria and microorganisms,<br />
reducing their proliferation while limiting unpleasant<br />
odours.Automatically defines the amount of ozone required for<br />
prolonging the freshness of foodstuffs, eliminating odours and<br />
preventing bacteria build-up.There may be a slight distinctive odour<br />
inside the refrigerator. The very same smell can sometimes be detected<br />
during a storm, due to the ozone produced as the charge in the<br />
lightning bolts is released; this is completely normal. The amount<br />
produced by the device is very small and abates quickly as the<br />
antibacterial action takes place.Device is activated by pressing the<br />
dedicated key on the control pannel .With the Active Oxigen switched<br />
on, the device will o<strong>per</strong>ate a repeted cycle until the key is pressed<br />
again. There will be an Ozone emission noticed by the switching on of<br />
the green led located on the Active Oxigen device located in the<br />
fridge compartment and a stand-by cicle (without zone emission)<br />
noticed by blue light.<br />
Start-up and use<br />
Starting the appliance<br />
! Before starting the appliance, follow the installation instructions<br />
(see Installation).<br />
! Before connecting the appliance, clean the compartments and<br />
accessories well with lukewarm water and bicarbonate.<br />
! The appliance comes with a motor protection control system which<br />
makes the compressor start approximately 8 minutes after being switched<br />
on. The compressor also starts each time the power supply is cut off<br />
whether voluntarily or involuntarily (blackout).<br />
1. Insert the plug into the socket and switch on the product using the<br />
appropriate button, ensure that yellow refrigerator and <strong>freezer</strong><br />
tem<strong>per</strong>ature lights illuminates<br />
Using the refrigerator to its full potential<br />
• Use the REFRIGERATOR OPERATION button to adjust the<br />
tem<strong>per</strong>ature (see Description).<br />
• Place only cold or lukewarm foods in the compartment, not hot<br />
foods (see Precautions and tips).<br />
• Remember that cooked foods do not last longer than raw foods.<br />
• Do not store liquids in open containers. They will increase humidity<br />
in the refrigerator and cause condensation to form.<br />
SHELVES: Due to the special guides the shelves are removable and<br />
the height is adjustable, allowing easy storage of large containers<br />
and food.<br />
6


