

KitchenAid XAL85 T1I W WTD - XAL85 T1I W WTD EN (F102775) Setup and user guide
KitchenAid XAL85 T1I W WTD - XAL85 T1I W WTD EN (F102775) Setup and user guide
KitchenAid XAL85 T1I W WTD - XAL85 T1I W WTD EN (F102775) Setup and user guide

Create successful ePaper yourself
Turn your PDF publications into a flip-book with our unique Google optimized e-Paper software.
Installation<br />
! Before placing your new appliance into operation please read<br />
these operating instructions carefully. They contain important<br />
information for safe use, for installation <strong>and</strong> for care of the<br />
appliance.<br />
! Please keep these operating instructions for future reference.<br />
Pass them on to possible new owners of the appliance.<br />
Positioning <strong>and</strong> connection<br />
Positioning<br />
1. Place the appliance in a well-ventilated humidity-free room.<br />
2. Do not obstruct the rear fan grills. The compressor <strong>and</strong><br />
condenser give off heat <strong>and</strong> require good ventilation to<br />
operate correctly <strong>and</strong> save energy.<br />
3. Leave a space of at least 10 cm between the top part of<br />
the appliance <strong>and</strong> any furniture above it, <strong>and</strong> at least 5 cm<br />
between the sides <strong>and</strong> any furniture/side walls.<br />
4. Place the device far from heat sources (direct sun light,<br />
electric kitchen etc.)<br />
Start-up <strong>and</strong> use<br />
Starting the appliance<br />
! Before starting the appliance, follow the installation<br />
instructions (see Installation).<br />
! Before connecting the appliance, clean the compartments <strong>and</strong><br />
accessories well with lukewarm water <strong>and</strong> bicarbonate.<br />
! Electronic versions are provided with a motor protection switch<br />
that powers on the compressor only almost 8 minutes after the<br />
starting. The compressor also starts each time the power supply<br />
is cut off whether voluntarily or involuntarily (blackout).<br />
1. Connect the plug <strong>and</strong> check that the FRIDGE TEMPERATURE<br />
indicator turns on. If the indicator stays off, please press the<br />
ON/OFF button.<br />
2. Set the FRIDGE TEMPERATURE on an average value. After<br />
a few hours it will be possible to insert food in the fridge.<br />
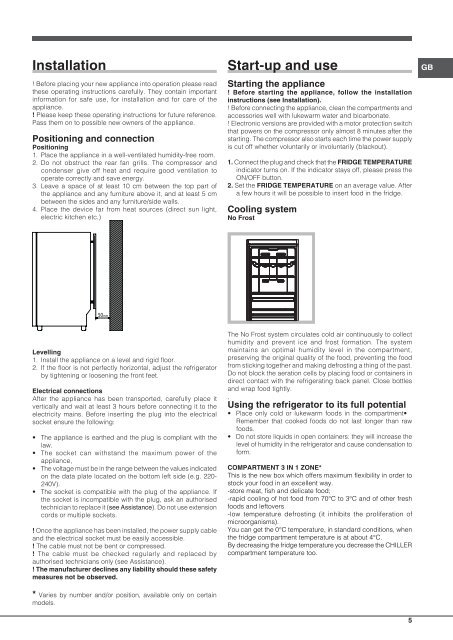
Cooling system<br />
No Frost<br />
GB<br />
50mm<br />
Levelling<br />
1. Install the appliance on a level <strong>and</strong> rigid floor.<br />
2. If the floor is not perfectly horizontal, adjust the refrigerator<br />
by tightening or loosening the front feet.<br />
Electrical connections<br />
After the appliance has been transported, carefully place it<br />
vertically <strong>and</strong> wait at least 3 hours before connecting it to the<br />
electricity mains. Before inserting the plug into the electrical<br />
socket ensure the following:<br />
• The appliance is earthed <strong>and</strong> the plug is compliant with the<br />
law.<br />
• The socket can withst<strong>and</strong> the maximum power of the<br />
appliance,<br />
• The voltage must be in the range between the values indicated<br />
on the data plate located on the bottom left side (e.g. 220-<br />
240V).<br />
• The socket is compatible with the plug of the appliance. If<br />
the socket is incompatible with the plug, ask an authorised<br />
technician to replace it (see Assistance). Do not use extension<br />
cords or multiple sockets.<br />
! Once the appliance has been installed, the power supply cable<br />
<strong>and</strong> the electrical socket must be easily accessible.<br />
! The cable must not be bent or compressed.<br />
! The cable must be checked regularly <strong>and</strong> replaced by<br />
authorised technicians only (see Assistance).<br />
! The manufacturer declines any liability should these safety<br />
measures not be observed.<br />
The No Frost system circulates cold air continuously to collect<br />
humidity <strong>and</strong> prevent ice <strong>and</strong> frost formation. The system<br />
maintains an optimal humidity level in the compartment,<br />
preserving the original quality of the food, preventing the food<br />
from sticking together <strong>and</strong> making defrosting a thing of the past.<br />
Do not block the aeration cells by placing food or containers in<br />
direct contact with the refrigerating back panel. Close bottles<br />
<strong>and</strong> wrap food tightly.<br />
,<br />
Using the refrigerator to its full potential<br />
• Place only cold or lukewarm foods in the compartment•<br />
Remember that cooked foods do not last longer than raw<br />
foods.<br />
• Do not store liquids in open containers: they will increase the<br />
level of humidity in the refrigerator <strong>and</strong> cause condensation to<br />
form.<br />
COMPARTM<strong>EN</strong>T 3 IN 1 ZONE*<br />
This is the new box which offers maximum flexibility in order to<br />
stock your food in an excellent way.<br />
-store meat, fish <strong>and</strong> delicate food;<br />
-rapid cooling of hot food from 70°C to 3°C <strong>and</strong> of other fresh<br />
foods <strong>and</strong> leftovers<br />
-low temperature defrosting (it inhibits the proliferation of<br />
microorganisms).<br />
You can get the 0°C temperature, in st<strong>and</strong>ard conditions, when<br />
the fridge compartment temperature is at about 4°C.<br />
By decreasing the fridge temperature you decrease the CHILLER<br />
compartment temperature too.<br />
* Varies by number <strong>and</strong>/or position, available only on certain<br />
models.<br />
5


