

KitchenAid OAKZ9 130 P IX - OAKZ9 130 P IX EN (859991544150) Use and care guide
KitchenAid OAKZ9 130 P IX - OAKZ9 130 P IX EN (859991544150) Use and care guide
KitchenAid OAKZ9 130 P IX - OAKZ9 130 P IX EN (859991544150) Use and care guide

You also want an ePaper? Increase the reach of your titles
YUMPU automatically turns print PDFs into web optimized ePapers that Google loves.
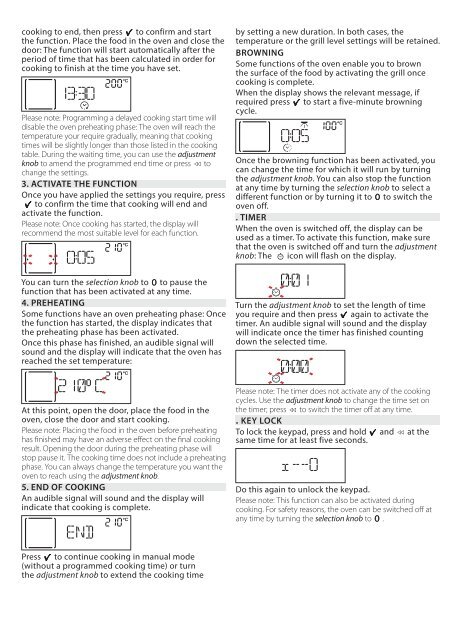
cooking to end, then press to confirm <strong>and</strong> start<br />
the function. Place the food in the oven <strong>and</strong> close the<br />
door: The function will start automatically after the<br />
period of time that has been calculated in order for<br />
cooking to finish at the time you have set.<br />
Please note: Programming a delayed cooking start time will<br />
disable the oven preheating phase: The oven will reach the<br />
temperature your require gradually, meaning that cooking<br />
times will be slightly longer than those listed in the cooking<br />
table. During the waiting time, you can use the adjustment<br />
knob to amend the programmed end time or press to<br />
change the settings.<br />
3. ACTIVATE THE FUNCTION<br />
Once you have applied the settings you require, press<br />
to confirm the time that cooking will end <strong>and</strong><br />
activate the function.<br />
Please note: Once cooking has started, the display will<br />
recommend the most suitable level for each function.<br />
by setting a new duration. In both cases, the<br />
temperature or the grill level settings will be retained.<br />
BROWNING<br />
Some functions of the oven enable you to brown<br />
the surface of the food by activating the grill once<br />
cooking is complete.<br />
When the display shows the relevant message, if<br />
required press to start a five-minute browning<br />
cycle.<br />
Once the browning function has been activated, you<br />
can change the time for which it will run by turning<br />
the adjustment knob. You can also stop the function<br />
at any time by turning the selection knob to select a<br />
different function or by turning it to to switch the<br />
oven off.<br />
. TIMER<br />
When the oven is switched off, the display can be<br />
used as a timer. To activate this function, make sure<br />
that the oven is switched off <strong>and</strong> turn the adjustment<br />
knob: The icon will flash on the display.<br />
You can turn the selection knob to to pause the<br />
function that has been activated at any time.<br />
4. PREHEATING<br />
Some functions have an oven preheating phase: Once<br />
the function has started, the display indicates that<br />
the preheating phase has been activated.<br />
Once this phase has finished, an audible signal will<br />
sound <strong>and</strong> the display will indicate that the oven has<br />
reached the set temperature:<br />
Turn the adjustment knob to set the length of time<br />
you require <strong>and</strong> then press again to activate the<br />
timer. An audible signal will sound <strong>and</strong> the display<br />
will indicate once the timer has finished counting<br />
down the selected time.<br />
At this point, open the door, place the food in the<br />
oven, close the door <strong>and</strong> start cooking.<br />
Please note: Placing the food in the oven before preheating<br />
has finished may have an adverse effect on the final cooking<br />
result. Opening the door during the preheating phase will<br />
stop pause it. The cooking time does not include a preheating<br />
phase. You can always change the temperature you want the<br />
oven to reach using the adjustment knob.<br />
5. <strong>EN</strong>D OF COOKING<br />
An audible signal will sound <strong>and</strong> the display will<br />
indicate that cooking is complete.<br />
Please note: The timer does not activate any of the cooking<br />
cycles. <strong>Use</strong> the adjustment knob to change the time set on<br />
the timer; press to switch the timer off at any time.<br />
. KEY LOCK<br />
To lock the keypad, press <strong>and</strong> hold<br />
same time for at least five seconds.<br />
<strong>and</strong> at the<br />
Do this again to unlock the keypad.<br />
Please note: This function can also be activated during<br />
cooking. For safety reasons, the oven can be switched off at<br />
any time by turning the selection knob to .<br />
Press to continue cooking in manual mode<br />
(without a programmed cooking time) or turn<br />
the adjustment knob to extend the cooking time


