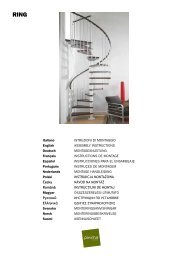
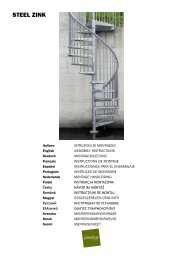
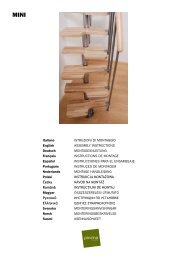
Italiano ISTRUZIONI DI MONTAGGIO English ... - Josef Steiner
Italiano ISTRUZIONI DI MONTAGGIO English ... - Josef Steiner
Italiano ISTRUZIONI DI MONTAGGIO English ... - Josef Steiner

Create successful ePaper yourself
Turn your PDF publications into a flip-book with our unique Google optimized e-Paper software.
28. Tighten in a permanent manner the upper element B02 of the treads (fig. 2).<br />
29. Check that the balusters C03 are vertical and correct this, if necessary, repeating the operations described in<br />
points 25, 26 and 27.<br />
30. Identify the fixing point of element F01 on the floor in correspondence with the first baluster C03 (H. 1230 mm).<br />
After checking that it is vertical, take off the column and drill with a Ø 8 mm bit. Use elements B11, B12 and<br />
B02 (fig. 1).<br />
31. Position the first baluster C03 (H. 1230 mm) together with the element F07 after cutting it by 35 mm. Finally<br />
secure element F07 to baluster C03 by means of the components B02.<br />
32. Heat the handrail A02 until it is malleable:<br />
1) rest the handrail on the cover of the wooden box,<br />
2) slowly heat it performing circular movements without stopping,<br />
3) overturn the handrail and repeat the operation (fig. 10).<br />
33. Position the handrail A02 on the balusters C03 (using gloves). Fix it on the first column C03 at the top with<br />
elements B54 and B55 after drilling it with a Ø 5 mm bit in its lower part before it cools (fig. 9).<br />
34. Cut the exceeding part of handrail A02 so that it does not hamper the operations.<br />
35. Drill handrail A02 in correspondence with the holes present on all the elements B53 and fix it with elements<br />
B54 and B55.<br />
36. Insert the remaining balusters C03 in the treads L02 in close succession (for a Ø 120 cm staircase only one<br />
intermediate column H.1135 mm; for Ø 140 cm and Ø 160 cm staircases two intermediate columns H. 1100<br />
and H. 1170 mm). Tighten elements B02 taking care that they are vertical and fix them to the handrail A02<br />
using elements B54 and B55.<br />
37. In correspondence with the first baluster C03 of the staircase, perform a final cut of the handrail A02.<br />
38. Insert element A03 on handrail A02 (eliminate burrs due to cut) using the glue X01 after heating the end of<br />
handrail A02 (fig. 1).<br />
39. Secure elements B02, D32 and D33 in a permanent manner using the part C36.<br />
40. Complete the railing assembly by inserting elements B82 into the lower part of the balusters C03 (fig. 1).<br />
Assembling the balustrade<br />
41. Screw column C04 onto element G01 protruding from the landing E03 (fig. 1).<br />
42. Secure element B16 to column C04 using element B02 (fig. 1).<br />
43. Fix elements F01 using the components B07, B06, B23 in the holes present on the landing E03 as in (fig. 1).<br />
44. Position the shorter balusters C03 (H.975 mm) into elements F01 and tighten element B02. In the hole with<br />
elements D32 and D33 present on the landing E03 use a baluster C03 (H. 1100 mm) cutting it by 95 mm.<br />
45. Secure the handrail A18 using elements B54 and B55 (fig. 1).<br />
46. Connect the end part of the railing to the short stretch of the balustrade on landing E03 using the appropriate<br />
fixture obtained when assembling elements A20, A03, C92 and B08 (fig. 11). On the handrail A02 clean the cut<br />
and heat the end part, fix the caps A03 of the fixture obtained (after cleaning the cut and heating the end part of<br />
the handrail A02) using the glue X01, fix in a permanent manner with screws C87 (fig. 11).<br />
Final Assembly<br />
47. To further stiffen the staircase at intermediate points, secure elements F09 to the wall and join them to the<br />
balusters C03 using elements F08. Drill using a Ø 8 mm bit and use elements C50, C49, B11 and B12 (fig. 13).<br />
48. Glue the step board H01 onto the treads L02 using element B96 (fig. 1).<br />
49. Glue the step board H03 and H04 onto the landing E03 using element B96 (fig. 1).<br />
After you have finished assembling the staircase,<br />
please visit our website and send us your suggestions: www.pixima.it<br />
7 - STEEL